Van Kitchen Ventilation: Fans, Hoods, and Why It Matters
Why every serious van kitchen needs active ventilation, the difference between MaxxFans and rangehoods, and how to install a 300 CFM hood that actually works.
Why ventilation is the invisible upgrade
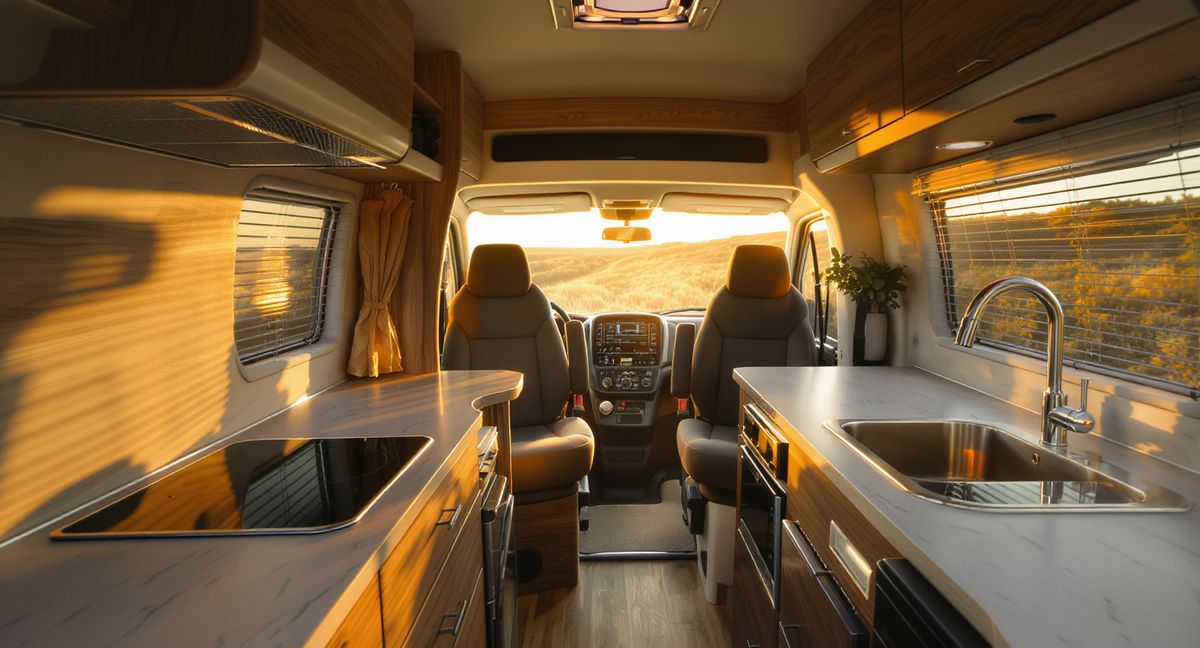
Van kitchen ventilation is the upgrade that no one photographs and that every experienced van dweller insists on after their second build. Cooking in an enclosed 80-square-foot space produces more water vapor, more grease, and more smell than most people expect, and if you don't actively move that air out, it ends up condensing on your windows, soaking into your cushions, and flavoring your blankets.
This guide covers why ventilation matters, the three categories of ventilation systems (roof fans, range hoods, and passive cross-ventilation), specific product choices, and how to actually install a 300 CFM range hood above an induction cooktop in a van kitchen. If you're at the rough planning stage and wondering whether to put a hood in your build, this guide is the answer: yes, and here's exactly how.
What you're actually venting
Cooking produces four things your van needs to get rid of:
- Water vapor. A pot of boiling pasta releases roughly 1 liter of water into the air over 15 minutes. Searing a steak releases almost as much. In a van with poor ventilation, that water condenses on the coldest surface — usually the windows — and over weeks it produces mold, rot, and a persistent damp smell.
- Grease aerosols. Frying anything above 300°F aerosolizes oil droplets into the air. Without a hood, those droplets coat every surface within a few feet of the cooktop. Walls get greasy. Curtains absorb the film. Cabinet faces develop a sticky coating.
- Combustion products. Butane, propane, and even induction cooktops (via food vapors) produce carbon monoxide, carbon dioxide, and nitrogen oxides in small amounts. Induction is the cleanest, but food itself still off-gases when heated.
- Food smells. Fried onions, garlic, fish, curry spices. These are pleasant during dinner and awful the next morning when you wake up in the same smell.
Active ventilation moves all four outside. Passive ventilation (cracked windows) only moves some of them, slowly.
The three ventilation categories
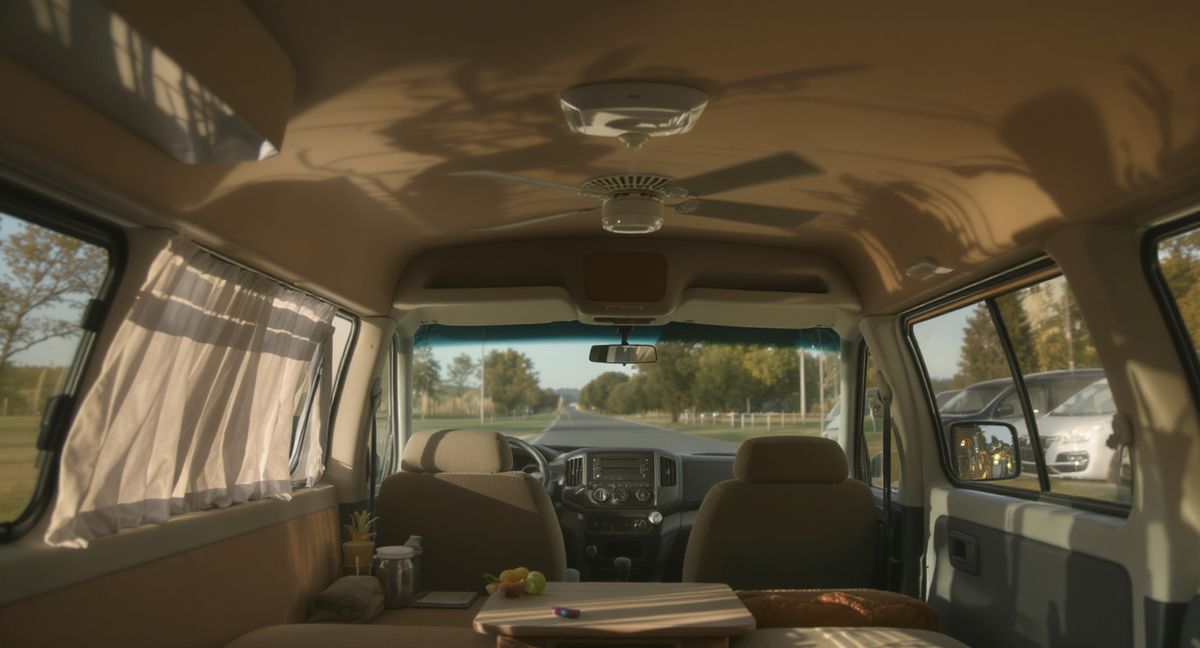
1. Roof fans (MaxxFan, Fantastic Fan, Fiamma)
A roof-mounted vent fan is the primary ventilation of most van builds. The standard choice is the MaxxFan Deluxe, a $350 variable-speed 10-blade fan that mounts in a 14×14 inch roof cutout. It draws air out of the van at rates from 40 CFM (low setting) up to about 900 CFM (high setting).
What roof fans do well:
- Moving large volumes of air
- Cooling the cabin on hot days
- Drying out humidity
- Emergency smoke evacuation
What they don't do well:
- Capturing grease at the source (the air rises before it reaches the fan)
- Low-level smell venting (at low speeds they barely pull)
- Targeted cooktop ventilation (the fan isn't near the cooktop)
Power draw: MaxxFan Deluxe pulls 0.12A–0.24A on low, 0.8A–1.5A on medium, up to 3.5A on high. For a typical van kitchen running the fan during dinner (30 minutes on medium), that's about 0.5 Ah — essentially free in power-budget terms.
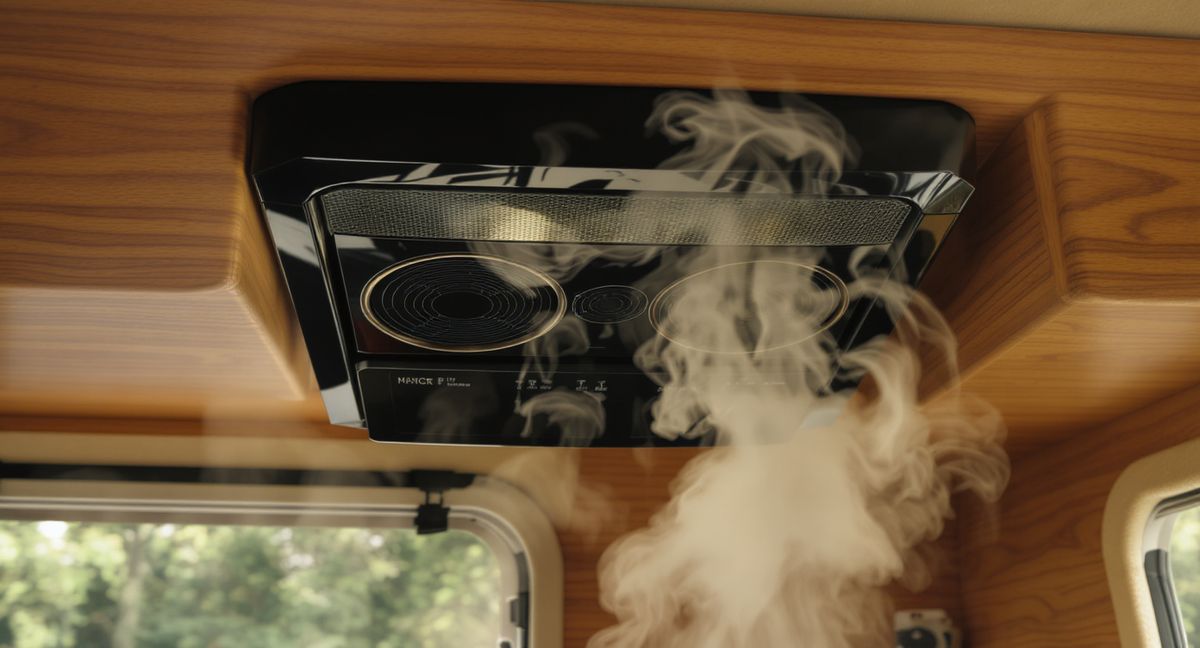
2. Range hoods (the real upgrade)
A range hood installed directly above the cooktop is the answer to the grease and water-vapor problems. A hood captures cooking output at the source — before it has a chance to spread through the cabin — and vents it directly outside through a dedicated duct.
The standard van-kitchen hood is a 12-volt, 200–400 CFM under-cabinet range hood with a built-in duct. Brands like Airxcel, Broan, and specialty RV/marine hood makers sell units designed for low-clearance installation in mobile kitchens. Expect to pay $150–350 for the hood itself, plus another $80–150 in ducting, flashing, and install hardware.
What a hood does well:
- Captures grease immediately (the filter catches most of it before it enters the duct)
- Pulls hot water vapor up and out in seconds
- Contains cooking smells
- Makes the cook feel like they're in a real kitchen
Trade-offs:
- Permanent install — requires a roof cutout and a dedicated duct run
- Takes overhead space (3–4 inches of headroom above the cooktop)
- Adds $300–500 to the build cost
- The duct run is a water ingress point if flashed badly
3. Passive cross-ventilation
Cross-ventilation means opening a window on one side of the van and a door on the other, letting wind move through. In fair weather, it's free and effective. On a 70°F day with any breeze, cooking in an open-door van feels no different from cooking outside.
But passive ventilation fails in four common scenarios:
- Rain
- Cold weather (you can't heat the cabin and vent it simultaneously)
- Buggy campsites (mosquitos treat open windows as invitations)
- Stealth camping in urban areas (you can't broadcast cooking smells)
For any serious full-time build, passive ventilation is a bonus, not a primary system.
The recommended van kitchen ventilation stack
After trying all three in multiple builds, here's what I recommend for a full-time van kitchen:
- A MaxxFan Deluxe over the living area — $350, does the bulk of cabin ventilation and cooling.
- A 300 CFM under-cabinet range hood above the cooktop — $250, captures grease and water vapor at the source.
- Screened opening windows for cross-ventilation in good weather — cost depends on your build.
Total ventilation budget: about $700 for a full system. That's roughly 10% of a typical van electrical and mechanical budget. Skip it and you'll regret it within the first month.
Installing a 300 CFM range hood
The hood install is the one most people are intimidated by, so here are the specifics.
Planning
- Cut line: the duct exits through the roof directly above the hood. Pick a location that (a) is above the cooktop, (b) clears any roof fans, solar panels, or roof rails, and (c) lands on a flat section of the roof. Mark with painters tape.
- Clearance: measure 24–30 inches from the cooktop surface to the bottom of the hood. Too close and the heat damages the hood; too far and capture efficiency drops. 27 inches is the sweet spot for most van installs.
- Duct length: keep it under 4 feet total, with no more than one 90-degree elbow. Every elbow and every extra foot of duct cuts CFM significantly.
Cutting the roof
- Cut from the inside for cleaner edges and better control. Use a jigsaw with a fine metal-cutting blade.
- Seal the cut edges with a marine-grade rust converter immediately to prevent corrosion.
- Test-fit the duct flange before any sealant goes down.
Sealing the roof penetration
This is the step that kills most DIY installs. Use Dicor self-leveling lap sealant (the RV standard) or 3M 4200 marine sealant around the flange. Put a generous bead under the flange and around the perimeter after install. Check the seal every 6 months for the first 2 years — any crack and water will find it.
Wiring
- 12V DC power from your fuse block through a 15A breaker.
- Switch: either a simple toggle on the hood itself or a remote momentary switch near the cooktop.
- Run the wiring alongside your existing galley wiring, not through new penetrations.
Duct material
Use rigid aluminum duct, not flexible dryer vent tubing. Flex duct kills airflow, collects grease in the corrugations, and is a fire hazard over time.
Induction vs propane and ventilation
One surprising thing: induction cooktops need ventilation too, even though they don't produce combustion products. Induction still heats the food, and the food still releases water vapor, grease, and smell. The ventilation requirements are similar to gas — maybe slightly lower CFM because there's no combustion CO to clear.
Propane cooktops additionally produce carbon monoxide, water vapor (from combustion), and nitrogen dioxide, so they benefit even more from active venting. A propane kitchen without a hood and without a CO detector is genuinely dangerous. A CO detector is mandatory either way — cheap insurance.
See the induction vs butane vs propane guide for the full fuel comparison.
Common mistakes
Things I see people get wrong:
- Skipping the hood entirely — "the MaxxFan is enough" is the most common mistake. A roof fan can't compete with a hood for grease capture.
- Using flex duct — kills airflow and grease risk.
- Running a hood duct past 4 feet — CFM drops 20–30% for each additional 90° elbow or extra 2 feet of duct.
- Missing the roof seal — first rainstorm and you have water in your galley.
- No CO detector with a propane kitchen — the one upgrade everyone should have.
What a well-ventilated van kitchen feels like
The subjective difference is larger than you'd expect. With a proper hood over the cooktop:
- Your windows don't fog from cooking steam
- Your curtains don't smell like last night's dinner
- Your cabinets don't develop a greasy film
- You can cook fish without evacuating the van
- You feel like you're in a real kitchen, not a converted cargo bay
That last one is what matters most day-to-day. Van kitchens that feel like kitchens get used for real cooking. Van kitchens that feel like camp stoves get used for boiling water and heating up cans.
Final word
Van kitchen ventilation is the upgrade that separates a build you'll still be using in year three from a build you'll rip out. The $700 ventilation budget isn't optional for serious full-time living — it's the difference between a kitchen that works and one that slowly ruins your van. Install a MaxxFan for cabin air movement, a 300 CFM range hood over the cooktop for grease and steam capture, and keep your windows openable for passive cross-ventilation when weather allows.
FAQ
Do I need a range hood in a van kitchen? For serious full-time cooking, yes. A MaxxFan alone can't capture grease and water vapor at the source the way a hood can. Expect a 300 CFM under-cabinet hood to cost $150–350 plus $80–150 in install hardware.
What CFM do I need for a van range hood? 200–400 CFM is the right range. Below 200 CFM, the hood can't keep up with a 1800W induction cooktop during heavy cooking. Above 400 CFM, you're wasting power and creating negative pressure that pulls cold air in through window seals.
Can I use a dryer vent flex duct for a range hood? No. Flex duct cuts airflow by 30–50%, collects grease in the corrugations, and is a fire hazard over time. Use rigid aluminum duct for any hood install.
Does an induction cooktop need ventilation? Yes. Induction doesn't produce combustion products, but the food itself still releases water vapor, grease aerosols, and cooking smells. A hood over an induction cooktop captures those at the source before they spread through the cabin.
How do I seal a roof duct penetration? Use Dicor self-leveling lap sealant or 3M 4200 marine sealant in a generous bead under the flange and around the perimeter. Check the seal every 6 months for the first 2 years — any crack lets water in.
Can I run a van kitchen with just a MaxxFan? For light cooking (coffee, boiling water, occasional stir-fry), yes. For serious cooking (searing, frying, bread baking), no — you need a hood to capture output at the source. Most full-timers install both.
More in Layout Guides
Van Kitchen Layout Guide: Small Space, Real Kitchen
The five functional zones of a van kitchen, how they scale from cargo van to skoolie, and the layout mistakes that kill first-time builds.
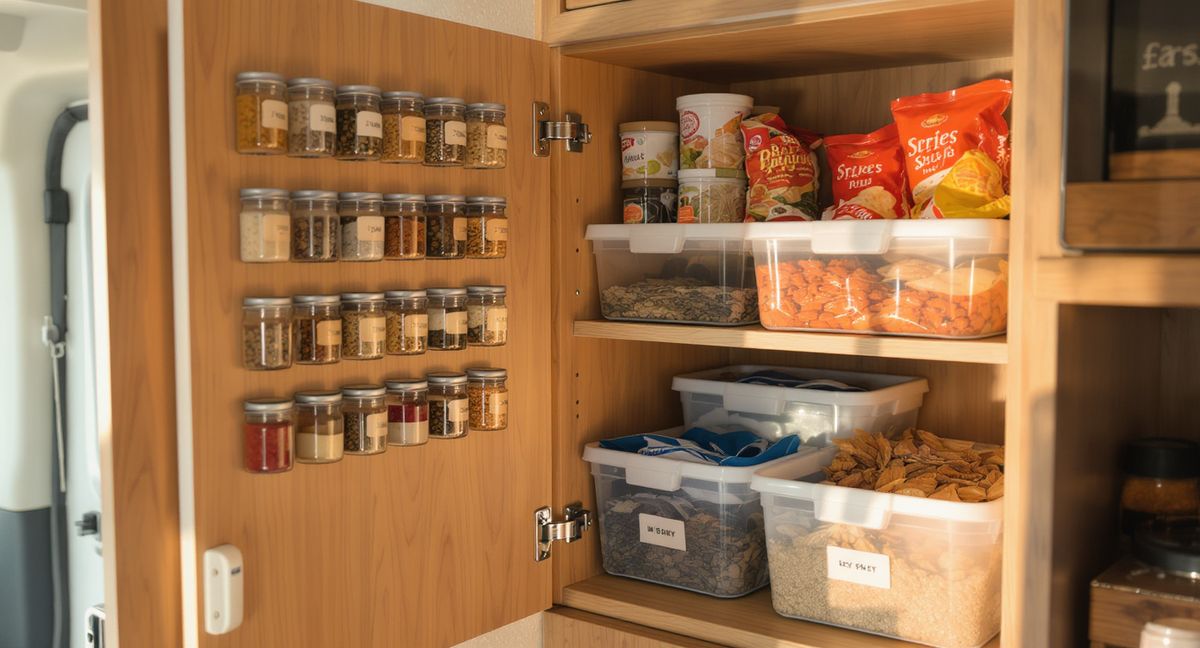
Van Kitchen Storage Solutions That Actually Work
Pantry bins, magnetic spice racks, drawer systems, and the organization hacks that survive washboard roads.
How to Cool a Van Without AC: 12 Strategies That Actually Work
Insulation, ventilation, reflective covers, parking strategy, and the fans worth buying — the 12 ways to keep a van under 80°F without burning 800W on air conditioning.