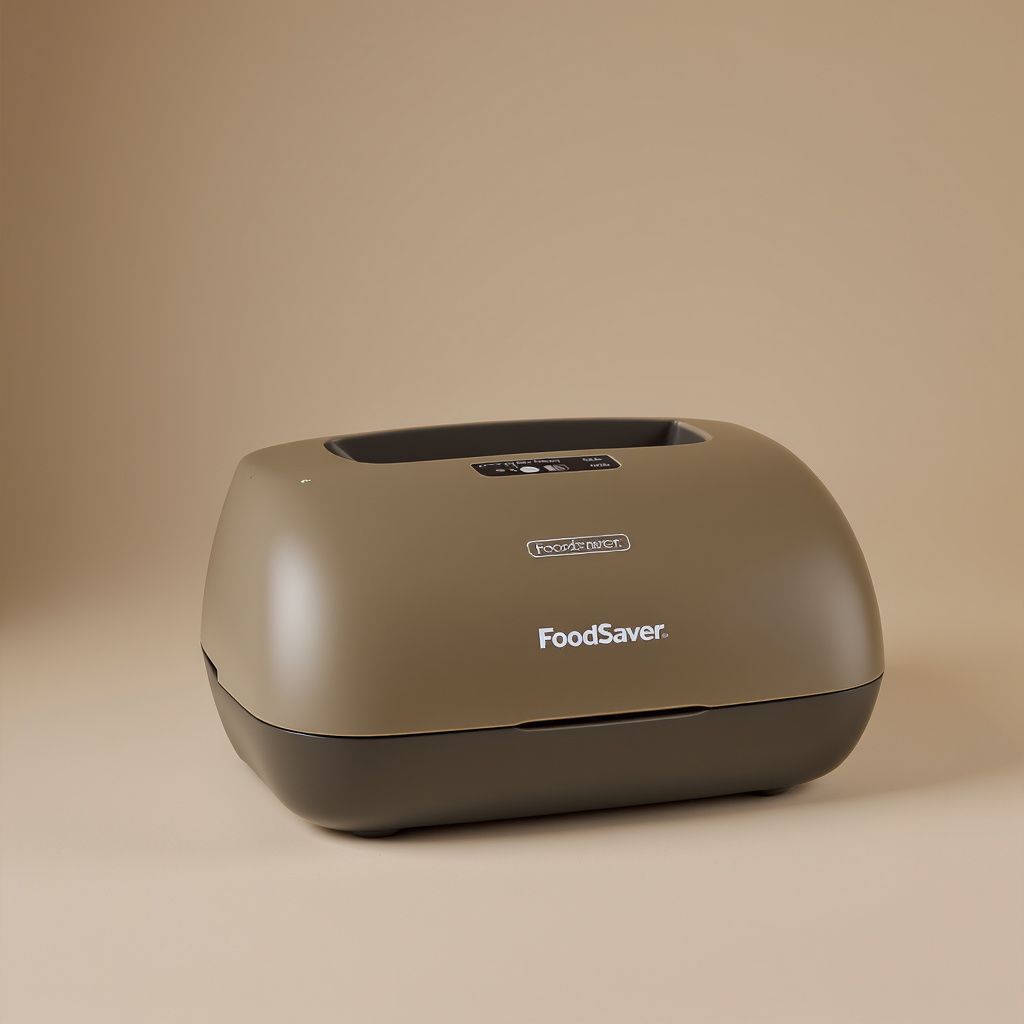
FoodSaver VS0160 Compact Vacuum Sealer
- Power
- 120W
- Dimensions
- 11 x 5.5 x 3 in
- Weight
- 2.5 lbs
- Seal Width
- 11 in
- Vacuum Strength
- 12 inHg
- Warranty
- 1 year
Overview — Who is this for?
This FoodSaver VS0160 review is for the van lifer who has opened their 12V fridge one too many times to find last night's leftover chicken smelling questionable, a half-used block of cheese growing a fur coat, or an avocado that went from perfect to brown mush overnight. Food waste in a van is not just annoying — it is expensive, because you paid for that food, drove to a grocery store to get it, and used precious fridge space to store it. The FoodSaver VS0160 is a $50 compact vacuum sealer that extends the fridge life of most foods by three to five times, and it has genuinely changed how we handle food storage, meal prep, and grocery shopping on the road.
We want to be clear about what this product is and is not. It is not a freeze-dryer, it is not a canning system, and it does not make food shelf-stable at room temperature (with the exception of dehydrated items, which are already shelf-stable). What it does is remove the air from a plastic bag, seal it airtight, and dramatically slow the oxidation and bacterial growth that cause food to spoil in a refrigerator. That simple function, applied consistently, means your groceries last days longer, your leftovers stay fresh instead of going funky, and your fridge stops being a place where food goes to die.
At $50, the VS0160 is FoodSaver's most compact and affordable model. It is specifically designed for smaller kitchens and occasional use, which makes it a natural fit for van life. It seals standard FoodSaver bags and rolls, runs on 120V AC power, and stores in a space roughly the size of a hardcover book. The question is whether the economics and workflow justify the cabinet space and the ongoing bag cost. After months of daily use, we think the answer is an emphatic yes for anyone who buys fresh groceries regularly.
How Vacuum Sealing Extends Food Life
The science here is straightforward. Most food spoilage in a refrigerator is caused by aerobic bacteria — bacteria that need oxygen to multiply. When you vacuum seal a piece of chicken, a block of cheese, or a bag of sliced vegetables, you remove approximately 99 percent of the air surrounding the food. Without oxygen, aerobic bacteria cannot grow at their normal rate. The food still deteriorates eventually (anaerobic bacteria exist and enzymes continue working), but the timeline stretches dramatically.
In practical fridge terms, here is what we have consistently experienced with the VS0160:
Raw chicken breast: 1 to 2 days in an open container, 7 to 10 days vacuum sealed. This is the single biggest game-changer. Buying chicken on Sunday and having it still be perfectly fresh on Thursday or Friday means fewer grocery trips and less wasted protein.
Hard cheese (cheddar, gouda, parmesan): 1 to 2 weeks in plastic wrap before mold appears, 4 to 8 weeks vacuum sealed. We have pulled cheddar out of the fridge after six weeks in a vacuum bag and it was indistinguishable from fresh.
Cooked rice and grains: 3 to 4 days in a container, 10 to 14 days vacuum sealed. Rice is one of those foods that turns sketchy fast in a fridge, and vacuum sealing makes batch cooking it actually practical.
Fresh herbs: 3 to 5 days in a damp paper towel, 2 to 3 weeks vacuum sealed with a gentle seal (full vacuum crushes delicate herbs — use the pulse function to remove most air without smashing them).
Sliced deli meat: 3 to 5 days in the deli packaging, 2 to 3 weeks vacuum sealed. Enormous improvement for sandwich-based meal plans.
Leftovers (soups, stews, chili): 3 to 4 days in a container, 10 to 14 days vacuum sealed in a flat bag laid on its side.
These timelines assume your 12V fridge is holding between 34 and 38 degrees Fahrenheit. If your fridge temperature fluctuates — which happens in vans when the compressor cycles on a small battery bank — the vacuum seal becomes even more important because it provides a buffer against the temperature swings that accelerate spoilage.
The Meal Prep Workflow
Here is where the FoodSaver shifts from "nice gadget" to "essential tool" for full-time van lifers. The meal prep workflow it enables is this: once a week, typically on a day when you have shore power or are parked at a campsite with good solar, cook a large batch of two or three proteins and a few sides. Portion them into individual vacuum-sealed bags. Lay the bags flat in your fridge. Eat them throughout the week, pulling one bag per meal.
In practice, our Sunday prep looks like this: grill four chicken breasts, cook a pot of rice, roast a pan of vegetables. Let everything cool. Vacuum seal portions — one chicken breast plus a cup of rice plus vegetables per bag, or separate bags by ingredient for more flexibility. Flatten the bags and stack them in the fridge like file folders. Monday through Friday, we pull a bag, reheat in a pot of simmering water (sous vide style — the bags are heat-safe) or tear open and pan-fry, and eat. No daily cooking, no daily grocery shopping, no daily fridge roulette.
This workflow requires shore power or a robust solar setup on prep day, because running the sealer, cooking multiple batches, and managing the fridge all draw power. But the payoff over the rest of the week is enormous. You spend less time cooking, less time shopping, less money on food waste, and you eat better because portioned meals are inherently more balanced than "whatever I can throw together right now."
For a broader grocery strategy that integrates vacuum sealing with shopping schedules and fridge management, our van life grocery shopping strategy guide covers the full picture.
Bag Cost Economics
The honest objection to vacuum sealing is the ongoing cost of bags. FoodSaver bags are not cheap. A roll of 11-inch by 16-foot bag material costs roughly $8 to $10, and you cut bags to size from the roll. A typical meal-portion bag uses about 12 to 14 inches of material, which works out to roughly $0.50 to $0.70 per bag. If you seal ten portions a week, that is $5 to $7 per week in bags, or about $25 to $30 per month.
That sounds like a meaningful expense until you calculate what it saves. The average American household wastes roughly 30 to 40 percent of the food they buy. In a van, where fridge space is tiny and temperature control is less precise, that number is often higher. If your weekly grocery bill is $100 and you are wasting 30 percent, you are throwing away $30 a week in food. Vacuum sealing cuts that waste to near zero for sealed items. Even a conservative estimate — cutting waste from 30 percent to 10 percent — saves you $20 per week, which more than covers the bag cost.
The math gets even better if you buy in bulk. FoodSaver roll three-packs, Amazon Subscribe & Save discounts, and off-brand compatible bags (which work fine, we have tested several) drop the per-bag cost to $0.30 to $0.40. At that price, the payback period on the $50 sealer is about three to four weeks.
One cost-saving tip: you can wash and reuse vacuum bags that contained solid, non-raw-meat items. A bag that held cooked rice or cheese can be turned inside out, washed with soap, dried, and re-sealed. We reuse bags two to three times for non-meat items, which cuts our bag consumption roughly in half.
What Seals Well vs What Does Not
The VS0160 handles dry and semi-dry foods flawlessly. Meat, cheese, bread, grains, dried fruit, jerky, crackers, coffee beans — all seal perfectly with the standard vacuum-and-seal cycle. The machine pulls a strong vacuum and the heat seal bar creates an airtight bond that holds indefinitely.
Liquids are the challenge. Soups, stews, sauces, and anything with significant free liquid will get sucked up the bag channel toward the sealing strip during the vacuum cycle. If liquid reaches the seal area, you get a weak seal or no seal at all. The VS0160 does not have a dedicated liquid mode, which is a real limitation compared to FoodSaver's more expensive models.
The workaround is the freeze-first method. Pour your soup or sauce into a vacuum bag, lay it flat in the freezer for two to three hours until solid, then vacuum seal the frozen block. The solid surface prevents liquid from traveling during the vacuum cycle, and the seal is perfect. This works, but it requires freezer access and planning ahead, which is not always available in a van.
A second workaround is the partial seal: drape the open end of the bag over the edge of a countertop so the liquid settles to the bottom, then use the seal-only button (no vacuum) to close the bag. You lose the vacuum benefit, but you get an airtight seal that still extends life modestly. We use this for marinades and wet leftovers when freezing is not practical.
Soft or crushable items — bread, chips, muffins, delicate pastries — require the pulse mode. Hold the vacuum button and release it before the air is fully extracted, leaving just enough air to prevent crushing. This takes a few tries to master, but once you get the feel for it, you can seal a loaf of bread without flattening it.
The VS0160 Specifically — Compact Design
The VS0160 is FoodSaver's smallest model and it shows. The unit measures roughly 12 by 4 by 3 inches and weighs about 2.5 pounds. It stores in a galley drawer, a cabinet shelf, or a gear bin with ease. The profile is low enough to slide under most van countertops without taking vertical space away from other items.
The sealing strip accommodates bags up to 11 inches wide, which is the standard FoodSaver roll width and sufficient for any portion-sized bag. The vacuum pump is not as powerful as FoodSaver's full-sized countertop models — it pulls roughly 18 inches of mercury vacuum compared to 22 to 24 on the V4400 or V2244 — but the practical difference is negligible for food storage. You do not need laboratory-grade vacuum for extending fridge life.
Operation is manual — you insert the bag, close the latch, press the vacuum-and-seal button, and hold the unit closed until the cycle completes (about 10 to 15 seconds). There is no automatic bag detection or hands-free operation. This is fine for sealing four to eight bags during a weekly prep session, but it would get tedious if you were processing twenty bags at a time.
The unit runs on 120V AC, so you need an inverter. The power draw is modest — about 120 watts during the vacuum cycle — so even a 300-watt inverter handles it without complaint. This is a much friendlier power requirement than most kitchen appliances.
Compact Storage Benefits
Beyond the food preservation itself, vacuum sealing compresses food packages down to their minimum volume, which is a huge win in a van fridge where every cubic inch matters. A vacuum-sealed chicken breast is essentially shrink-wrapped to the contour of the meat, eliminating all the dead air space that a Tupperware container or zip-lock bag creates. Lay sealed bags flat and you can stack them like paper in a filing cabinet.
We estimate that vacuum sealing lets us fit roughly 30 to 40 percent more food into our 35-liter 12V fridge compared to using containers and zip-lock bags. That is the equivalent of adding 10 to 14 liters of usable fridge volume for free. In a van, where upgrading to a larger fridge means losing cabinet space, that is a meaningful gain.
Vacuum-sealed bags also do not spill. A container of soup can tip over and flood your fridge. A vacuum-sealed bag of soup lies flat and stays sealed regardless of how much the van rocks on a dirt road. This alone has saved us multiple fridge disasters.
Long-Term Storage and Freezer Use
If your van has a dual-zone fridge-freezer setup, the FoodSaver becomes even more valuable. Vacuum-sealed meat in a freezer lasts 2 to 3 years without freezer burn, compared to 4 to 6 months in a standard zip-lock bag. Vacuum-sealed vegetables, cooked meals, and bread last 8 to 12 months frozen versus 1 to 3 months in regular packaging.
This means you can stock your freezer compartment with a month or more of protein during a Costco run and not worry about quality degradation. For van lifers who boondock for extended periods between town resupply runs, this is the difference between eating well at week three and eating survival rations.
Who Should Skip This
Skip the FoodSaver VS0160 if you eat out for most meals and rarely cook in your van. The sealer is only valuable if you regularly buy and store raw ingredients or leftovers. Skip it if you have no inverter at all — the unit needs 120V AC, though the modest 120-watt draw means even a small inverter works. Skip it if the ongoing bag cost bothers you philosophically, even though the math works out in your favor. Skip it if you primarily eat canned, dehydrated, or shelf-stable foods that do not benefit from vacuum sealing. And skip it if your fridge is so small that there is not enough stored food to justify the preservation effort — if you are shopping daily and eating everything that day, the sealer adds nothing.
Final Verdict
The FoodSaver VS0160 is one of those products that sounds like a luxury until you use it, at which point it becomes a necessity. For $50 and an ongoing bag cost of $20 to $30 per month, you get food that lasts three to five times longer in your fridge, virtually zero food waste, a meal prep workflow that saves hours of daily cooking, and a fridge that holds 30 to 40 percent more food by volume. The liquid sealing limitation is real but manageable with the freeze-first workaround. The compact form factor is purpose-built for small kitchens.
If you cook in your van and buy fresh groceries with any regularity, the FoodSaver VS0160 pays for itself within a month and saves you money every week after that. It is not glamorous, it is not exciting, and nobody on Instagram will care that you own one. But it will quietly make your food life on the road dramatically better, and that is exactly what good van kitchen gear should do. Strong recommend.
FAQ
Does the FoodSaver VS0160 work with off-brand bags? Yes. We have tested multiple off-brand vacuum bag rolls from Amazon and they all seal correctly. Look for bags labeled "compatible with FoodSaver" and make sure they are the textured/channeled type, not smooth bags (smooth bags do not allow the vacuum pump to extract air through the bag material).
Can I vacuum seal liquids? Not directly. Free liquids get sucked into the vacuum channel and prevent a good seal. Freeze liquids solid first, then seal the frozen block. Or use the seal-only button for an airtight (but not vacuum) seal on liquid-containing bags.
How much power does it draw? About 120 watts during the vacuum-and-seal cycle, which lasts 10 to 15 seconds. A 300-watt inverter handles it easily. Total energy consumption per seal is negligible.
How long do vacuum-sealed foods actually last in a fridge? Roughly three to five times longer than the same food in a zip-lock bag or container. Raw chicken goes from 1 to 2 days to 7 to 10 days. Hard cheese goes from 2 weeks to 6 to 8 weeks. Cooked grains go from 3 to 4 days to 2 weeks.
Is the bag cost worth it? At $0.30 to $0.70 per bag and 10 bags per week, you spend $3 to $7 weekly on bags. The food waste you prevent saves $15 to $25 per week at typical van grocery budgets. The math is strongly positive.
Can I reuse vacuum bags? Yes, for non-raw-meat items. Turn the bag inside out, wash with warm soapy water, dry completely, and re-seal. We reuse bags for cooked grains, cheese, and bread without issues. Do not reuse bags that contained raw meat or fish.
Compare with similar products
See how this stacks up against the other small appliances we've tested.
Related Reviews
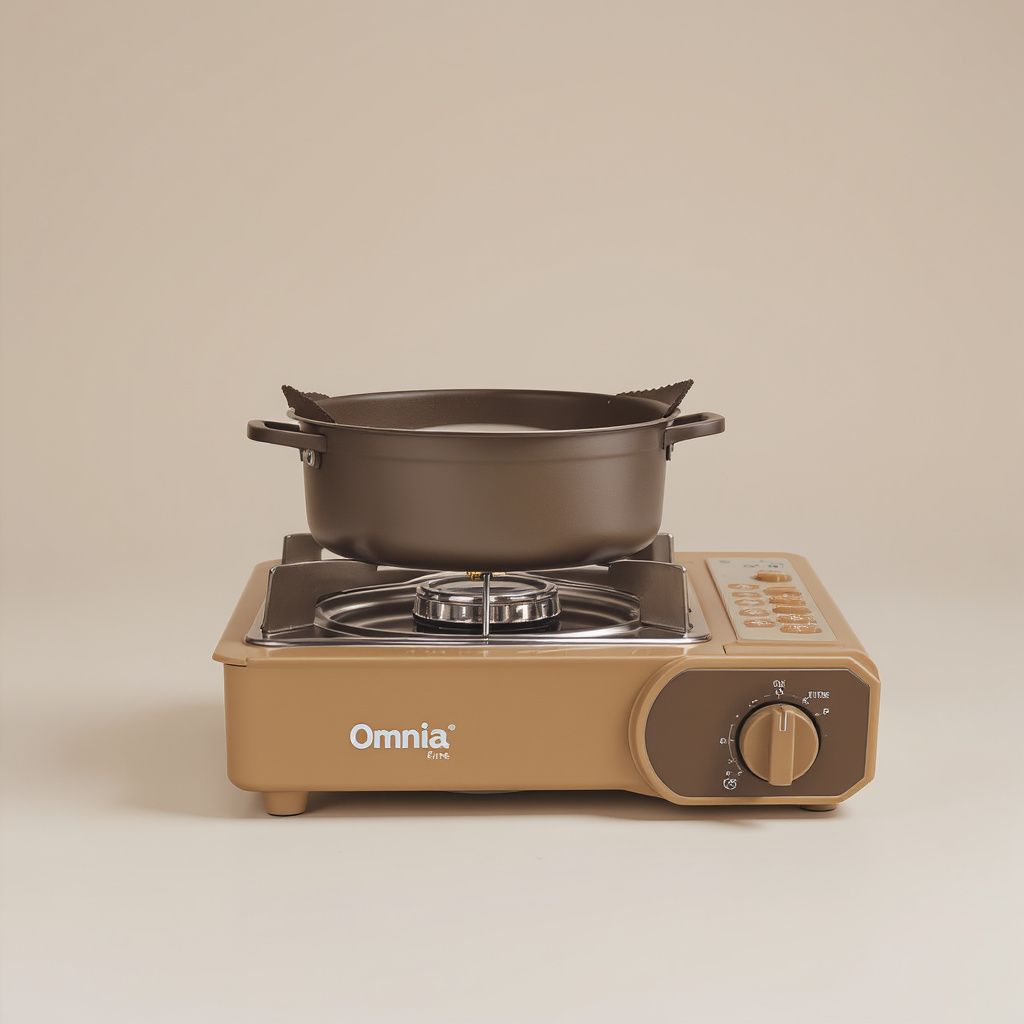
Omnia Stove-Top Oven
The stove-top oven that lets you bake real bread, pizza, cinnamon rolls, and casseroles on any camp stove. No electricity, no propane oven, just the burner you already own. A cult favorite in European van and sailing communities for years.
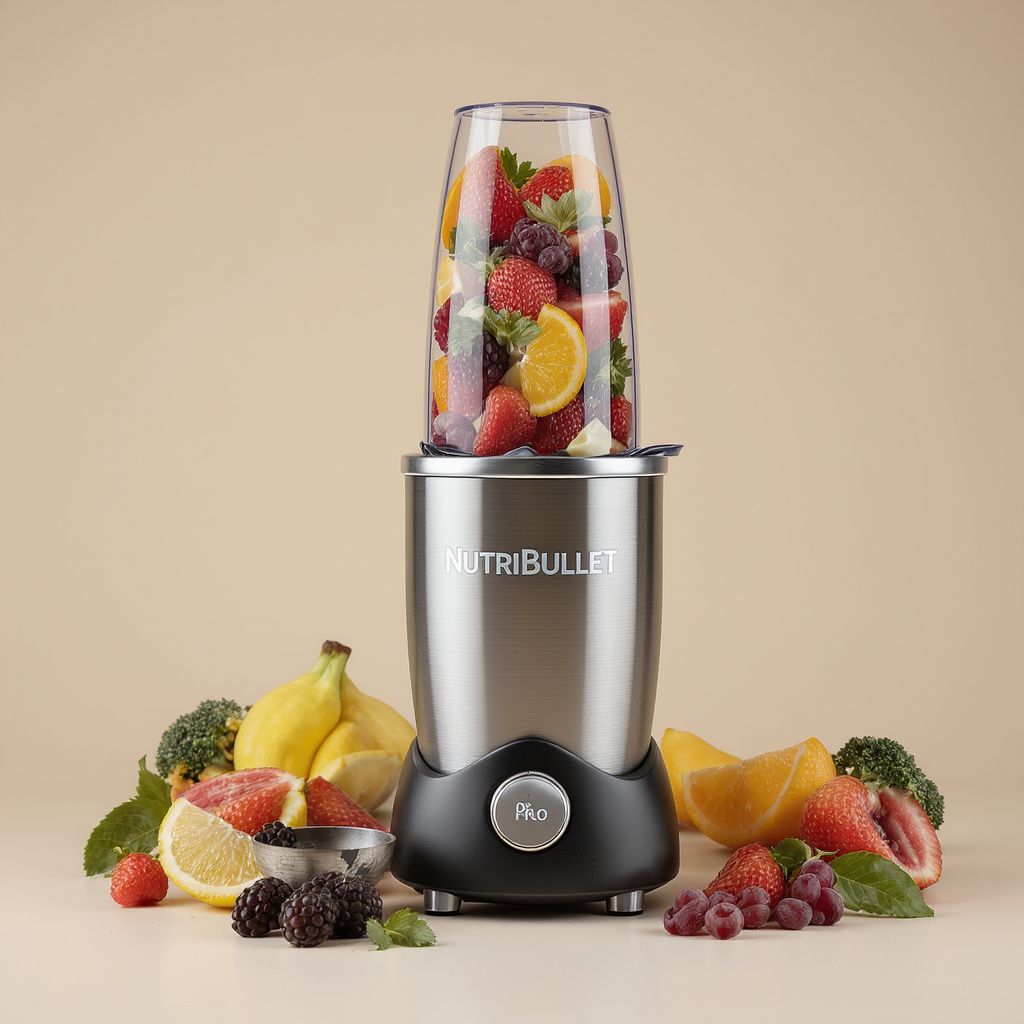
NutriBullet Pro 900W Compact Blender
The compact high-power blender that makes real smoothies, sauces, nut butters, and soups in a van kitchen. At 900W it handles frozen fruit and ice without choking, and the twist-lock cups double as drinking containers.
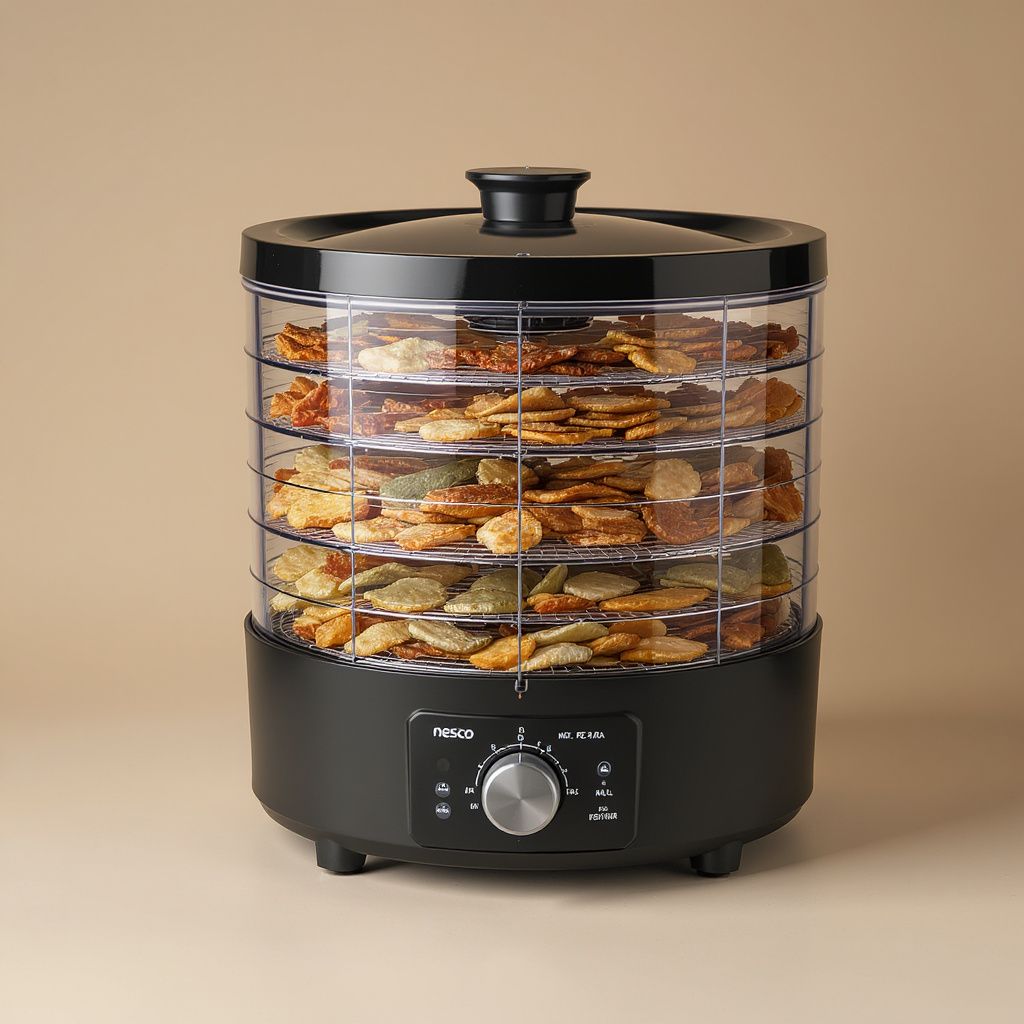
Nesco FD-75A Snackmaster Pro Food Dehydrator
The food dehydrator that turns a van kitchen into a trail-food factory. Make beef jerky, dried fruit, vegetable chips, and herb blends at a fraction of store prices. The right size for van life at 5 trays of capacity.