Coffee in a Van: The Complete Setup Guide
Espresso, pour-over, French press, AeroPress, or moka pot — the five real coffee methods that work in 80 square feet, what each costs, and which one fits your routine.
Coffee in a van — why the method matters
Eighty square feet forces honesty. In a house kitchen you can own a Breville, a Chemex, a Technivorm, and a French press, and rotate based on mood. In a van, every piece of gear has to justify its cubic inches. The coffee question stops being "what makes the best cup" and becomes "what makes the best cup I will actually make every morning, in the cold, at 6 a.m., with half a jug of water and a propane flame that wants to blow out."
I have lived out of a Sprinter for three winters and tried all five methods here. The "best" van coffee method depends on three variables: how much electricity your rig has (see our van kitchen power budget guide before you commit to anything with a heating element), how much bench space you can clear while brewing, and how seriously you take the taste of the cup. If you treat coffee as caffeine delivery, skip to the AeroPress. If you treat it as the best part of waking up, the answer gets more interesting.
The five methods below are the only ones worth real consideration. Cold brew is a prep-ahead system, not a morning ritual. Pod machines waste water, waste power, and taste like regret. Percolators are a war crime. What's left: AeroPress, pour-over, moka pot, French press, and manual lever espresso.
Method 1: AeroPress (the reliability winner)
Gear cost: about 45 dollars for the AeroPress Original or 60 for the AeroPress Go (smaller, nests into its own cup, built for travel). Add 12 dollars for a metal reusable filter if you don't want to stock paper.
Brew time: ninety seconds once water is hot. Water temp: 80 to 85 C (175–185 F) — cooler than most methods, which is part of why it's forgiving. Ratio: 15 grams of coffee to 220 grams of water for a standard cup, medium-fine grind (slightly finer than drip).
Taste notes: clean, low-acid, somewhere between espresso and pour-over. It will never be the best cup of coffee you've ever had, but it will never be a bad one either. The AeroPress is the Toyota Hilux of coffee gear. It is virtually unbreakable (the plunger is a single piece of molded plastic), it cleans in five seconds by popping the puck into your trash, and it uses less water than any other method except espresso. The margin for error is enormous: too coarse a grind, slightly wrong temperature, distracted stir — it still produces a drinkable cup. In a van where you're making coffee while the dog whines and your partner is rolling up the bed, forgiveness matters more than ceiling.
This is the method I recommend to anyone who is new to van life. Buy an AeroPress Go, a hand grinder, and a kettle, and you are done for under 150 dollars.
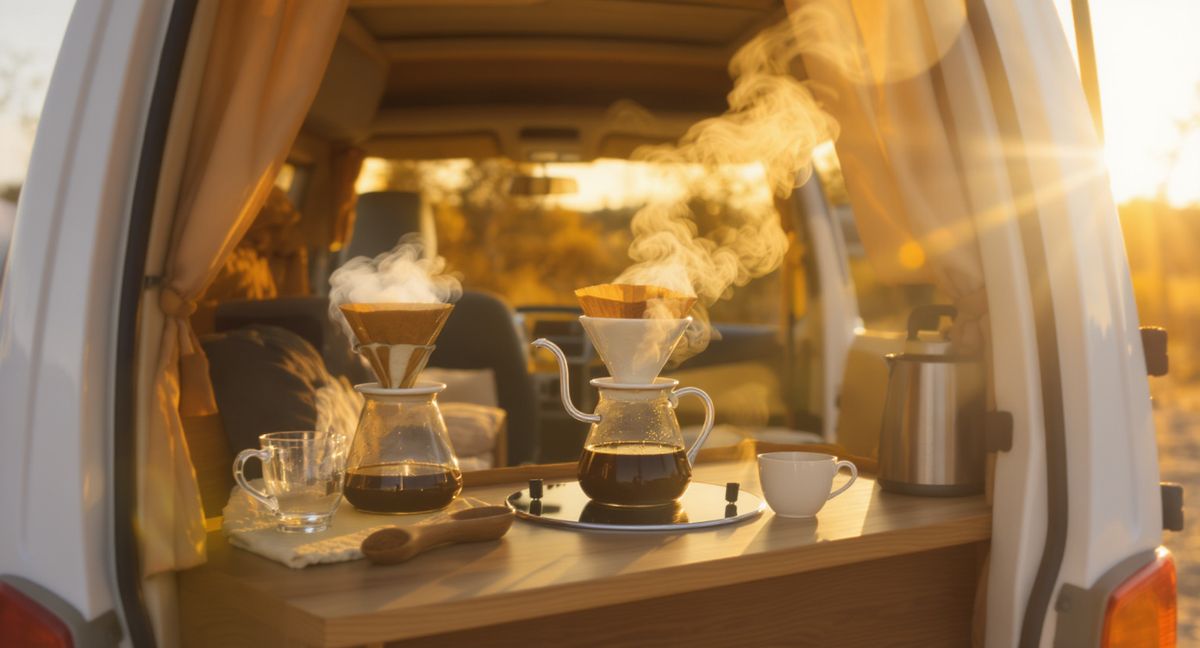
Method 2: Pour-over (the taste winner)
Gear cost: 25 dollars for a Hario V60 02 plastic dripper (do not buy the ceramic version for a van — it will crack), or 35 for a Kalita Wave 185 stainless. Add 8 dollars for filters.
Brew time: three and a half to four minutes, start to finish, including a 30-second bloom. Water temp: 94 to 96 C (200–205 F), which is why this method demands a gooseneck kettle — you need to control both temperature and pour speed. Ratio: 20 grams coffee to 320 grams water (a 1:16 ratio), medium grind, slightly coarser than table salt.
Taste notes: bright, clear, articulate. Pour-over is the method that reveals what a single-origin Ethiopian or a washed Colombian is actually doing — the floral notes, the acidity, the finish. Nothing else in this guide comes close for a light-roast coffee. If you drink the expensive beans, this is the method that justifies them.
The catch is that pour-over is fussy. It rewards attention. You need a gooseneck kettle, a scale (a cheap 15-dollar pocket scale is fine), and roughly four minutes of standing-still focus. On a rainy morning at a trailhead when you just want caffeine, this feels like homework. On a clear morning at 7,000 feet in the Sawtooths with a good bag of beans, it feels like church.
V60 versus Kalita Wave: the V60 has a steeper learning curve and a higher ceiling. The Kalita Wave has a flat bottom and three small drain holes that regulate flow automatically, which makes it much harder to mess up. For a van, I lean Kalita — the flat bottom is more stable on a wobbly counter, and the stainless body survives being tossed in a drawer.
Method 3: Moka pot (the no-electricity winner)
Gear cost: 35 dollars for a Bialetti Moka Express 3-cup (the 6-cup is too much coffee for one person and wastes heat). Avoid aluminum knockoffs; the Bialetti is the original for a reason and the gasket replacements are cheap and universal.
Brew time: five to seven minutes on a stovetop, from cold water to finished brew. Water temp: you don't set it — you let the burner do the work. Ratio: fill the basket level, do not tamp, use just-below-boiling water in the base (pre-heating the water with your kettle cuts brew time in half and keeps the coffee from tasting scorched).
Taste notes: strong, chocolatey, a little bitter, with real body. Not true espresso — no crema, lower pressure — but the closest you can get without a machine or electricity. Pairs beautifully with a splash of steamed (or just hot) milk.
The moka pot is the right answer if you cook on propane or butane and want zero dependence on your electrical system. It lives on a gas burner, it has no moving parts except a safety valve, and the whole thing disassembles for cleaning in 30 seconds. I use mine on a single-burner butane stove parked on the back step when the weather is good. If you run an induction cooktop like the Duxtop portable induction cooktop, you'll need the induction-compatible Bialetti Moka Induction (stainless base) rather than the classic aluminum — normal Bialettis will not heat on induction.
One technique note: pull the pot off the burner the moment you hear the first sputter, not when it's done hissing. Letting it run dry burns the grounds and is the single reason most people think moka coffee tastes bitter.
Method 4: French press (the simplicity winner)
Gear cost: 25 dollars for a Bodum Travel Press (double-walled stainless, no glass to shatter on a washboard road) or 40 for an Espro P1 if you want a double-filter that cuts almost all the sediment.
Brew time: four minutes of steep, plus pour. Water temp: 93 C (200 F). Ratio: 30 grams coffee to 500 grams water for a 2-cup press, coarse grind like kosher salt.
Taste notes: full-bodied, heavy, oily, with more texture than any other method on this list. Because a French press uses a metal mesh instead of paper, the coffee's natural oils end up in your cup — this is either a feature or a bug depending on your palate. I love it for dark roasts and for cold mornings when I want something that feels like a meal.
The case for French press in a van is real: no paper filters to stock, no gooseneck kettle required, no scale strictly necessary, and the Bodum Travel Press doubles as the mug you drink out of. The case against is cleanup — wet grounds in a plunger are the single most annoying thing to deal with in a sink-free van. My workaround is to dump the puck into a compost bag I keep in the trash drawer, rinse the press with maybe 50 ml of water, and wipe with a paper towel. It's manageable, but it's the worst-cleaning method in this guide.
Method 5: Manual lever espresso (the obsessive winner)
Gear cost: this is where it gets expensive. The Wacaco Picopresso is 130 dollars and weighs a pound. The Cafelat Robot Barista is 380 dollars and weighs almost 8 pounds but pulls genuine 9-bar espresso with crema indistinguishable from a café machine. A Flair 58 is somewhere in between but too tall for most van cabinets.
Brew time: 45 seconds of actual extraction, plus 2 minutes of prep (dose, distribute, tamp, pre-heat the portafilter with hot water). Water temp: 93 to 94 C (200 F). Ratio: 18 grams of coffee in, 36 grams of espresso out, in 28 to 32 seconds. Grind must be very fine — finer than table sugar, closer to powdered sugar — which demands a capable grinder (more on that below).
Taste notes: real espresso. Syrupy, intense, with a thick crema cap and the kind of flavor separation that a drip method cannot physically produce. If you put milk in it, you are making a proper flat white or cortado.
Be honest with yourself about whether you actually want espresso every morning or just like the idea of it. The Picopresso is remarkable for the size — it lives in a mug — but it demands precise dialing-in and the plastic body feels cheap next to the Robot. The Cafelat Robot is, in my opinion, the single best piece of coffee gear ever made for van life: no electricity, no pump, no plastic, a 20-year service life, and output that shames most 800-dollar machines. But it is heavy, it takes real counter space, and it requires a grinder that can hit espresso fineness consistently.
The kettle question (gooseneck vs whistler vs electric)
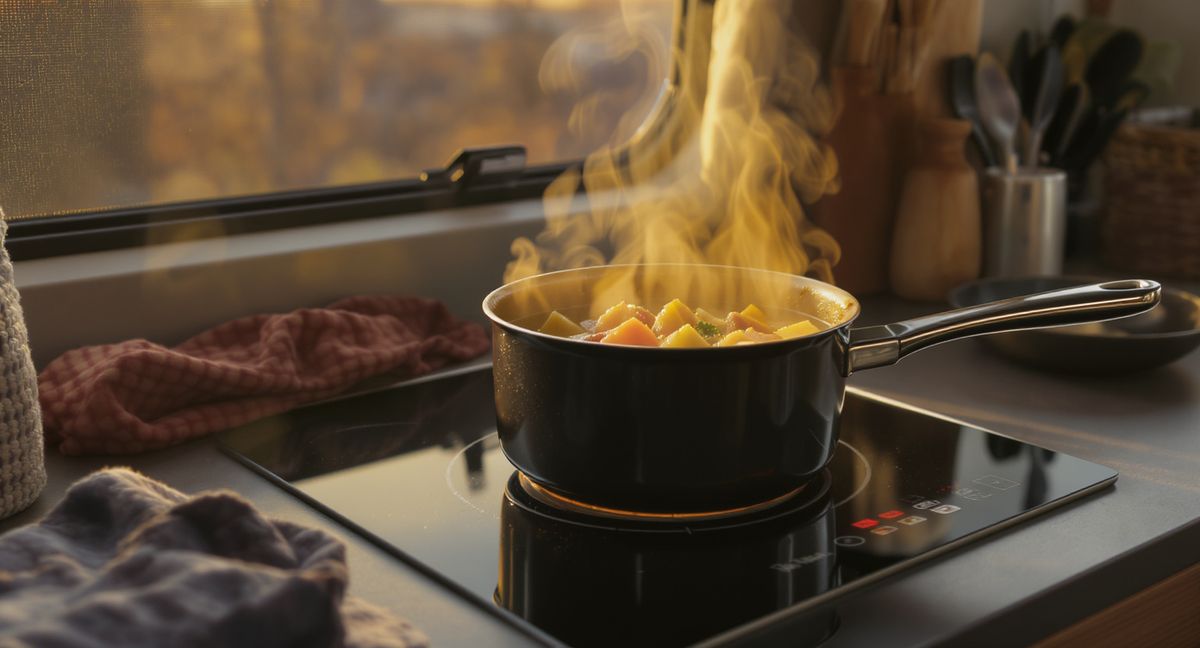
Three real options. A Fellow Stagg pour-over kettle (65 dollars, stovetop) gives you gooseneck precision and survives a drawer. A cheap enameled whistler (20 dollars) is fine for moka pot or French press but not for pour-over. An electric gooseneck like the Fellow Stagg EKG (165 dollars) gives you temperature control to the degree, but it pulls 1200 watts for 3 minutes — workable on a 200-amp-hour lithium bank, painful on a 100-amp-hour setup. For most builds, I run the stovetop Stagg on induction and skip the electric.
The grinder question (manual vs electric)
If you are brewing anything other than espresso, a 1Zpresso JX or JX-Pro hand grinder (160 dollars) is the right tool. It grinds 25 grams in 45 seconds, packs into a drawer, never draws a watt, and produces more consistent particle size than electric grinders costing twice as much. For espresso, the 1Zpresso J-Max or K-Plus steps up to the fineness and repeatability the Robot or Picopresso demand.
Electric grinders (Baratza Encore, Fellow Opus) are lovely at home but the power draw and the counter footprint rarely pencil out in a van. Unless you're running a 400-amp-hour system and already have a built-in espresso station, stay manual.
Which method fits which van setup
Weekend warriors and part-timers with 100 Ah of battery and a butane stove: AeroPress and a hand grinder. Done.
Full-timers cooking on induction with a serious power bank: pour-over for weekends when you have time, AeroPress for travel days, and a moka pot as backup for when shore power is a fantasy.
Couples where one person is a coffee nerd and the other drinks whatever is poured: Cafelat Robot for the nerd, French press for the other, and a single bag of beans you both agree on.
Anyone boondocking off-grid for more than three days at a stretch: moka pot, non-negotiable. Propane and beans are the only things that never fail you. Stash extras alongside the rest of your shelf-stable van pantry staples.
FAQ
How much water does a van coffee setup really use? An AeroPress cup uses about 250 ml including rinse. Pour-over uses 350. French press uses 550. Moka and espresso are the most efficient at 100 to 150 ml per drink. Over a week, method choice can swing water consumption by 5 liters.
What about instant coffee? Modern specialty instants (Canyon, Sudden, Verve) are genuinely good and weigh nothing. I keep a tin as emergency backup for mornings when I cannot be bothered to grind. They are not a replacement for a real method, but they are not embarrassing anymore.
How do I keep beans fresh in a van? Buy half-pound bags, store them sealed in an opaque container out of direct sunlight, and finish each bag within two weeks of the roast date. The enemy is oxygen, not temperature — the fridge is unnecessary and creates condensation problems.
Is hard water a problem? Yes. If you fill from campground spigots or variable sources, pour-over and espresso will taste inconsistent because mineral content changes extraction. A cheap inline water filter on your fill line fixes most of it; remineralized RO water (Third Wave Water packets) fixes all of it.
Do I really need a scale? For pour-over and espresso, yes. For AeroPress, French press, and moka pot, a spoon and a kettle line will get you 90 percent of the way there. Start without one and add it later if you catch the nerd bug.
More in Meal Prep
5 One-Pot Meals for Life on the Road
Real recipes for van kitchens — fast, delicious, one pan, and built around shelf-stable pantries.
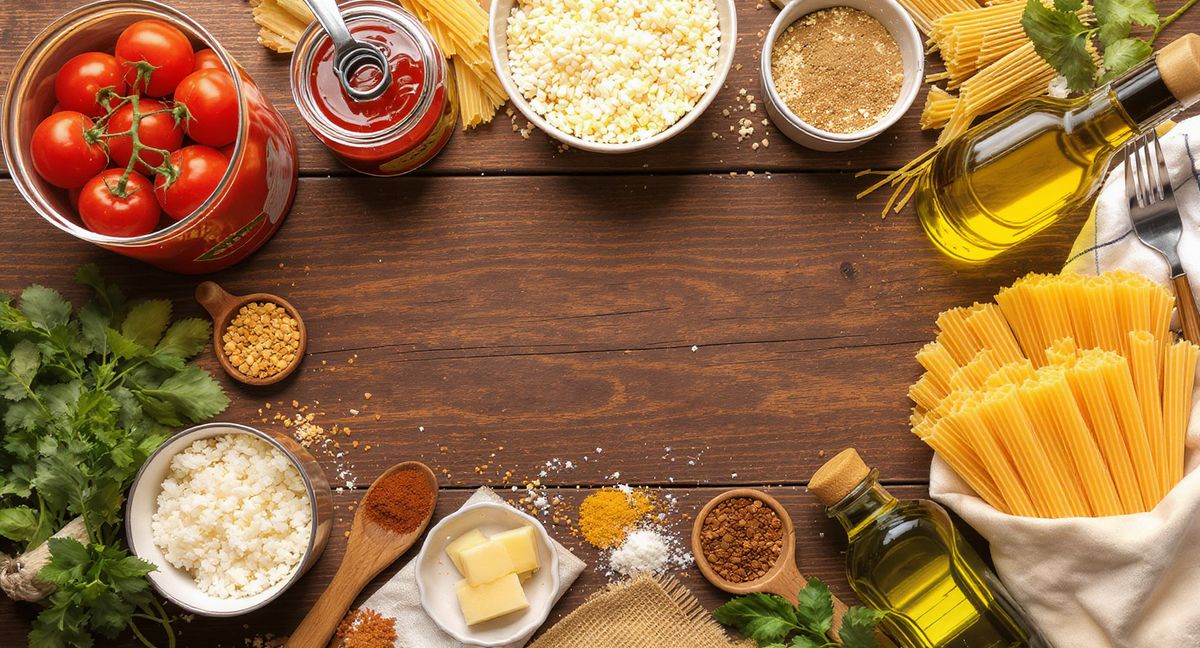
The Van Pantry: 25 Shelf-Stable Staples for Real Meals
The exact pantry I build out every time I restock — 25 ingredients that yield 30+ meals without refrigeration.
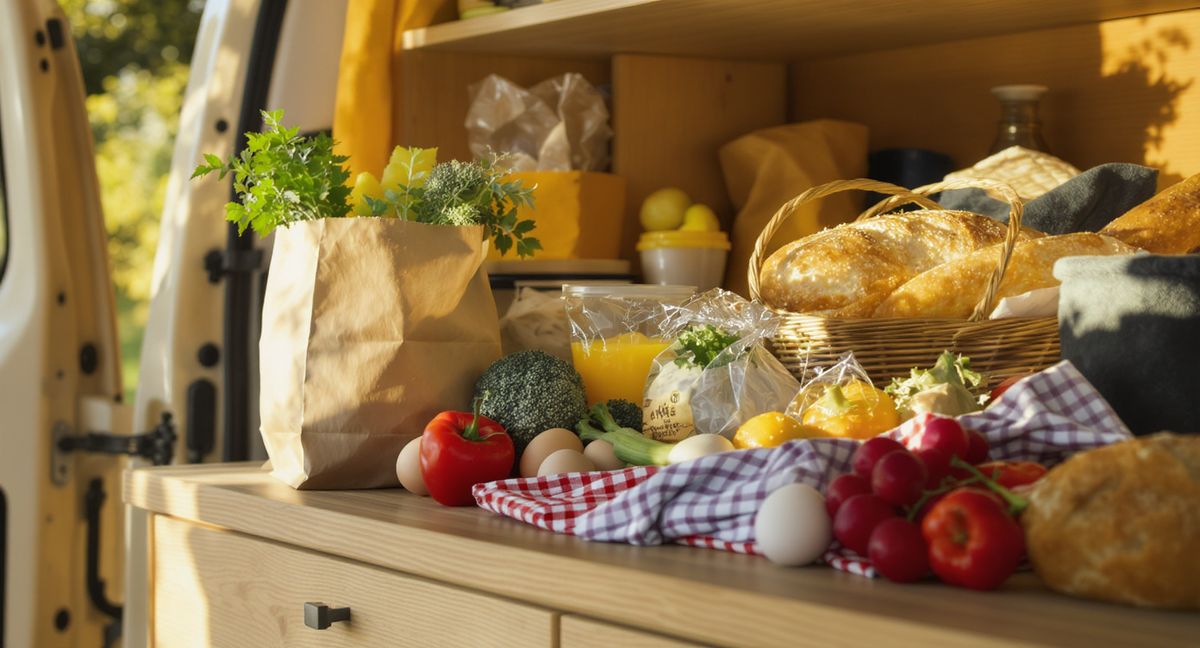
Van Life Grocery Shopping: A Practical Strategy
How to grocery shop efficiently when your fridge is 35 liters and your nearest store is two hours away. Frequency, what to buy fresh vs shelf-stable, and the apps that find rural grocery stores.