Cold-Weather Van Cooking: Gear & Power Strategy
Why butane fades and lithium won't charge below freezing, plus the winter gear kit and the cold-weather cooking setup that works.
Disclosure: As an Amazon Associate I earn from qualifying purchases. Links to Amazon on this page are affiliate links: if you buy through one, VanLifeKitchens.com may earn a commission at no extra cost to you. Read our affiliate disclosure.
Why van cooking gets harder when it gets cold
Cold-weather van cooking is where every assumption about your kitchen breaks. The butane stove that boiled water in four minutes in July refuses to light at all in January. The induction cooktop still works — but your lithium battery can't charge below 32°F, and your solar panels are producing a third of what they did in summer. The water pump freezes. The fridge, ironically, is your best-behaved appliance because it barely has to run.
This guide is the winter operations playbook for van dwellers who travel through cold climates. It covers why specific gear fails in cold, what the actual temperature thresholds are, and the setup that actually works from October through April at mid-to-high latitudes. Each failure mode below follows from the manufacturer limits and the physics described in its section, and the fixes are usually cheap if you plan for them in advance.
The temperature thresholds that matter
Before the fixes, the thresholds. These are the temperatures where specific things start failing:
| Temperature | What fails |
|---|---|
| +40°F (4°C) | Butane flame becomes weak |
| +32°F (0°C) | Butane stoves barely function; water in exposed lines freezes; standard LiFePO4 stops accepting charge |
| +25°F (-4°C) | Butane effectively unusable |
| +20°F (-7°C) | Water pumps freeze if not drained |
| +10°F (-12°C) | Some fridges behave oddly when the cabin is colder than the setpoint |
| 0°F (-18°C) | Diesel gels without additives; lithium self-heating becomes mandatory |
| -20°F (-29°C) | Propane regulator performance degrades |
| -44°F (-42°C) | Propane itself stops vaporizing |
These thresholds are approximate and vary with altitude, how full the canister is, battery brand and fridge model; treat them as planning figures, not specifications.
The takeaway: everything starts getting harder around 40°F, serious failures begin at 32°F, and extreme cold starts at 0°F. If you're camped in Utah in October (lows in the 20s), you're already in failure territory for butane.
The safety rule that matters most in winter
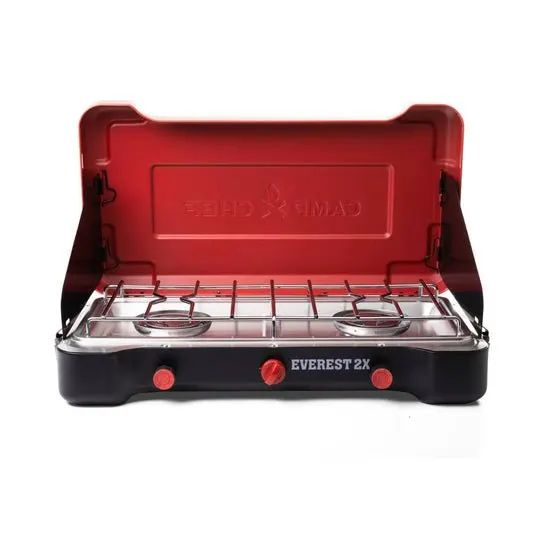
Cold weather is when people are most tempted to shut the doors and cook inside on a camp stove. Don't. The portable butane and propane stoves on this site are labelled by their manufacturers for outdoor use: Coleman's propane stove instructions say "Never use inside house, camper, tent, vehicle or other unventilated or enclosed areas," Iwatani's Cassette Feu manual says it "may not be used indoors in tents, campers, apartments or other confined areas," and the Camp Chef Everest 2X instructions say never to use it "in an enclosed space such as a camper, tent, car or home." A CO alarm is a last-line warning, and a cracked window or roof fan doesn't make these stoves indoor appliances.
That leaves three honest winter options:
- Cook outside with a camp stove, out of the wind: behind the van, with a windbreak that doesn't enclose the stove, on a stable table. Cold, but it works.
- Cook inside on induction, powered by a battery that can charge in the cold or by shore power.
- Cook inside on a built-in, RV-certified propane cooktop, installed with a sealed, vented propane locker, an LP leak detector, a CO alarm and combustion ventilation, by a qualified RV gas technician where codes or insurers require it.
Everything below assumes one of those three.
Butane failure: the most common problem
Butane (C4H10) vaporizes at atmospheric pressure only above 30.2°F. Below that, the liquid fuel in the canister can't turn into gas fast enough to feed the burner. You'll see this as a weak flame, frequent flame-outs, or a stove that simply won't light.
The workarounds:
- Keep the canister warm before you cook. Store it in the heated cabin overnight or in an inside jacket pocket before cooking, then take it outside to the stove. Never warm a canister with a flame, a stove, a heater outlet or hot water above hand-warm; MSR says to store canisters where temperatures do not exceed 120°F (49°C), and Iwatani says below 104°F (40°C). A canister that starts warm cooks better for the first part of a meal, though it cools again as the fuel evaporates.
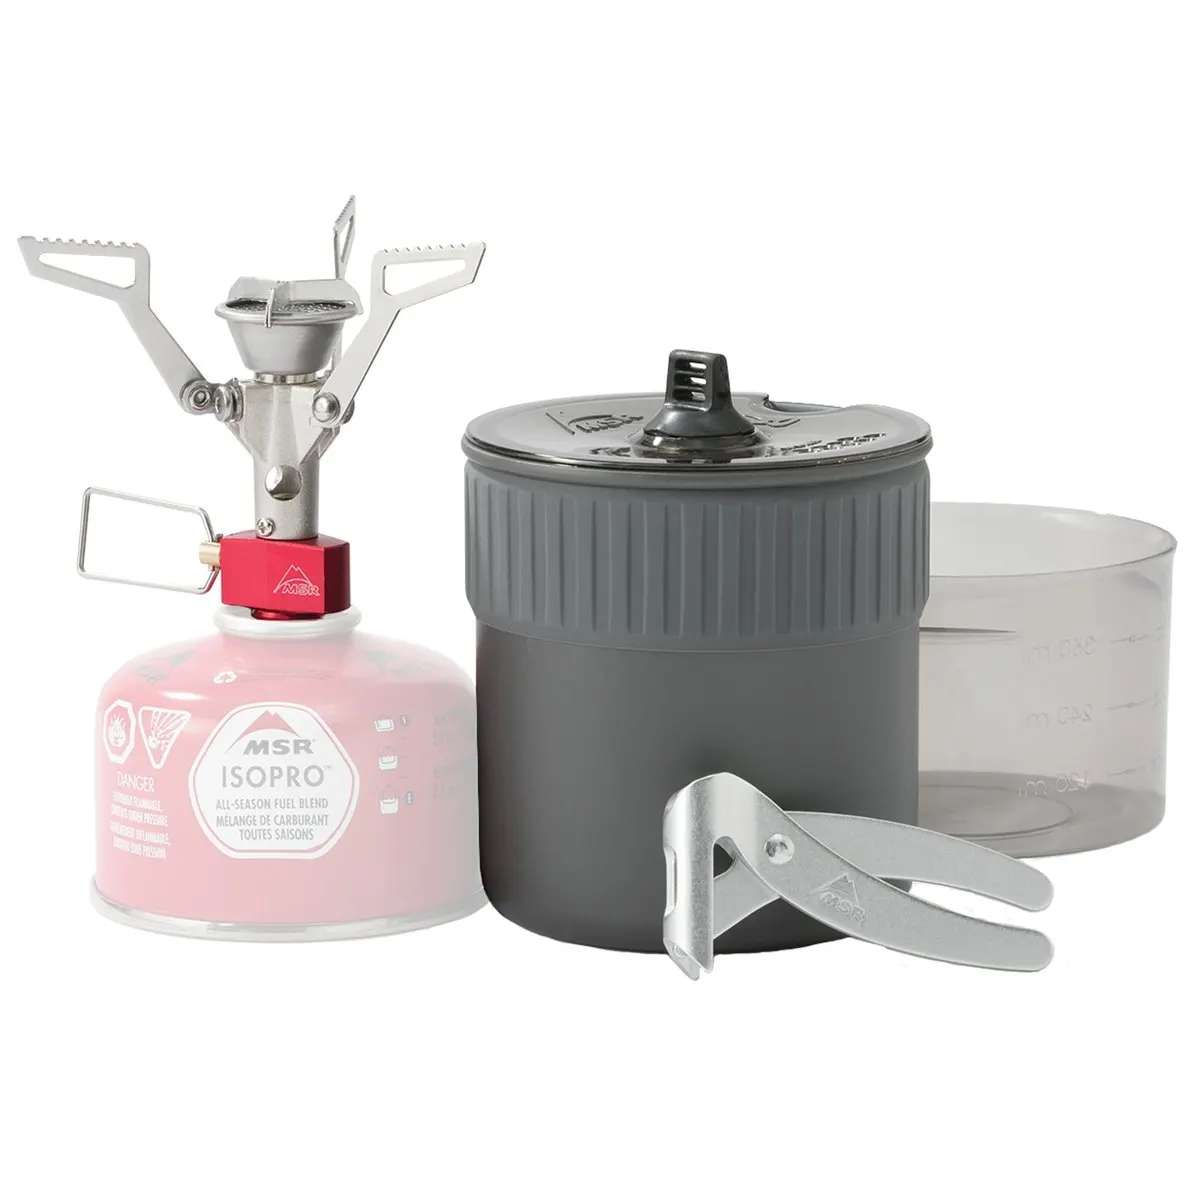
- Use isobutane-propane blend canisters. Screw-on backpacking canisters such as MSR IsoPro blend isobutane with propane and keep working in colder conditions than pure butane, though they still weaken in deep cold. They only fit screw-thread stoves like the MSR PocketRocket 2, not cassette stoves like the Gas One. Cost more than pure butane. Same rule: outdoor use only.
- Switch to propane entirely. The proper cold-weather answer. See the propane section below.
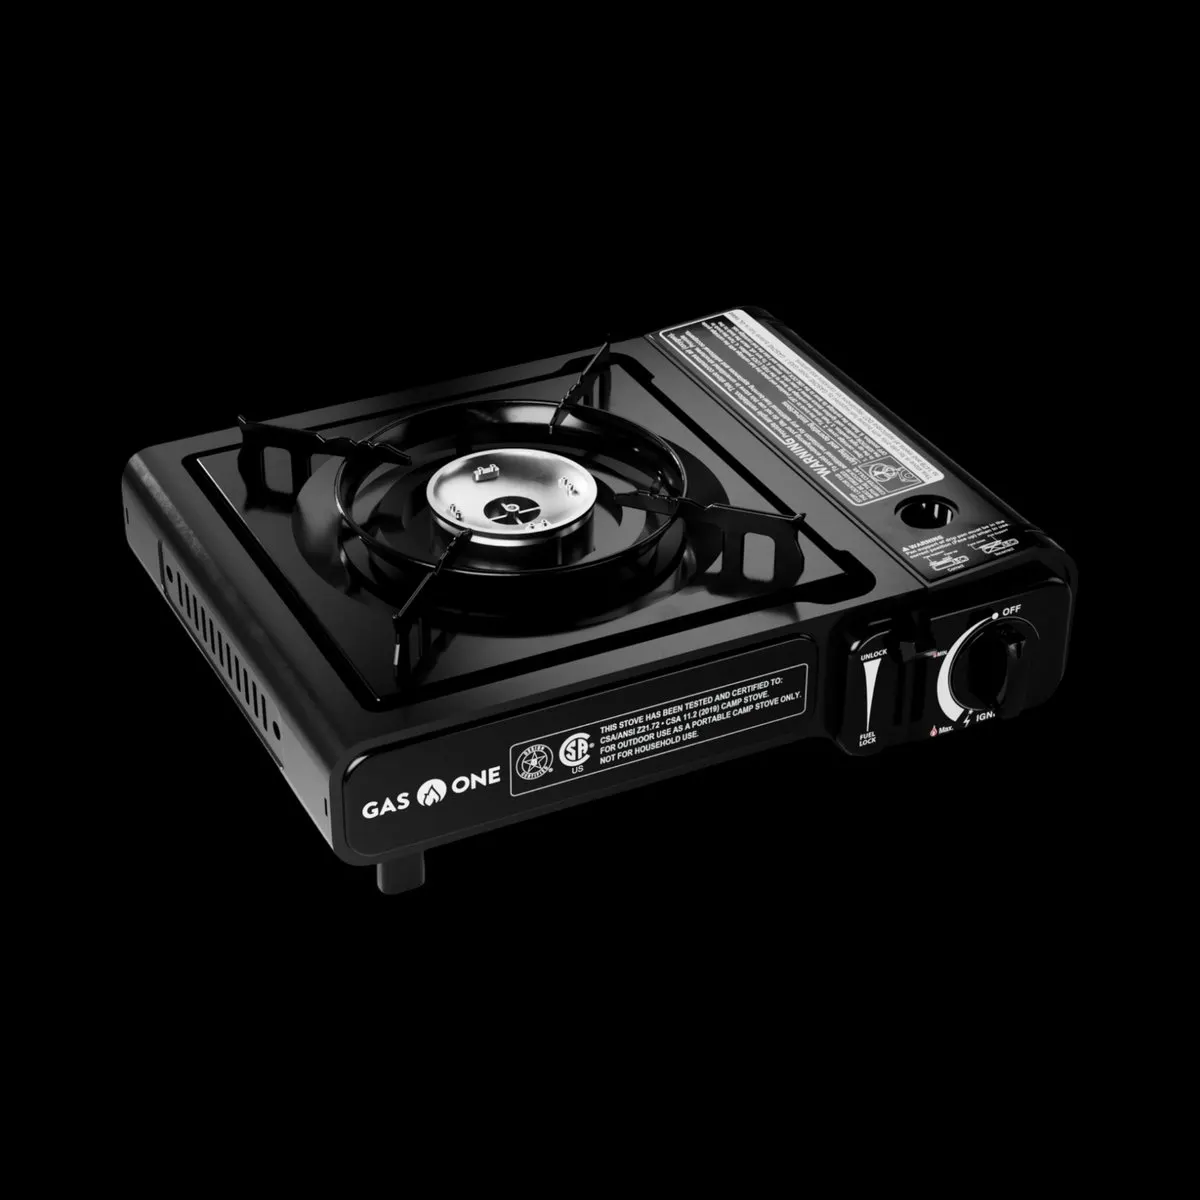
A common two-season setup: keep a Gas One GS-1000G and pure butane cartridges from April to October, and a small propane camp stove with 1 lb cylinders from November to March. Both are budget stoves, both are outdoor appliances, and together they cover most temperatures you'll cook in outside. See the Gas One GS-1000G review for the summer setup.
Lithium batteries and the 32°F rule
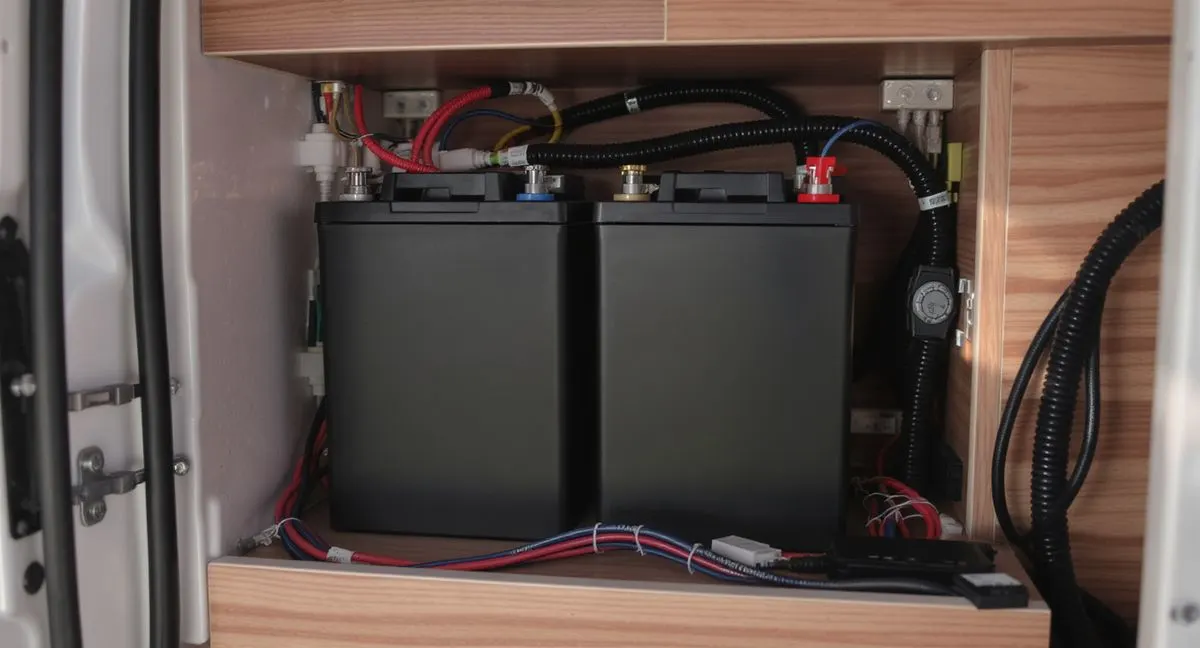
This is the second most common van failure in cold weather, and the one that catches the most first-time winter travelers off guard. Standard LiFePO4 batteries refuse to accept charge below 32°F (0°C). They can still discharge — your loads work fine — but any charge source (solar, alternator, shore power) is locked out by the battery management system.
What this means in practice: you drive all day in February, the sun is up, your solar is working, your alternator is working, and your battery is stuck at whatever state of charge it started the day with. Your loads drain the bank, and eventually the battery shuts off entirely.
The fixes:
-
Self-heating lithium battery. Battle Born, Dakota, and Renogy all sell self-heating LiFePO4 models that use a small internal heating pad (draws 10–20W) to keep the cell temperature above freezing. Most expensive option but the cleanest: the battery just works. Expect to pay noticeably more than for the standard version of the same battery.
-
Keep the battery in the heated cabin. If your cabin stays above freezing (because you're running a diesel heater), a standard battery works fine. This is the cheapest solution but requires active heating.
-
External heating pad. A 12V heating pad with a thermostat under or around a standard battery. Works but draws significant power for the heating itself. Use only a heater the battery maker approves, installed per its instructions, because an uncontrolled pad can overheat cells.
Battery, charger and heater wiring should follow each manufacturer's installation instructions; where your insurer or local rules call for a qualified installer, use one.
- Pull the battery during winter storage. For people who don't use the van in winter — empty the system, store the battery in a 50°F basement.
The mistake to avoid: putting a standard lithium battery in an unheated garage or uninsulated van cabinet and assuming it'll be fine. It won't be. The first sub-freezing night, you lose charging capability.
Induction works — if the battery works
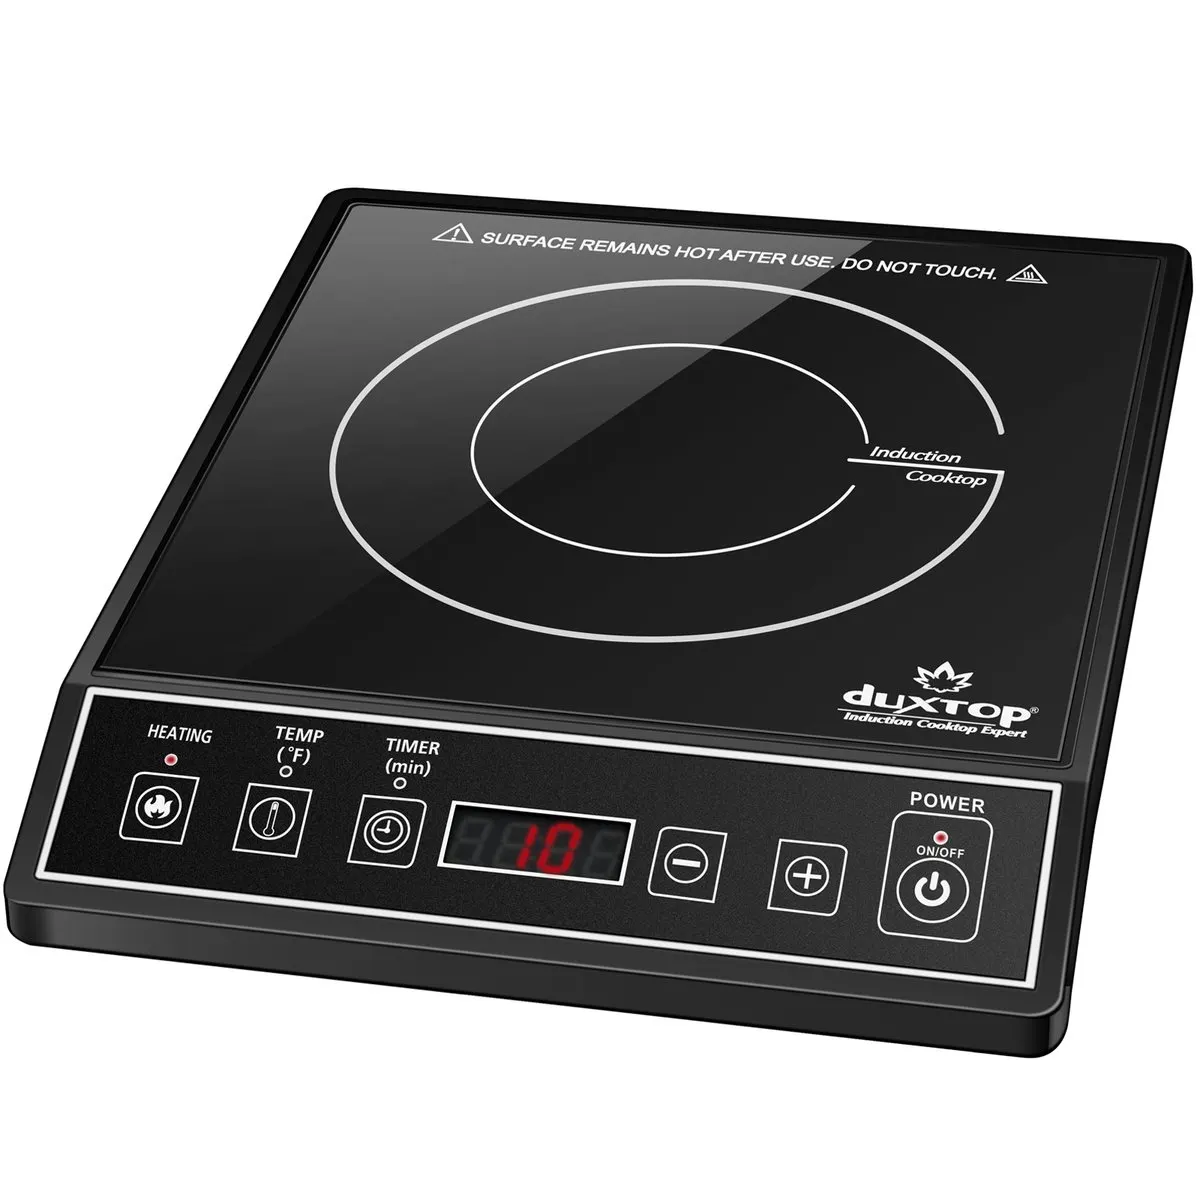
Induction cooktops themselves don't care about cold. The Duxtop 9100MC works identically at 10°F as it does at 80°F — the 1800W draw is the same, the boil times are the same, the efficiency is the same. See the Duxtop review for the full performance breakdown.
But: induction needs battery power. If your battery can't charge in cold weather, you're running induction on whatever capacity you started the day with, and you have to choose between cooking and everything else your kitchen needs.
Winter induction math (rough estimates):
- Summer: 300 Ah battery + 600W solar replenishing daily = reliable induction cooking
- Winter: 300 Ah battery + 600W solar producing 30–40% of its summer output = roughly one cooking session a day before you start drawing the bank down
Assumptions: a 12V LiFePO4 bank, about 2.5–3 kWh of summer solar harvest from 600W, a cooking session of 30–40 minutes averaging about 1,000W (roughly 40–50 Ah with inverter losses), and a fridge plus lights using another 40–50 Ah a day. Your latitude, panel angle and snow cover change these numbers a lot; the power calculator lets you plug in your own.
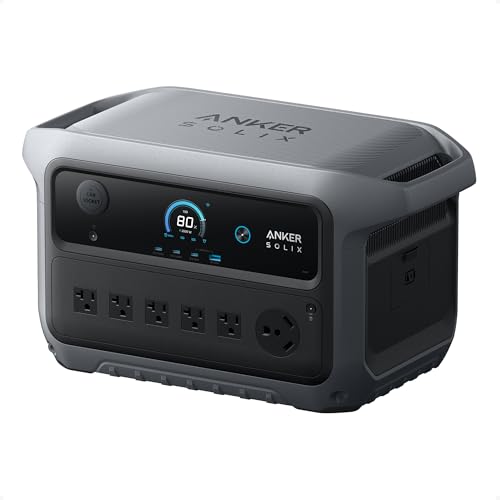
Portable power stations follow the same 32°F rule. The Anker SOLIX C2000 Gen 2 and the BLUETTI Elite 200 V2, both rated well above the Duxtop's 1,800 W, list a charging range of 32–104°F and a discharge range down to -4°F in their manuals. Either will run the cooktop in a cold van, but neither will recharge from solar, a car or a wall outlet until it's above freezing, so keep it in the heated cabin.
This is why many cold-climate full-timers rely on propane in winter, either a camp stove used outdoors or a certified built-in cooktop, and save off-grid induction for warm-weather travel or shore-power stays.
Propane: the cold-weather fuel
Propane (C3H8) boils at about -44°F, so it keeps vaporizing in cold that stops butane, although cylinder pressure and output still drop as the cylinder gets very cold. That makes it the usual winter cooking fuel. How you use it depends on which category of appliance you have:
- Portable propane camp stove (such as the Camp Chef Everest 2X or Coleman Triton+): outdoor use only, per the manufacturers. Cook outside the van, sheltered from wind but not enclosed.
- Built-in, RV-certified propane cooktop: can be used inside as part of a complete, properly installed system.
The induction vs butane vs propane guide covers the full trade-offs. For a built-in winter system specifically:
- Tank size: a 10 lb cylinder is a common van choice and fits a modest locker. How long it lasts depends on burner size and cooking time; as a rough estimate, a 10 lb cylinder holds about 216,000 BTU, so one burner at 8,000 BTU/h for an hour a day would empty it in roughly four weeks. Running a propane heater or water heater from the same cylinder shortens that a lot. 20 lb cylinders last longer but weigh about 37 lbs full.
- Regulator: use the regulator the cooktop maker specifies; RV systems typically use a two-stage regulator. Skip the single-stage regulators sold for grills.
- Sealed, vented locker: propane is heavier than air and pools in low spots. The cylinder belongs in a locker sealed from the living space and vented to outside air at the bottom.
- Detectors: an LP-gas leak detector mounted low and a CO alarm listed for RV use.
- Installer: use a qualified RV gas technician where codes, inspections or your insurer require it, and follow the cooktop maker's installation instructions.
- Winter additive: propane itself doesn't need additives, but diesel fuel does (if you have a diesel heater running alongside the kitchen). Anti-gel additive is common practice in deep cold.
Water system in cold weather
Water in the fresh tank, water in the pump, water in the lines, and water in the grey tank all freeze and expand. Expanding water breaks whatever contains it.
Three winter strategies:
-
Drain the system entirely. Remove all water before temperatures drop. Bypass or remove the pump and blow compressed air through the lines. Safe, cheap, inconvenient. This is the usual choice for deep cold snaps when you're not drinking from the system anyway.
-
Heat the system. Keep all tanks and lines inside the heated cabin. Wrap exposed lines with 12V heat tape. Costs power but keeps the system operational.
-
RV antifreeze. Pump pink propylene glycol RV antifreeze (the kind labelled for potable water systems, never automotive ethylene glycol) through the system. It is low-toxicity, not something to drink: flush the system thoroughly before you use the water again. Standard RV winterization, and one of the cheapest ways to protect the plumbing. Follow your pump and filter makers' winterizing steps, since some filter cartridges must be removed first.
Grey water is the forgotten part. The grey tank freezes too, and a frozen grey tank can split. Keep the tank inside the heated cabin, or empty it more frequently in cold weather so it's never near full when temperatures drop.
See the van water system setup guide for the complete system design, including winter-ready plumbing choices.
Fridge behavior in cold weather
Your compression fridge is the one appliance that actually benefits from cold weather. Cold ambient means the fridge barely has to cool — cycle times shorten, duty cycle drops, and daily Ah consumption falls significantly.
Estimated figures for a 35L compression fridge (our planning estimates, not measurements; they assume a 12V supply, a 38°F setpoint, a few lid openings a day and no direct sun on the fridge):
- Summer (85°F ambient): roughly 25–30 Ah/day (about 300–360 Wh)
- Fall (55°F ambient): roughly 12–15 Ah/day
- Winter (30°F ambient): roughly 5–8 Ah/day
For comparison, ICECO publishes a lab figure of 0.430 kWh per 24 hours (about 36 Ah at 12V) for the VL35 ProS under its own test conditions. The fridge battery calculator lets you size a battery for your fridge.
At 30°F ambient, your fridge is barely working — and in fact, if the cabin temperature drops below your fridge setpoint, the fridge will stop cooling entirely and just hold temperature passively. This is fine for food safety but makes the fridge a net-neutral load.
The one edge case: freezers below 0°F ambient. At that point, your "freezer" compartment needs to be actively cooled to maintain its setpoint, but the ambient is already colder than your fridge compartment target, leading to strange thermostat behavior. Most modern fridges handle this correctly, but verify before winter travel. Check the ambient range in the manual, too: Dometic lists 61°F to 109°F (16°C to 43°C) for both the CFX5 75DZ and the built-in NRX 50S, so a cabin colder than about 61°F is outside the range those fridges are rated for.
Heat in the cabin: indirect impact on cooking
Most cold-weather van cooking issues actually come down to cabin heating strategy. If you're running a diesel or propane heater that keeps the cabin above freezing, everything above becomes easier:
- Lithium battery accepts charge normally
- Water system doesn't freeze
- Butane canisters stored inside start warm, so the outdoor stove lights more easily
- Induction can run inside without competing with a battery that won't charge
Typical cold-weather heater options:
- Espar / Webasto diesel air heater: common van choice. Fuel use depends on heat setting: 2kW units are typically rated somewhere around 0.1 to 0.3 litres per hour from lowest to highest output, so an overnight run usually burns on the order of one to three litres (check your model's published figures). It draws fuel from the van tank. Its combustion air and exhaust are sealed from the cabin and must be routed outside per the maker's instructions, with the exhaust well away from windows, doors and the fan intake. Professional installation is common and often worth it.
- Propane furnace: RV standard, sealed-combustion and vented outside, but it requires a properly installed propane system (locker, lines, detector).
- Wood stove: a skoolie option. It needs a stove and flue installed to its maker's clearances, with a CO alarm and smoke alarm, and constant tending. Camp-style wood stoves like the BioLite are outdoor-only and are not cabin heaters.
- Electric heater: impractical off-grid (large power draw), fine on shore power.
- Never use an outdoor camp stove, a portable "indoor-safe" propane heater not designed for vehicles, or the engine idling with the van sealed as a cabin heat source.
For full-time winter van life, a diesel heater is the usual answer. It's a significant investment once you count the unit plus install, and every combustion heater still needs a working CO alarm in the cabin.
The cold-weather kitchen setup that works
Based on all the above, the kitchen we recommend for serious winter van travel:
- Primary cooktop: either a propane camp stove used outdoors, or a built-in RV-certified 2-burner fed from a 10 lb cylinder in a sealed, vented locker with an LP detector and CO alarm, professionally installed where required
- Backup cooktop: induction cooktop for cooking inside (when shore-powered or on sunny winter days)
- Fridge: standard compression fridge (any brand) — winter is the easy season
- Water system: minimal winter capacity (10 gallons fresh, 10 gallons grey), all inside heated cabin, drain capability for deep cold
- Battery: self-heating 200 Ah LiFePO4 or standard 200 Ah in a heated cabinet
- Heater: 2kW diesel heater
- Pantry: same as summer (shelf-stable, no refrigeration dependency) — see the van pantry staples guide
The extra spend over a summer-only van build comes from four places: the heater, a self-heating battery, the propane conversion, and winterization supplies. The heater and battery are the big items; the rest is minor.
The winter gear kit
These five pieces cover the failure modes above. Each links to a full review with its sources.
1. Outdoor primary: Camp Chef Everest 2X (propane, outdoors only per Camp Chef).
- Output: Camp Chef rates each of the two burners at 20,000 BTU/h. That headroom matters when cold air and cold pots soak up heat.
- Ignition: matchless, which is easier with cold hands than a lighter.
- Cold limits: Camp Chef doesn't publish a minimum operating temperature, so expect weaker output in deep cold. Keep the cylinder off snow and out of the wind. In deep cold, a larger cylinder on an adapter hose holds pressure better than a 1 lb bottle.
- Wind: use a windbreak that blocks wind without enclosing the stove. Camp Chef's instructions say not to restrict airflow around the appliance.
2. Fridge: Iceco VL35 ProS.
- Lab figure: ICECO publishes 0.430 kWh per 24 hours, about 36 Ah at 12 V, under its own test conditions.
- In a cold cabin: the compressor runs rarely, so real use is likely well below that. Our rough planning estimate is under 10 Ah a day with the cabin around freezing and few lid openings.
- Freezing risk: the fridge can't warm itself, so food near the walls can freeze in an unheated van.
- Plan your own conditions with the fridge battery calculator.
3. Slow-cooking pot: Lodge 5 Qt Cast Iron Dutch Oven.
- Why it suits winter food: soup, stew, chili, braises and bread all suit a heavy Dutch oven.
- Thermal mass: with the lid on, it stays hot long after it leaves the burner. It doubles as a keep-warm station and carries food from an outdoor stove to the table inside without cooling fast.
- Heat sources: it works on induction, gas and open fire.
- Weight: at 11 lb, set it on a stable surface.
4. Fair-weather stove: Gas One GS-1000G (butane, outdoors).
- Role: it pairs with propane. From roughly April to October, butane cartridges are compact and quick. In winter it's the backup.
- Cold workaround: store the cartridge in the heated cabin or an inside jacket pocket before cooking, then take it outside, and accept a longer boil.
- Warming limits: never warm a cartridge with a flame, a heater or hot water. Keep it below the storage limits manufacturers give (Iwatani 104°F/40°C, MSR 120°F/49°C).
5. Hose-fill filter: Clearsource Ultra RV Inline Filter.
- What it is: Clearsource lists a 5-micron sediment stage, a 0.5-micron carbon block, and a VirusGuard third stage. It's built for hose-fed fills from treated supplies.
- Freezing: a water-filled housing can crack if it freezes. Drain and store it as Clearsource instructs, keep it in the heated cabin between fills, and don't leave it connected outside on freezing nights.
Also needed:
- a refillable propane cylinder with the adapter hose Camp Chef specifies, stored outside the living space;
- a CO alarm listed for RV use if anything in the van burns fuel (a diesel heater counts).
To cook inside in winter, add an induction cooktop such as the Duxtop 9100MC. Plan for shore power or a battery that can charge in the cold.
Winter operating habits
- Cook larger batches. Every winter session carries the same fixed costs: setup in the cold, cleanup, and fuel or battery draw. Cooking two or three meals at once spreads them. Reheat the surplus on induction or the outdoor stove.
- Cool leftovers quickly. Food-safety guidance is to divide big batches into shallow containers and refrigerate them promptly, within two hours of cooking in US guidance. Cold air helps, but keep food covered and away from animals, and don't leave it out for hours.
- Ventilate for moisture. Cooking steam and breath condense on cold walls fast. Run the roof fan on low and crack a window while cooking on induction. That is moisture control. It is never a reason to bring a camp stove inside.
- Keep combustion heaters honest. A diesel or propane heater should be a sealed-combustion unit with its exhaust routed outside per the maker's instructions. Have it professionally installed where required, and pair it with a working CO alarm. Never heat the van with a camp stove or an outdoor-only heater.
- Carry one backup cooking method. If your primary is induction, carry a camp stove for outdoor cooking. If your primary is an outdoor stove, induction lets you cook inside during a storm.
Final word
Cold-weather van cooking is not impossible — it just requires different gear than warm-weather cooking. The three most common planning mistakes are (1) bringing a butane-only setup into November, (2) assuming a standard lithium battery will charge in cold, and (3) leaving water in the system during freezing nights. Fix those three and winter van life is completely manageable.
The best advice for first-time winter travelers: start in October at lower elevation, work your way into colder conditions gradually, and carry backup options for every critical system. Redundancy is cheap; failure in the backcountry in January is not.
FAQ
At what temperature does butane stop working? Butane becomes weak below about 40°F and stops working reliably below 32°F because the liquid fuel can't vaporize into the burner. Storing the canister in the warm cabin or an inside pocket before cooking helps for a while; never warm it with a flame or heater. Isobutane-propane screw-on canisters work in colder conditions with compatible stoves. For serious cold, switch to propane. All of these portable stoves are for outdoor use.
Can I charge a lithium battery in cold weather? Standard LiFePO4 batteries cannot accept charge below 32°F — the battery management system locks out charging to prevent cell damage. Self-heating lithium batteries include a heating pad that keeps cells above freezing and charge normally. Keeping a standard battery in a heated cabin works too.
Does induction work in cold weather? Induction cooktops themselves work identically at any temperature. The problem is powering them: if your battery can't charge in cold, you run out of capacity quickly. Most cold-climate full-timers use propane as primary and induction as backup only on sunny days.
How do I keep a van water system from freezing? Three options: (1) drain the system entirely and winterize with RV antifreeze, (2) keep tanks and lines inside the heated cabin with 12V heat tape on exposed sections, or (3) use the van only during temperate weather and empty the system for deep cold. See the van water system guide.
Is propane safe to use inside a van in winter? Only with a built-in cooktop certified for RV use, installed as a complete system: a sealed propane locker vented to the outside, the regulator the cooktop maker specifies, an LP leak detector, a CO alarm listed for RV use, combustion ventilation whenever it runs, and installation by a qualified RV gas technician where codes or insurers require it. Portable propane camp stoves and grills are labelled for outdoor use; a CO alarm or roof fan doesn't change that.
What's the best van heater for cold-weather cooking? A 2kW diesel air heater (such as an Espar or Webasto) is the usual choice. It draws fuel from the vehicle tank, typically burns about 0.1 to 0.3 litres an hour depending on heat setting (check your model's published figures), and keeps the cabin above freezing with modest electrical draw. The exhaust must be routed outside per the maker's instructions, and a CO alarm belongs in the cabin. Quality units with professional installation are a significant investment, so budget for them early in the build.
Products covered in this guide
Disclosure: As an Amazon Associate I earn from qualifying purchases. Links to Amazon on this page are affiliate links: if you buy through one, VanLifeKitchens.com may earn a commission at no extra cost to you. Read our affiliate disclosure.

More in Power & Solar
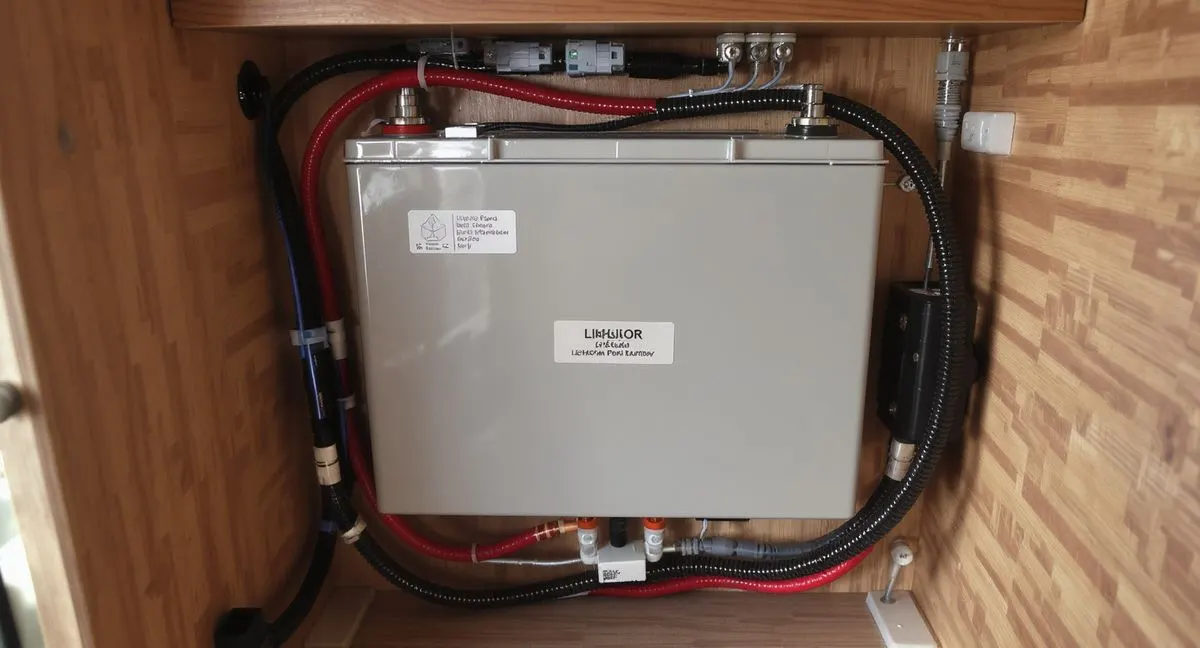
Choosing a Battery Bank for Your Van Kitchen
How to size, spec, and install a lithium battery bank for a van kitchen running fridge, induction, and water pump. Includes 100Ah, 200Ah, and 300Ah build comparisons.
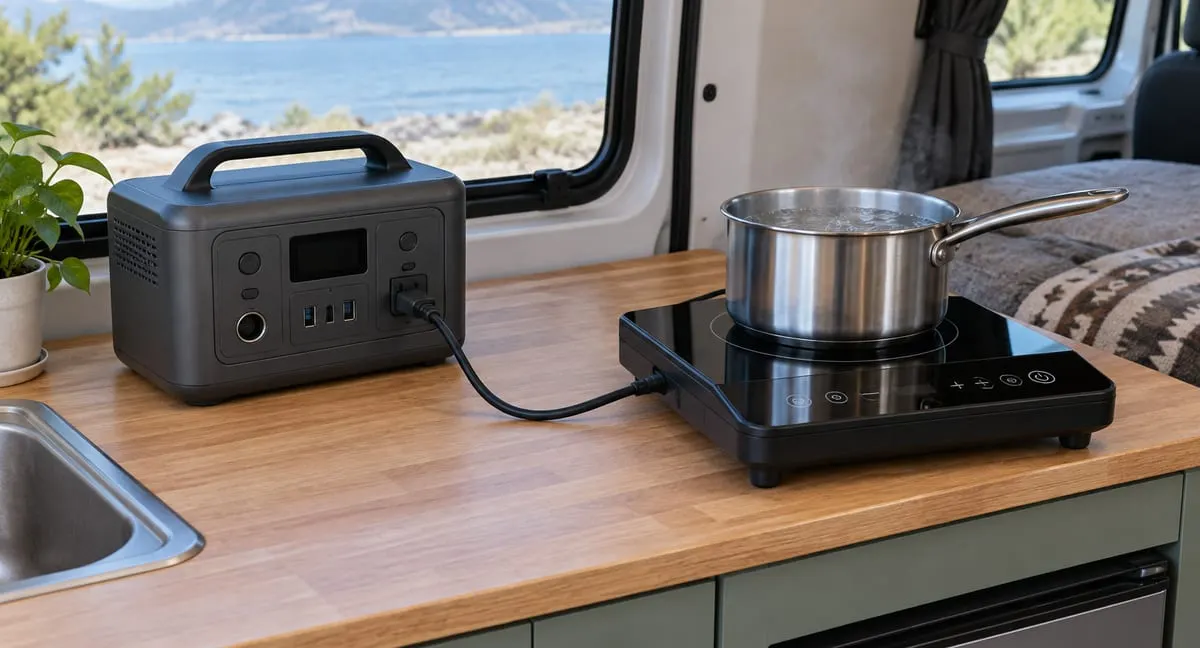
Can Your Power Station Run an Induction Cooktop?
Continuous vs surge watts, usable vs rated watt-hours, and worked runtime math for running the Duxtop 9100MC or Nuwave PIC Gold from a portable power station.
How to Size Your Van Kitchen Power Budget
A worked example of sizing a lithium battery and solar array around a realistic kitchen load — fridge, induction cooktop, water pump, and lights.