Summer Van Kitchen Survival Guide: Cooking in 100°F Heat
How to cook real meals in a van when the interior hits 110°F — solar cooking, outdoor prep zones, heat-shedding gear, and the workflow changes that keep the cabin livable in peak summer.
Disclosure: As an Amazon Associate I earn from qualifying purchases. Links to Amazon on this page are affiliate links: if you buy through one, VanLifeKitchens.com may earn a commission at no extra cost to you. Read our affiliate disclosure.
How to cook real meals in a van when the cabin hits 110°F
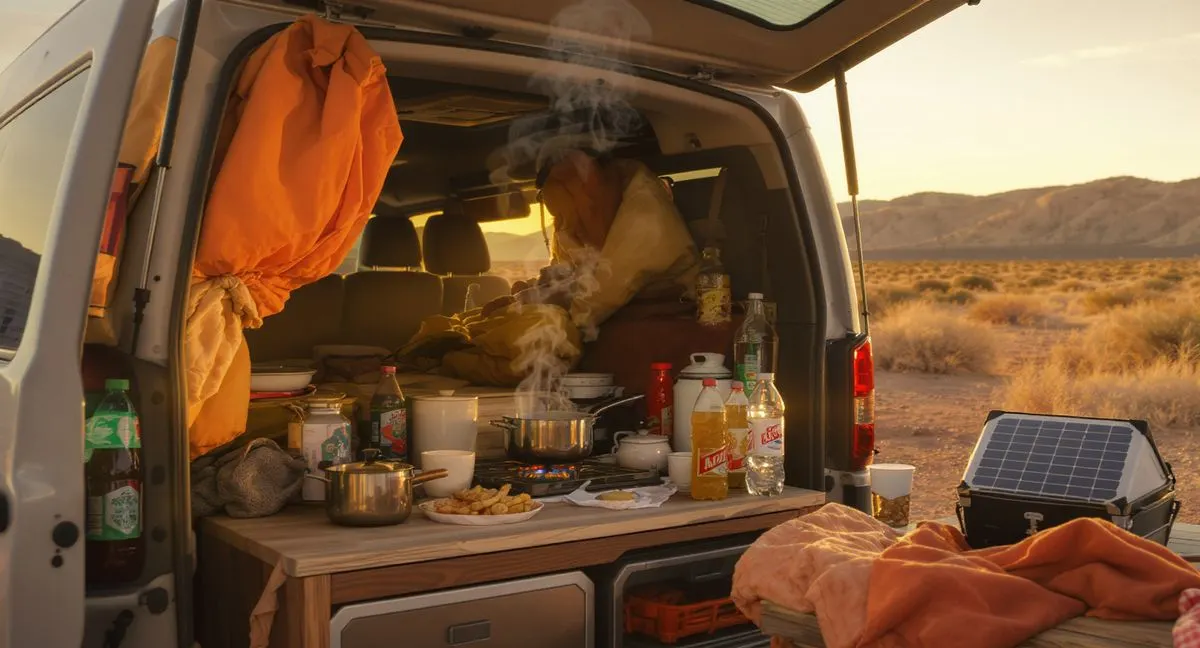
Summer van cooking is not "easier" than winter van cooking; it is a different problem. Winter's challenge is keeping things warm enough to work. Summer's challenge is keeping the cabin cool enough to sleep in after you cook dinner in it. An induction cook session inside a closed-up van in an Arizona August adds heat and steam to a cabin that is already struggling, so cooking outside keeps evenings cooler and drier.
This year-stamped gear guide covers the specific equipment decisions and workflow changes that keep a van kitchen functional (and the cabin livable) in peak summer heat. If you spend summers in the American Southwest, Mexico, Florida, or anywhere with 95°F+ daily highs, this is the kit and strategy you need.
The core problem: every cooking method generates waste heat
Summer van cooking is a thermodynamics problem. Every cooking method produces waste heat, and in a 200-cubic-foot van cabin at 95°F+, that waste heat has nowhere to go except into the air you're about to sleep in.
A useful rule of thumb: almost all of the energy a cooktop uses inside the cabin ends up as heat in the cabin, whether as warm air, hot food or steam. What differs is how much energy each method needs for the same job, and whether it can run inside at all.
Butane stove: roughly 9,000-12,000 BTU/h rated output. With an open flame, much of that heat goes into the air rather than the pan. Portable butane stoves are labelled by their makers for outdoor use, so in summer their heat stays outside anyway.
Propane two-burner camp stove: up to 20,000 BTU/h per burner on stoves like the Camp Chef Everest 2X. Also an outdoor appliance per its manufacturer, so it never adds heat to the cabin because it never runs in the cabin.
Induction cooktop: 1800W at full power, about 6,100 BTU/h. Induction gets more of its energy into the pan than a flame (commonly cited estimates are around 85%), so it uses less energy per meal, but a 20-minute session at full power still releases most of roughly 0.6 kWh (about 2,000 BTU) into the cabin as heat and steam. It is the only one of these you can run inside, and in summer that is a mixed blessing.
Solar cookers: zero cabin heat, because they sit outside. This is the summer hero and the main reason to own one.
The summer strategy is move cooking outside the cabin whenever possible, minimize indoor cooking time, and leverage the solar cooker for background meals.
The 5 summer-critical gear picks
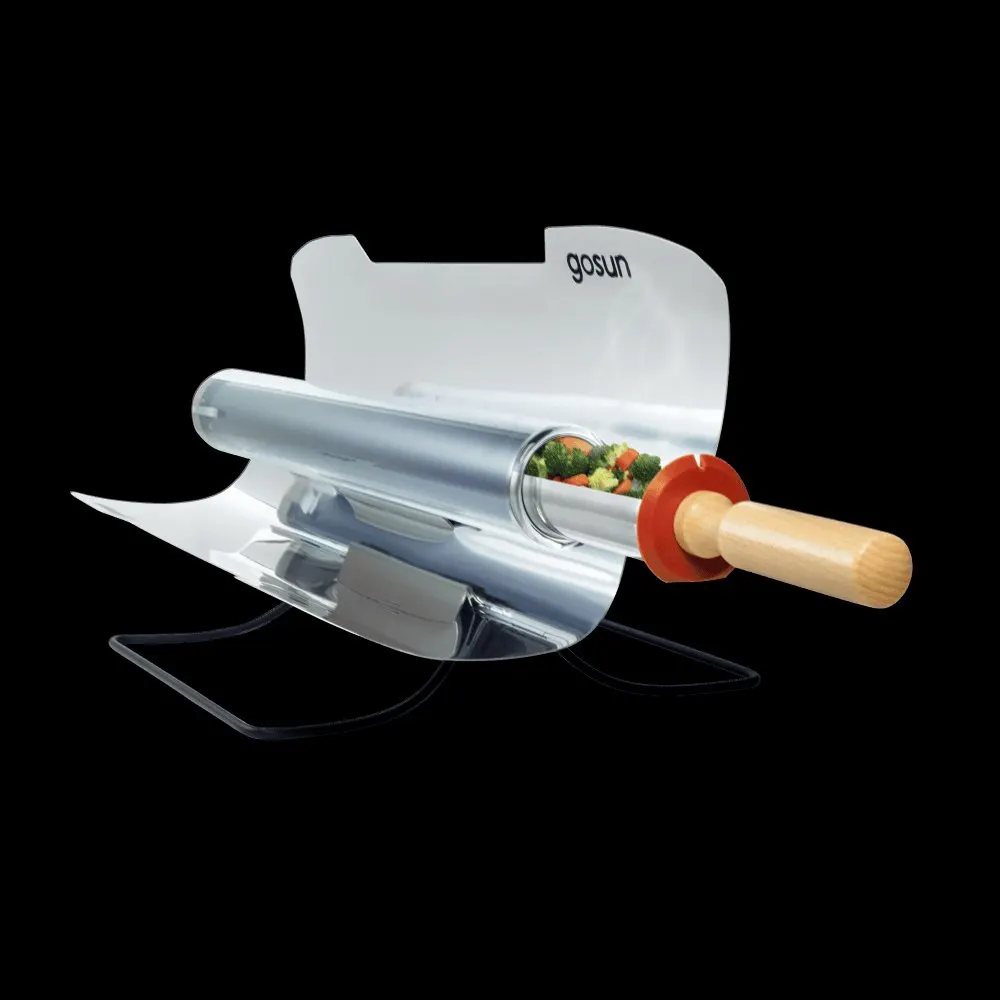
1. GoSun Sport Solar Cooker — Summer primary
Price tier: mid-range for a solar cooker. The imported unit currently listed on Amazon costs noticeably more than GoSun's usual US price, so check the seller and warranty details before you buy.
The GoSun Sport is our primary solar cooker pick for summer van life in sunny climates. It cooks entirely outside the van, produces zero cabin heat, runs on free sunlight, and its vacuum glass tube reaches up to 550°F in direct sun, hot enough to roast rather than just slow-cook. The tube holds about 1.2L, which suits one or two people: grains, stews, vegetables, fish, and smaller cuts of meat. There's no electric backup, so on a cloudy day dinner moves to the butane stove. For summer cooks in the Southwest, Baja, or Mexico, where clear days are the norm, that's rarely a problem.
Why summer specifically: zero cabin heat. Works during peak sun (when cabin cooking is worst). Unattended operation while you're hiking, swimming, or lying in shade. Free cooking energy that doesn't touch the battery bank.
Full review: GoSun Sport Solar Cooker
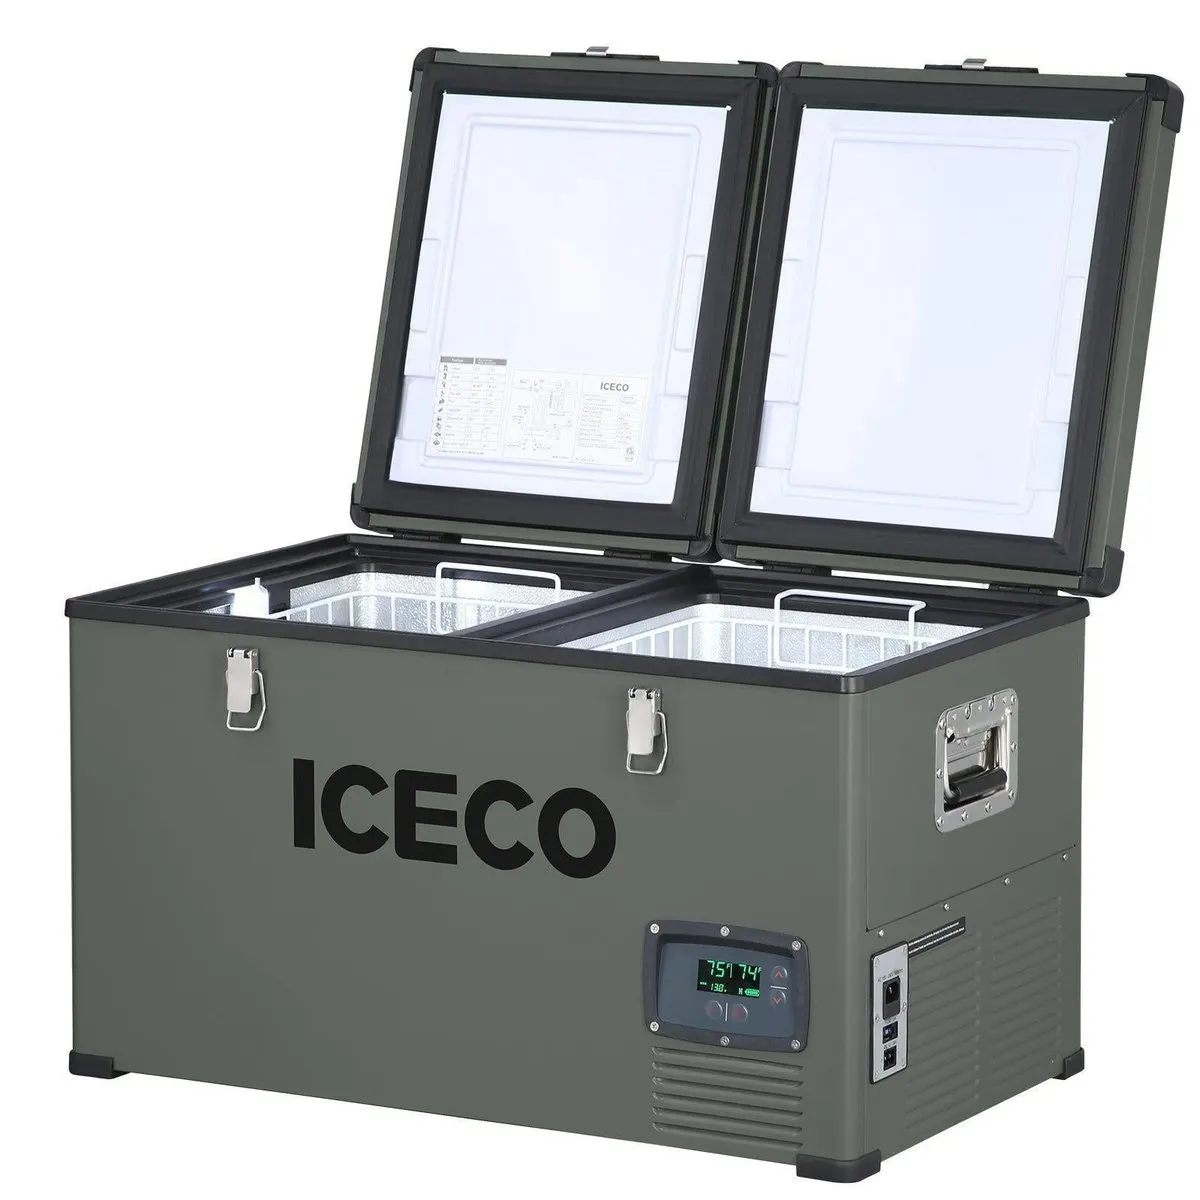
2. Iceco VL60 Dual Zone Fridge — Ice and cold drinks
Price tier: premium — the biggest single purchase in this kit, and the extra cost buys a true dual-zone freezer.
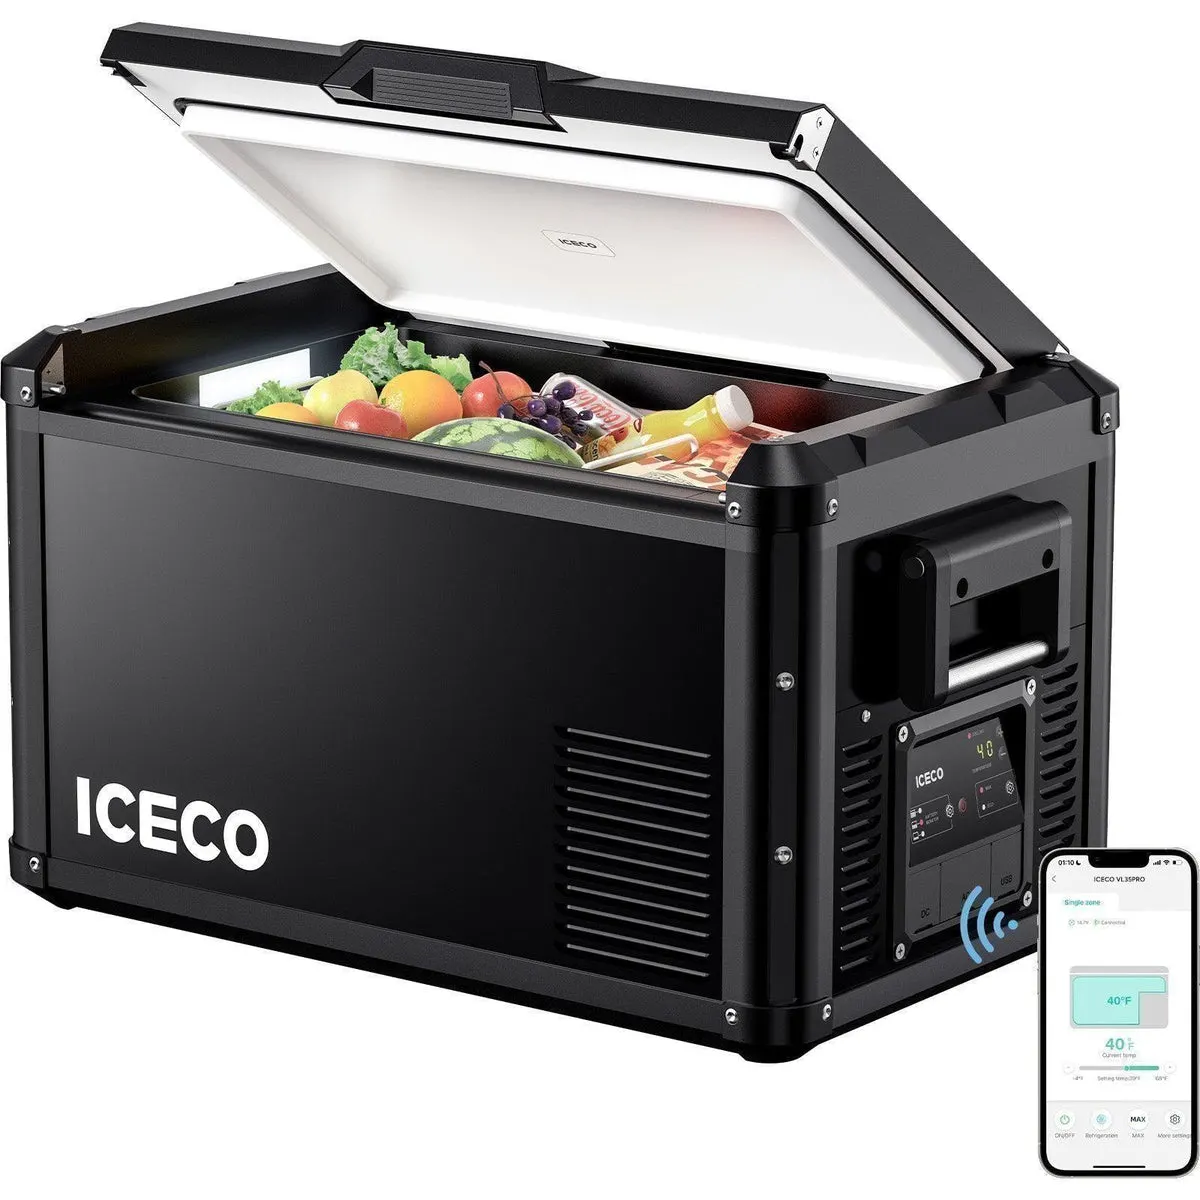
In summer, the fridge does double duty: it's not just a food safety system, it's a cabin comfort accessory. A dual-zone fridge with a real freezer side lets you make ice for drinks, store frozen vegetables that stretch grocery cadence, and freeze water bottles to use as ice packs. The Iceco VL60 Dual Zone is a 60-liter fridge-freezer with two compartments, two separate lids, and two setpoints, cooled by a Secop compressor in a steel cabinet. Because each zone has its own lid, grabbing a drink from the fridge side doesn't vent the freezer.
Why summer specifically: the freezer side makes ice for drinks (critical in 100°F heat), and it goes down to 0°F, which is enough for ice and frozen food though not rock-hard ice cream. Plan the power carefully: ICECO's Amazon listing gives about 0.545 kWh/day with both zones running (about 45 Ah/day at 12V nominal, under ICECO's test conditions), and our rough estimate is that a 100°F cabin with frequent lid openings can push that toward 60–70 Ah/day, so a 200 Ah lithium bank with 300–400W of solar is the realistic pairing. Give it real ventilation, too. Running any compressor fridge boxed into a closed 100°F+ vehicle is asking for trouble. The five-year compressor warranty is a useful cushion.
Full review: Iceco VL60 Dual Zone Fridge
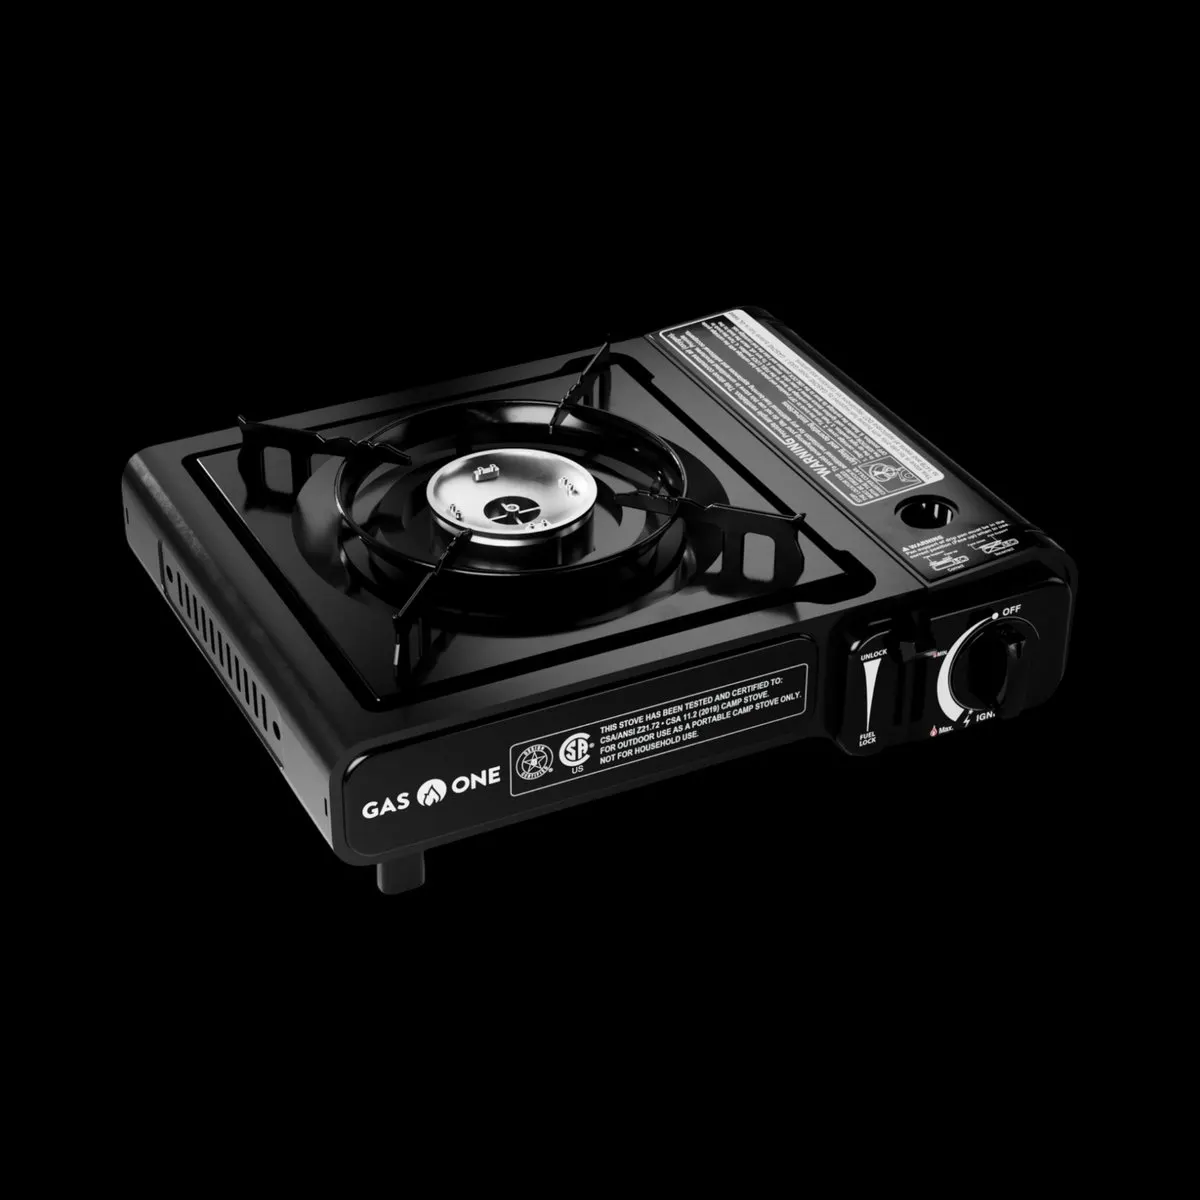
3. Gas One GS-1000G Butane — Outdoor-deploy secondary
Price tier: budget — one of the cheapest stoves you can buy.
For summer, the Gas One GS-1000G is the outside-the-van secondary. Deploy it at a picnic table, on a folding table beside the slider, or on the tailgate, with the stove itself outside the vehicle. That isn't only a summer comfort tip: portable butane stoves are labelled by their makers for outdoor use (Iwatani's Cassette Feu manual, for example, says it "may not be used indoors in tents, campers, apartments or other confined areas"), so they shouldn't run inside the van in any season, with the doors open or closed. Outside, butane performs well in summer, because warm canisters keep their vapour pressure up.
Heat cuts the other way for storage. Iwatani says to store canisters below 104°F (40°C) away from direct sun, and MSR gives 120°F (49°C) as its limit for canisters. A van parked in summer sun can be hotter than both inside, and a dashboard far hotter, so keep canisters in the coolest shaded spot you have (low, away from windows) or in a shaded outdoor box at camp. Don't leave the stove and a spare canister baking on a black tailgate between meals, and don't use oversized pans that overhang the canister cover.
Why summer specifically: outdoor deployment means zero cabin heat impact. Butane's hot-weather performance is better than in spring and fall. Cheap enough to treat as disposable-at-worst.
Full review: Gas One GS-1000G Butane Stove
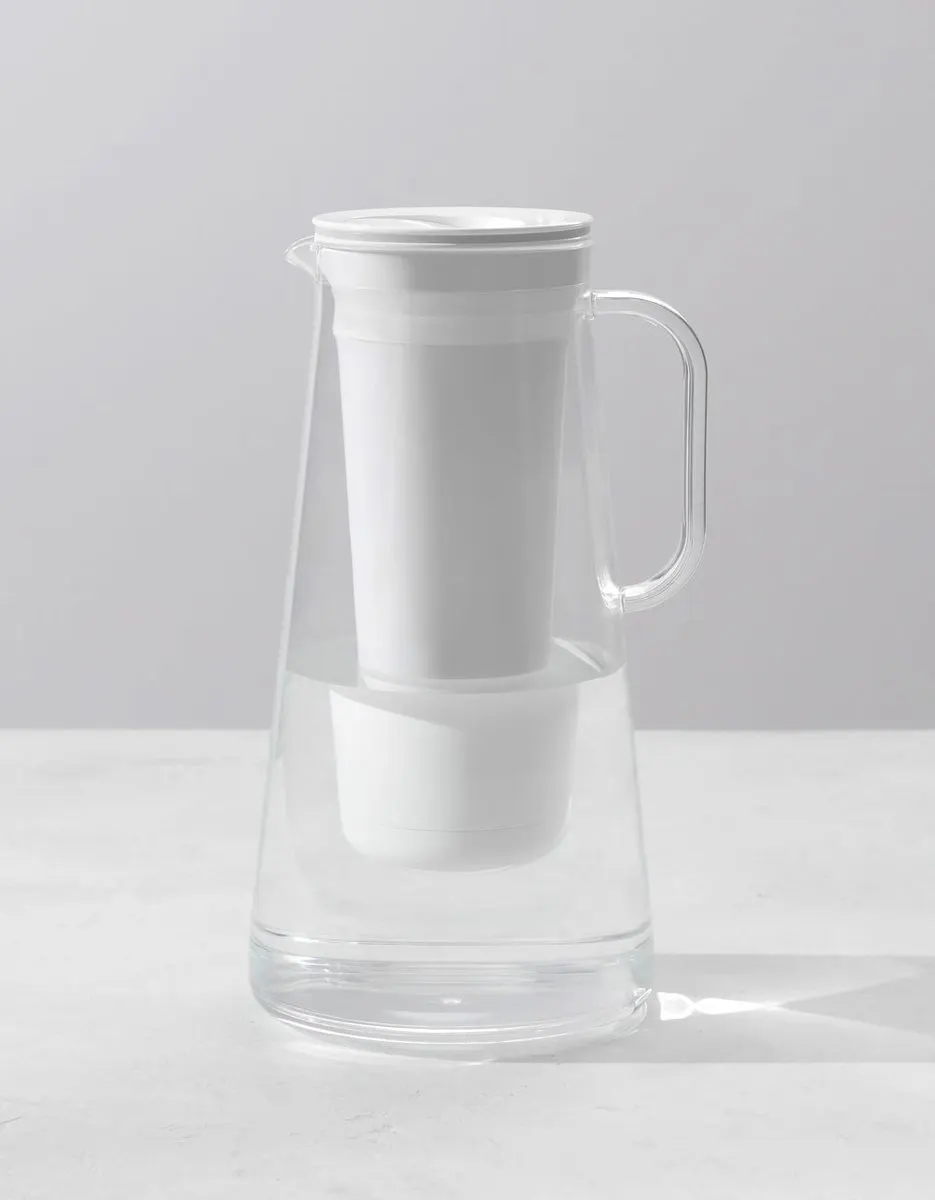
4. LifeStraw Home Gravity Pitcher — Cold-water hydration
Price tier: budget.
Summer van life means doubling water consumption. Cold filtered water is the single biggest quality-of-life upgrade in a 100°F cabin. The LifeStraw Home Gravity Pitcher lives in the fridge (or just on a shady counter) and provides ready-to-drink cold filtered water without power or pumping. A cold pitcher of LifeStraw-filtered water on the counter is a 20% morale improvement in peak heat.
Why summer specifically: filtered cold water is critical for summer hydration. The pitcher sits in or near the fridge to stay cold without pumping or battery draw.
What it does and doesn't do: LifeStraw designs the Home pitcher for tap water. It lists NSF/ANSI 42 (chlorine taste and odour), NSF/ANSI 53 (lead and other heavy metals), NSF 401, NSF P473 (PFOA/PFOS) and NSF P231 (bacteria and parasites) among the standards it is tested to. It does not claim to remove viruses, and it isn't marketed for untreated sources like streams. Use it to improve treated campground and municipal water; for questionable sources, use a purifier that is rated for viruses, or boil.
Full review: LifeStraw Home Gravity Pitcher
5. Sunflair Portable Solar Oven — Lightweight flat-pack backup
Price tier: budget to mid-range for a solar oven.
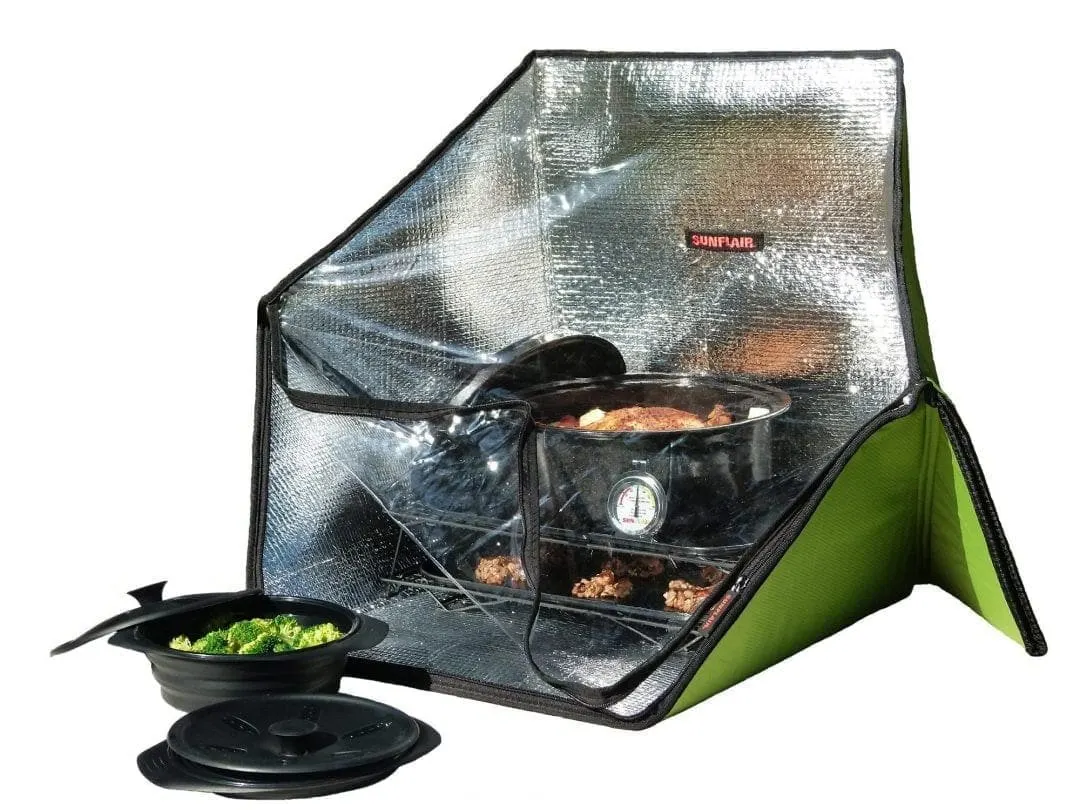
For builds that don't want to spend GoSun Sport money, or cooks feeding more than two, the Sunflair Portable Solar Oven is the budget summer option. Fabric construction collapses to about 1.5 inches flat, it typically costs less than the Sport (check current prices on Amazon — they move often), and its two included pots hold about 4 lbs of food. It tops out around 285°F, so it's a slow cooker rather than a roaster, which is fine for stews, grains, and beans in summer conditions where reliable sun is essentially guaranteed.
Why summer specifically: packs flat when not in use (important in tight summer van kitchens). Cheap enough to be a seasonal-use tool. Sunny climates in summer give it enough cook time daily to carry meaningful load.
Full review: Sunflair Portable Solar Oven
The full summer kit: premium and budget builds
Premium kit:
- GoSun Sport Solar Cooker — the zero-cabin-heat solar primary (check the import listing's warranty terms)
- Iceco VL60 Dual Zone Fridge — fridge plus a real freezer for ice
- Gas One GS-1000G Butane — the outdoor quick-cook stove
- LifeStraw Home Gravity Pitcher — cold filtered drinking water
- Plus a 20×20 ft outdoor cooking awning to shade the tailgate setup
Budget kit:
- Sunflair Portable Solar Oven — the flat-pack solar option
- Iceco VL35 ProS Fridge — smaller fridge, lower power draw
- Gas One GS-1000G Butane — the outdoor quick-cook stove
- LifeStraw Home Gravity Pitcher — cold filtered drinking water
- A simpler outdoor cooking awning
Summer-specific operating rules
1. Cook outside whenever possible. The single most important summer rule. The tailgate kitchen, the picnic table, the outdoor camping table — anywhere but inside a 100°F cabin. Flame stoves always go outside. Under an awning, keep the flame well clear of the fabric: Coleman's propane stove manual calls for 12 inches from combustibles at the sides and 48 inches above, and MSR asks for 4 feet. Set stoves on a stable, level surface out of foot traffic.
2. Cook cold food whenever possible. Salads, cold pasta, grain bowls, wraps, sandwiches, cold cuts. Don't cook what doesn't need cooking. Summer is the season when a real salad is a dinner, not a side.
3. Cook once, eat three times. Prep large batches once — in the morning when the cabin is coolest, or at night when the ambient cools — and eat from leftovers for 2-3 meals. Minimizes daily cooking heat load. If you want one of those meals hot without a second cooking session, a vacuum food jar such as the Thermos Icon 16 oz holds a single portion; Thermos says up to 10 hours hot, as a best case. Preheat it with boiling water and fill it with food at a full simmer, well above 140°F, so it doesn't sit in the range where bacteria multiply.
4. Use the solar cooker for dinner, butane for breakfast/lunch. Load dinner into the solar cooker at 9 AM, let it run all day while you're out. Come back at 6 PM to a finished meal. Use the butane only for fast breakfast tasks (eggs, coffee) and quick lunches.
5. If you must cook inside, use induction and ventilate. Flame stoves go outside regardless of weather. For induction, open windows on both sides, run the roof fan in exhaust to pull steam and heat out, and keep the cook time short. A roof fan handles general cooking ventilation (steam, grease, heat); it does not make a butane or propane camp stove safe to use indoors.
6. Freeze bottles for the cooler. If the freezer side of a dual-zone can freeze water bottles, they become ice packs that stay cold for many hours (how long depends on the container and the heat) and provide local cooling in the van without running the compressor harder. They also suit a second, passive cooler: a sealed soft cooler such as the Engel HD30 beside the fridge holds overflow produce or a big shop, so the fridge lid opens less often and the compressor runs less. It has one inch of foam and Engel's 3-to-4-day ice claim comes without stated conditions, so in summer heat keep it shaded and off a hot floor.
7. Early and late cooking. Shift daily cook times to before 10 AM and after 6 PM. Midday is the worst time to add heat to a van cabin. Plan meals around this window.
Related resources
- Solar Cooking Complete Guide — the full pillar
- How to Cool a Van Without AC — the broader summer cooling strategy
- Cooktops Complete Guide — cooktop category pillar
The short answer
For 2026 summer van cooking in hot climates, the solar primary we recommend is the GoSun Sport (check the import listing's warranty terms before buying) for its zero-cabin-heat background cooking, paired with a Gas One GS-1000G butane deployed outside the van for quick cooks, a dual-zone fridge like the Iceco VL60 for ice and cold drinks, and a LifeStraw Home Pitcher kept chilled for cold hydration. Swap in the Sunflair and the smaller Iceco VL35 for a budget build. Either kit is the difference between a cabin that's livable in August and one that's not.
Products covered in this guide
Disclosure: As an Amazon Associate I earn from qualifying purchases. Links to Amazon on this page are affiliate links: if you buy through one, VanLifeKitchens.com may earn a commission at no extra cost to you. Read our affiliate disclosure.
Frequently asked questions
How do you cook in a van in summer heat?
Cook outside whenever possible (tailgate kitchen, picnic table). Use a solar cooker for background meals. Shift cooking to before 10 AM and after 6 PM. Cook cold meals (salads, wraps, grain bowls). Run the MaxxFan on exhaust if cooking indoors.
Does cooking in a van make it hotter?
Yes. A butane burner adds 8,000–15,000 BTU of waste heat. An induction cooktop adds about 3,400 BTU/hour. In a 200-cubic-foot van cabin at 95°F, that can raise interior temperature 5–15°F.
More in Buying Guides
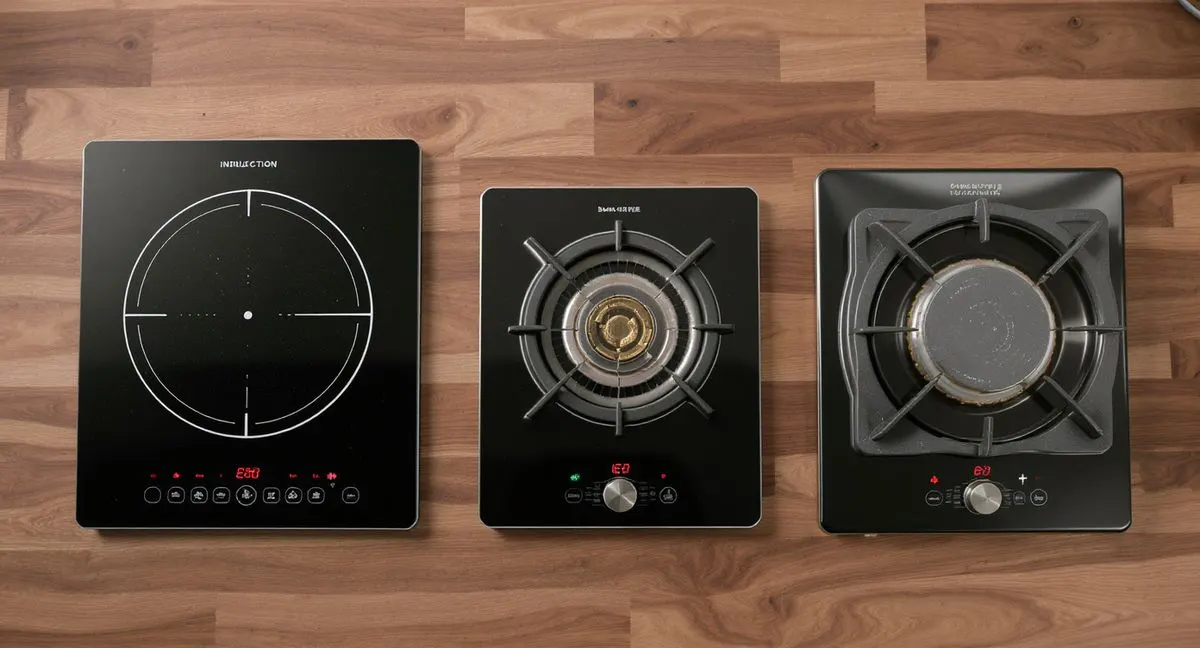
Induction vs Butane vs Propane: Which Wins in a Van?
An honest head-to-head of the three main van cooktop fuel sources — with real power, cost, and cold-weather numbers.
Van Cooking Safety: Carbon Monoxide, Fire, and Burns
The three safety risks every van cook needs to manage — CO from propane and butane, fire from grease and fabric, and burns from tight quarters. With the gear and habits that prevent each one.
Van Cookware Materials: Cast Iron vs Carbon Steel vs Stainless vs Titanium
The five cookware materials van dwellers actually choose between — cast iron, carbon steel, tri-ply stainless, hard-anodized nonstick, and titanium — with the two-pan kit recommendation that covers every cooking task.