The Minimalist Sprinter

The build philosophy
The Minimalist Sprinter is what happens when a full-timer decides the enemy of a good van kitchen is cabinets, not budget. This 144-wheelbase Mercedes Sprinter runs a full cooking kitchen on $1,200 of gear, with zero custom cabinetry. Everything is portable, everything is modular, and everything can be pulled out and replaced without rebuilding the van.
If you're trying to decide whether to spend $4,000 on a built-in kitchen or start simpler, this is the template for starting simpler. You can cook real meals in it, it packs down in ten minutes, and you can upgrade piece by piece over time without throwing anything away.
The kitchen zone
The cook zone lives on a 24 x 18 inch fold-down countertop bolted to the slider-side wall at 34 inches high. A single Duxtop induction cooktop sits on the counter when deployed, stores in a drawer when driving. A 35L Iceco VL35 compressor fridge slides out from under the bench seat. A 5-gallon fresh water jug with a USB-rechargeable pump sits next to the fridge; a second 5-gallon jug catches greywater underneath.
That's the whole kitchen. No plumbing, no tank install, no custom cabinets. Setup takes 90 seconds. Teardown takes 3 minutes.
The gear list
- Iceco VL35 ProS fridge — $399
- Duxtop 9100MC induction cooktop — $75
- Magma Nesting 10-piece cookware — $189
- Gneiss magnetic spice rack — $89
- LifeStraw Home Gravity Pitcher — $50
- Gas One GS-3000 butane backup stove — $30
- Iris Weathertight storage set (pantry bins) — $119
Total kitchen cost: $951
Add a 5-gallon water jug ($20), a USB rechargeable pump ($25), and a small cutting board ($15), and the whole kitchen comes in at $1,011. No cabinetry costs. No plumbing.
Electrical setup
The Duxtop induction draws 1800W, which requires a real battery bank. This build runs a 200 Ah LiFePO4 battery + 2000W pure sine inverter + 400W rooftop solar — about $2,500 of electrical system. The fridge draws about 25 Ah/day, induction cooking adds 30–50 Ah/day for one-person use, lights and phone charging add 10 Ah/day. Total daily kitchen draw: 65–85 Ah.
With 400W of solar in the Southwest summer, the bank replenishes fully by noon. In fall and spring, it barely keeps up. In winter (late November through February), the induction becomes a shore-power-only affair and the Gas One butane takes over for cooking. See the induction vs butane guide for the winter logic.
What's missing (on purpose)
No built-in sink. No plumbed fresh tank. No grey tank with dump valve. No overhead cabinets.
The logic: every cabinet is a week of build time and $300+ in materials. A 5-gallon jug with a pump is a 5-minute install and $40. The trade-off is manual water refill every 2–3 days instead of weekly, and no running water at a faucet. For a minimalist solo build, that trade is fine. For a full-time couple doing big cooking, it's not.
The upgrade path
The build is deliberately modular so pieces can grow without replacing anything:
- Year 1: as-is. Cook on the counter, wash dishes in a bowl, pump water from a jug.
- Year 2: add a proper 20-gallon fresh water tank under the passenger seat + a 12V pump + a small bar sink. Plumbing cost: $250. No kitchen gear changes.
- Year 3: build a real galley cabinet with drawers. Move the fridge from under-bench to a dedicated slide. Add a second cooktop burner. Cabinet cost: $800.
Each upgrade reuses every piece of gear from the previous step. That's the real win of starting simple.
A typical cooking day
Here is what a normal weekday looks like in this build, because the layout only makes sense if you can picture the workflow.
6:45 AM — Coffee. Slide the Duxtop onto the fold-down counter from its storage drawer. Plug into the outlet wired off the inverter. Fill a kettle from the jug pump. Boil water (90 seconds on the 1800W induction). Pour over an Aeropress or V60. Total time from zero to coffee in hand: under four minutes. The cooktop goes straight back into the drawer the moment the kettle comes off — keeping the counter clear is how this build stays livable.
8:30 AM — Breakfast. Two eggs and a tortilla. The Duxtop comes back out. An 8-inch cast iron skillet from the Magma nesting set gets a splash of oil and cooks both sides of the tortilla and scrambles the eggs in four minutes total. One pan, one plate, one fork. Dishes happen immediately in a collapsible dish bin — hot water from the kettle plus a drop of castile soap — and the whole kit is dry and put away before the first email of the day.
12:30 PM — Lunch on the move. When the van is moving between locations, lunch is either cold from the fridge (pre-cooked grain bowl, a wrap, leftover dinner) or cooked at a trailhead on the Gas One butane stove outside the van. The butane stove lives in the sliding door pocket and deploys in 30 seconds. Using butane outside keeps the van cooler and avoids running the inverter when the van is parked at an awkward solar angle.
6:00 PM — Dinner. The big meal. One-pot stews, rice-and-protein bowls, pasta, skillet-and-veg combinations — anything that fits in a single 10-inch skillet or a 2-quart pot from the nesting set. On a typical induction session the Duxtop runs 15–25 minutes at partial power, drawing 20–40 Ah from the battery. The fridge opens and closes three or four times during prep. The Gneiss spice rack, mounted on the van wall at eye level, holds the 12 spices we actually use daily. If we are feeling fancy, a cast iron Dutch oven goes on the butane stove outside for braises that would overheat the van.
8:00 PM — Cleanup. Dish bin fills with hot soapy water, dishes go in, rinse with a squeeze bottle from the fresh jug, into the drying rack for the night. Grey water goes into the second jug. The whole kitchen is "off" within 20 minutes of dinner: Duxtop in the drawer, cutting board hung on its hook, counter wiped down, spices lids down. If the counter stays messy, the minimalist build starts to feel small fast.
The greywater workflow
No grey tank means grey water is your problem, not a valve's problem. The second 5-gallon jug under the fridge slide catches everything from the dish bin and the fresh pump drain. It gets emptied every two to three days at a dump station, an RV park, or a pit toilet (never on bare ground in developed areas, never within 200 feet of a waterway). A tablespoon of baking soda in the jug between empties neutralizes food acids and keeps the smell from becoming a problem.
The single biggest quality-of-life upgrade in this build came from a 99-cent sink strainer placed in the dish bin. It catches the rice, the bean fragments, and the onion skin pieces that otherwise turn the grey jug into a science experiment inside 48 hours. Scraping plates into the trash before dish washing matters more than any filter or fancy tank — that habit is the difference between a clean-smelling van and a van that reeks of old soup by the end of the week.
The electrical math, spelled out
The Duxtop's nameplate is 1800W, which at 12V DC works out to 150A of instantaneous draw through the inverter. A typical induction cooking session — say a 20-minute simmer at power level 6 — averages around 900–1100W of actual draw, because induction cycles on and off to hold temperature rather than running continuously at maximum. That works out to roughly 25–30 Ah per cooking session.
Doing two cooking sessions a day (breakfast and dinner) pulls about 50–60 Ah from the bank. Add the fridge's 22 Ah/day, lights and USB at 10 Ah/day, and you land at a daily kitchen draw of 80–95 Ah. The 200 Ah LiFePO4 bank provides roughly 160 Ah of usable capacity at 80% depth of discharge, which is two days of full kitchen autonomy with zero solar input. In practice, 400W of southwestern solar in spring, summer, and fall replenishes the bank fully by noon, so the "autonomy" only matters on multi-day overcast stretches.
In winter, when solar harvest drops to 20–30% of summer and daylight shortens to nine hours, the math inverts. A single induction session starts to dig into the reserve capacity faster than solar can replace it. That is why the Gas One butane stove stays in the build year-round: it is not backup for catastrophic failures, it is the primary cooking heat from roughly mid-November through mid-February. A single $4 butane cartridge runs about 90 minutes of cooking time, which is three to four meals. The fridge stays on induction-battery power year-round because it draws almost nothing.
Why modular beats built-in at this size
A 144-wheelbase Sprinter has roughly 76 square feet of floor space. Every inch of cabinet costs floor space elsewhere, and once a cabinet is bolted in it is bolted in forever. Modular gear lets the same 6 square feet of counter space serve as a kitchen in the morning, a desk in the afternoon, and an extra seat when a friend shows up. The fold-down counter hinges against the wall when not in use and disappears entirely — you get the floor space back.
Built-in kitchens also force choices that become regrets. A built-in 40L fridge at year one looks perfect; by year three you wish it were a 60L. A built-in two-burner cooktop looks great until you realize you almost never use the second burner and it is eating counter space every day. In a modular build, the fridge is a slide that comes out and gets replaced with whatever fits best at year three, and the cooktop is a single-burner unit precisely because that is what gets used 95% of the time.
The counterargument is that built-ins look nicer in photos and reassure guests. True. But this build is not for guests. It is for the person living in the van, making four meals a day, for years.
What this build cost vs the alternative
A comparable built-in kitchen for a 144 Sprinter — custom lower cabinets with drawer slides, a built-in 12V fridge, an induction cooktop flush-mounted in butcher block, a plumbed 20-gallon fresh tank, a grey tank with dump valve, a stainless bar sink, an under-counter water pump, and the wiring to tie it all together — runs $5,500 to $8,500 at a professional van builder, or $2,500 to $4,000 in DIY parts and two to four weekends of build time.
The modular build above cost $951 in gear plus about $80 in odds and ends. That is a savings of $1,500 (DIY) to $7,500 (pro build). The savings buy either a proper electrical system, two years of campground fees, or the ability to walk away from the build entirely if van life does not work out — without having destroyed the cargo area of a Sprinter.
Why it works
The Minimalist Sprinter isn't the fanciest build on the road, and it'll never win a van tour video. But it has cooked thousands of meals, survived five years of washboard and highway, and cost less than most people spend on a built-in RV fridge alone. Simplicity is the feature, not the constraint. The kitchen you actually use — fast, simple, fixable with a screwdriver at a gas station — beats the kitchen you admire in a photo every time.
The Gear List
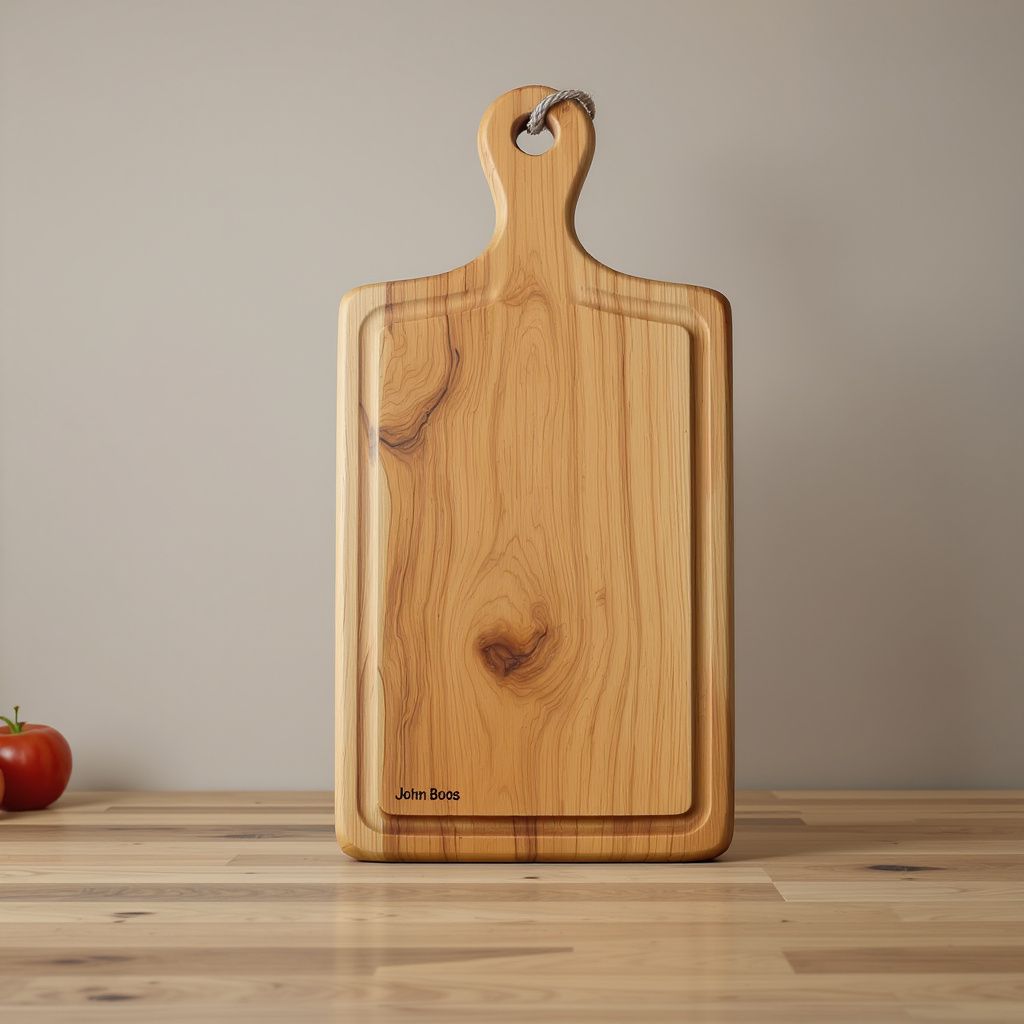
John Boos R-Board Edge-Grain Maple Cutting Board 18x12
The heirloom-quality American maple cutting board that actually fits a van galley. John Boos has been making these in Effingham, Illinois since 1887; the edge-grain construction resists knife marks far better than cheap bamboo, sands smooth with a few strokes when it gets scarred, and the 18x12 size is the goldilocks footprint for a single-counter van kitchen.

OXO Good Grips Kitchen and Herb Scissors
The $15 kitchen tool that quietly does three jobs a knife would do badly in a cramped van galley — snipping herbs directly into a pot, spatchcocking a chicken, and opening stubborn clamshell packages without pulling out a blade. OXO's soft cushioned handles make these usable one-handed, and the take-apart design means you can actually clean them.
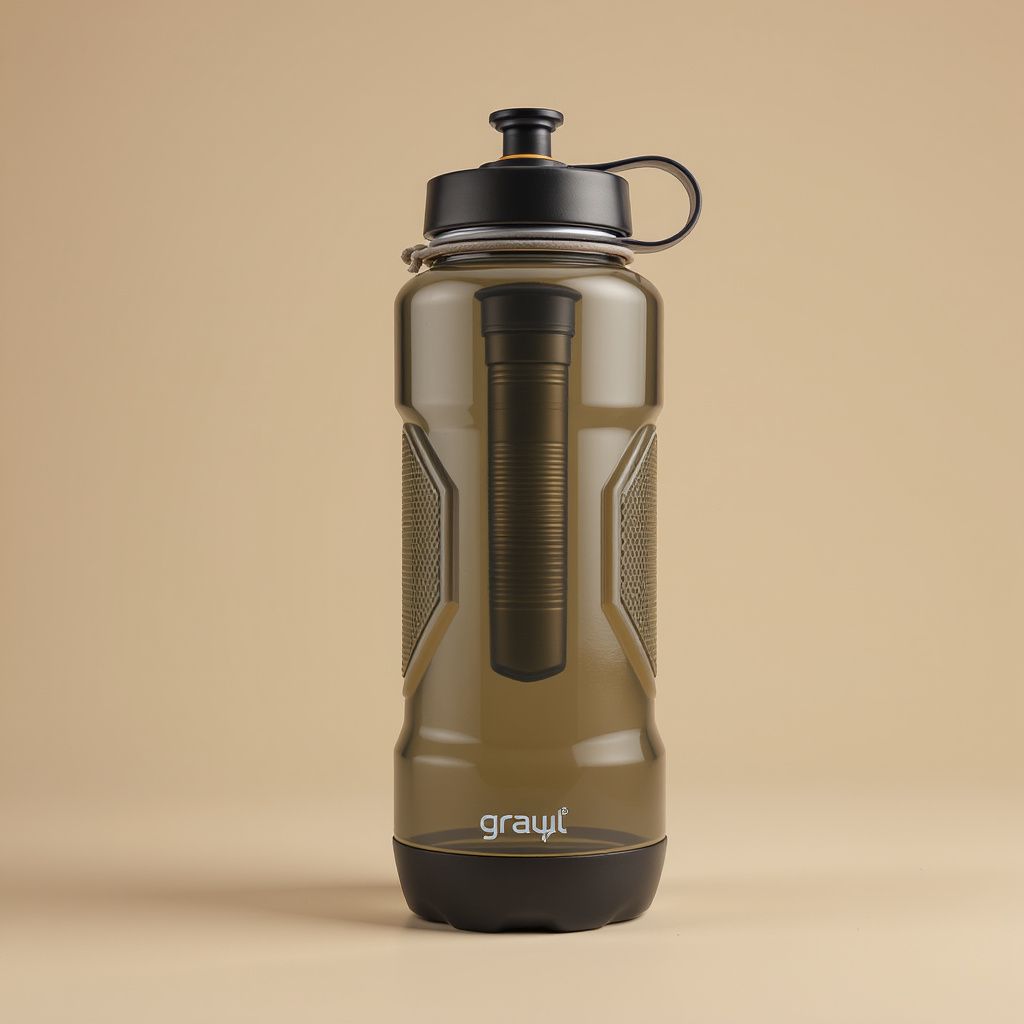
Grayl GeoPress 24oz Water Purifier Bottle
The bottle-style water purifier that handles viruses, bacteria, protozoa, heavy metals, and chemicals in one eight-second press. The Grayl GeoPress is the only travel-grade purifier that covers the full contaminant spectrum without electricity, pumping, or chemicals — and it's the one I carry on every van trip that crosses into backcountry or international water sources.