Weekend Warrior
The build philosophy
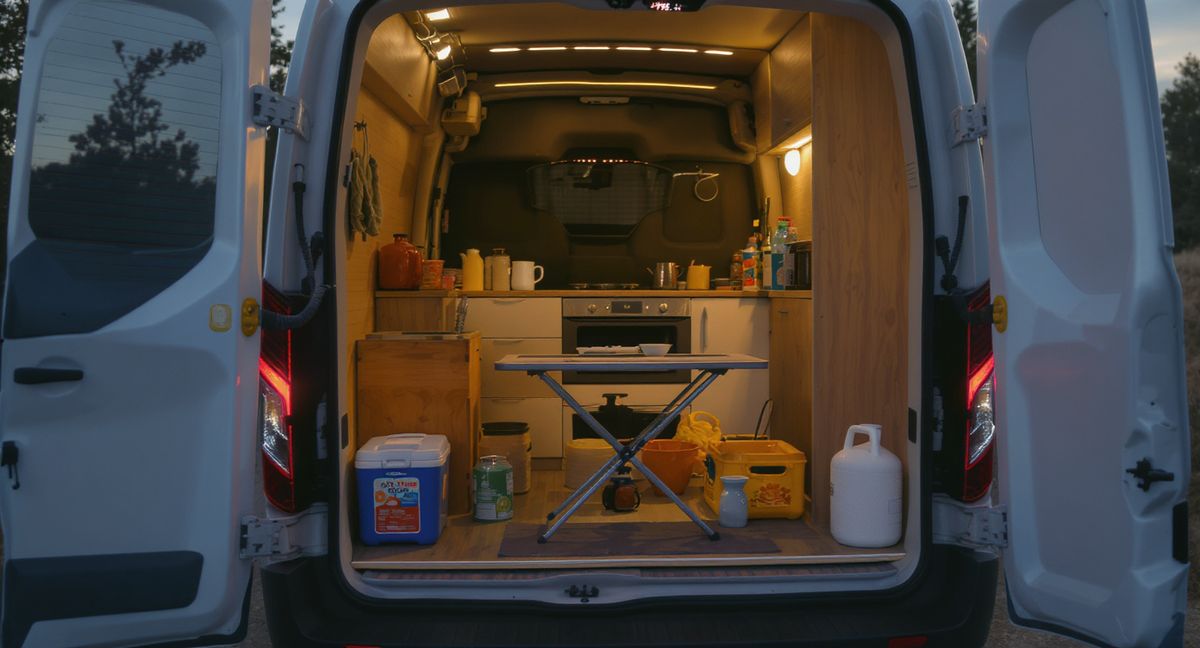
The Weekend Warrior is a Ford Transit 148 built for three-day weekends, not full-time living. The kitchen is deliberately under-built: no electrical system beyond a single 100Ah battery, no plumbing, no built-in anything. Total kitchen cost is $650, and the whole setup packs down into two storage totes when the van is parked at home.
If you're building a rig for 30–40 weekends a year and you're not willing to commit $5,000+ to a kitchen you'll use 10% of the time, this is the template. It's also the ideal first-build — every component transfers forward if you later decide to upgrade to full-time.
The kitchen zone
There isn't really a fixed kitchen zone. The "galley" is a folding camping table placed in front of the slider door when the van is parked. Cooking happens outside the van on sunny days, inside the van in the rain. Water comes from a 5-gallon jug with a hand pump, washed dishes get a dump on bare ground away from camp (when legal).
The whole kitchen deploys in 5 minutes and packs back into two 27-quart Iris Weathertight bins that live behind the rear seats when driving.
The gear list
- Stanley Adventure Base Camp 21-piece cookset — $60
- Gas One GS-3000 butane stove — $30
- 40-quart thermoelectric cooler (used, Craigslist) — $45
- Sawyer Squeeze water filter — $39
- Iris Weathertight storage set — $119
- Magnetic spice rack (smaller 12-jar version) — $45
- Folding camping table (Coleman) — $45
- Collapsible dish washing bin — $20
- 5-gallon Aqua-Tainer water jug — $20
- Basic cutting board + knife + utensils — $35
- 2 x 16oz butane cartridges — $8
- Trash bags, paper towels, dish soap — $15
- First weekend's groceries — $80
- Cooler ice (weekend) — $12
Total kitchen cost: $573 (rounds to $650 including initial groceries and consumables)
Electrical setup
A single 100Ah AGM battery in the passenger footwell powers:
- LED interior lights
- 12V USB ports for phone charging
- A small 12V fan for hot nights
- The cooler (in 12V mode, drawing 4–5 amps continuously)
That's it. No inverter. No induction. No solar. The battery gets charged by driving (via a 30A isolator from the alternator) and by shore power when the van is home.
Total electrical cost: $350.
Why skip the electrical system
The single biggest money-saver in this build is accepting that induction is not required. A $30 butane stove boils water in 4 minutes, cooks real meals, and costs about $3 per weekend in fuel. Over a full year of weekend use, that's about $120 in cartridges.
A full induction setup with the required 200Ah lithium + 2000W inverter + 400W solar would cost $2,800 more. Break-even versus butane comes at 900 weekends of use — not going to happen.
The cooler compromise
The biggest technical compromise in this build is using a thermoelectric cooler instead of a compression fridge. Thermoelectric coolers pull about 4A continuously, only cool to 20-25°F below ambient, and can't freeze. For a weekend trip, that's acceptable — you pack food cold from the freezer at home, top up with ice at the start of the trip, and you're good for 48–72 hours before things get warm.
For anything longer than a weekend, the cooler is the weak link. When the owner is ready to upgrade, replacing it with an Iceco VL35 ProS is the natural next step — same ~$400 spent, ten times the refrigeration performance, no power concerns.
What's deliberately missing
- No built-in sink or water system. A 5-gallon jug and a plastic bowl work for weekends.
- No permanent fridge mount. The cooler lives on the floor behind the passenger seat.
- No countertop. A folding table deploys outside when needed.
- No overhead cabinets. Storage is two Iris bins that live behind the rear seats.
- No rangehood. Cooking happens outside or with the slider door open.
The entire kitchen disassembles in 15 minutes and stores in a 30-gallon footprint. When the van is used as a daily driver during the week, you can't even tell it's a camper.
Upgrade path from here
Every component in this build transfers forward if the owner decides to go longer-term:
- Upgrade the cooler → compression fridge (+$400). Biggest single quality-of-life improvement.
- Add a proper battery bank (+$1,500 for 200 Ah lithium + 1500W inverter + 300W solar). Unlocks induction cooking.
- Build a proper galley cabinet (+$600). Fixed kitchen zone instead of a folding table.
- Add plumbed water + grey tank (+$400). Running water at a sink.
Total upgrade budget to transition from weekend warrior to full-timer: about $2,900, spread over a year or two, without throwing away any of the original gear.
Who should copy this build
If you want to camp in a van 20-40 nights a year, if you're not sure whether van life is for you, or if your total van budget is under $15K including the vehicle, start here. You can always upgrade. You can't easily unspend $5,000 on cabinetry you later decide you don't need.
A typical weekend flow
Friday after work, the two Iris Weathertight bins get loaded from the kitchen: pre-portioned food in labeled bags, the butane stove and two fresh cartridges, the Stanley cookset, and whatever produce the trip calls for. The cooler gets a block of ice from the home freezer and the week's pre-chilled proteins. Loading time from garage floor to van interior is about 12 minutes. No cabinets to fill, no tank to top off — the whole kitchen goes in as two objects and a cooler.
Friday night at camp, the table deploys outside the slider door. The stove sits on the table, the cook gear comes out of the first bin, dinner is on the ground in twenty minutes. Most weekends dinner is something one-pot on Friday (pasta, a big skillet of curry, foil-packet potatoes and sausages), something quick on Saturday (tacos, burgers, quesadillas), and leftovers or a cold breakfast on Sunday morning.
Cleanup happens in a collapsible plastic dish bin with hot water from the kettle, a drop of biodegradable Dr. Bronner's, and a rinse from the jug. Grey water gets poured into a pit toilet, or on the ground well away from camp in the backcountry, or into a dish-station grey drain at a developed campground. The whole kitchen packs back into the two bins in fifteen minutes Sunday afternoon, and back into the home garage closet by Monday morning. The van goes back to being a daily driver for the week.
What the cooler can and can't do
The thermoelectric cooler is the biggest technical compromise in this build, and it is worth being blunt about its limits so the buyer knows what they are signing up for. A Peltier-element cooler like the Koolatron or the Igloo Iceless pulls heat through a semiconductor junction and dumps it out the back via a small fan. It cannot actually chill — it can only maintain a differential of roughly 20 to 25°F below ambient. In a 90°F van in August, that means the cooler holds about 65–70°F. That is refrigerator failure for anything dairy or protein.
The workaround is simple: treat it like an insulated cooler plus a fan, not a fridge. Pack food cold from home, add a block of ice or two bags of cubes at the trailhead, and use the 12V fan to extend the ice life from about a day to about three days. For a two- or three-night weekend trip, that is enough. For a weeklong trip in the Southwest in summer, it is not enough, and the butane stove won't save you from spoiled milk.
The day the owner gets tired of the ice shuffle is the day the build graduates to an Iceco VL35 ProS compression fridge. Same rough price as the cooler replacement cost, ten times the refrigeration headroom, pulls the same 4–5A as the thermoelectric but actually cools. Every other piece of gear in the build stays.
Butane stove: why it is the right choice here
There is a whole induction vs butane vs propane guide on this site that digs into the full comparison, but the TL;DR for the weekend warrior is: butane wins on simplicity and wins on total cost for occasional use.
A single 8 oz butane cartridge costs about $2 and runs the Gas One GS-3000 for roughly 90 minutes at high flame, which is four to six meals depending on what you are cooking. A full weekend of cooking uses a single cartridge, maybe a cartridge and a half if you are boiling pasta for four people on Saturday night. The stove itself weighs 3.3 pounds, lives in a hard case, has a piezo igniter, and boils a liter of water in about 3.5 minutes. There is nothing to maintain, nothing to assemble, and nothing that fails.
Propane would require a tank, a regulator, and a hose — more parts, more weight, more install time, and no meaningful upside at this usage level. Induction would require the $2,800 electrical system we are deliberately skipping. White gas is a backpacking solution, not a car-camping solution. Butane is the correct answer here.
The only operational caveat is that butane cartridges de-rate badly below about 35°F. In genuinely cold weekends — late October mountain trips, any winter camping — the stove will sputter. The workaround is to keep the cartridge inside the cabin of the van overnight, warm it in your hands for thirty seconds before igniting, and accept a slightly longer boil time. For weekend trips in shoulder seasons and summer, it is a non-issue.
The water system (such as it is)
There is no plumbed water in this build. The water system is a 5-gallon Aqua-Tainer jug with a threaded spigot, refilled at whatever potable spigot is on the way to camp — campground fills, state park hand pumps, or a friend's hose. Five gallons is enough for a weekend of drinking, cooking, dish washing, and hand washing for two people, with a little slack. The jug sits on the floor behind the driver's seat during driving and moves onto the camping table at camp.
A Sawyer Squeeze lives in the first-aid bin for emergency use if the spigot water is questionable, but it is not the primary filter. For weekend-distance drives, you can always carry enough municipal water from home to avoid filtering altogether.
The grey water workflow is the same as any minimal build: scrape plates into the trash before washing, wash in a collapsible dish bin, pour the bin into a pit toilet or a developed-campground drain. Never on the ground in developed areas, never within 200 feet of any waterway. Leave No Trace principles apply even when the total grey volume is just a bin or two per day.
Why this build makes financial sense
The total kitchen + electrical cost is $573 (gear) + $350 (single battery + isolator) + $80 (groceries and consumables for the first trip) = $1,003 all-in. Compare this to the cheapest turn-key Class B camper van (Winnebago Travato, about $100K) or even a second-hand Airstream Basecamp trailer ($25K+). For thirty to forty weekend trips a year, those numbers are absurd.
The relevant comparison is not to a built-in van — it is to not going camping at all because you're waiting to afford the built-in van. The Weekend Warrior removes that bottleneck. If you own a Transit (or any cargo van, or even a minivan with the rear seats out), you can be camping this weekend. Build quality and comfort get upgraded later, incrementally, without throwing anything away. The $1,000 kitchen gets used now. The $8,000 kitchen gets used in 18 months, after you've saved up and scheduled the build.
Van life is supposed to reduce friction between you and the outdoors. A build that takes six months of weekends and $10K you don't have increases friction. This build does not.
See the van pantry staples guide for the shelf-stable weekend food list, and the one-pot meals guide for five recipes that work on a single butane burner.
The Gear List
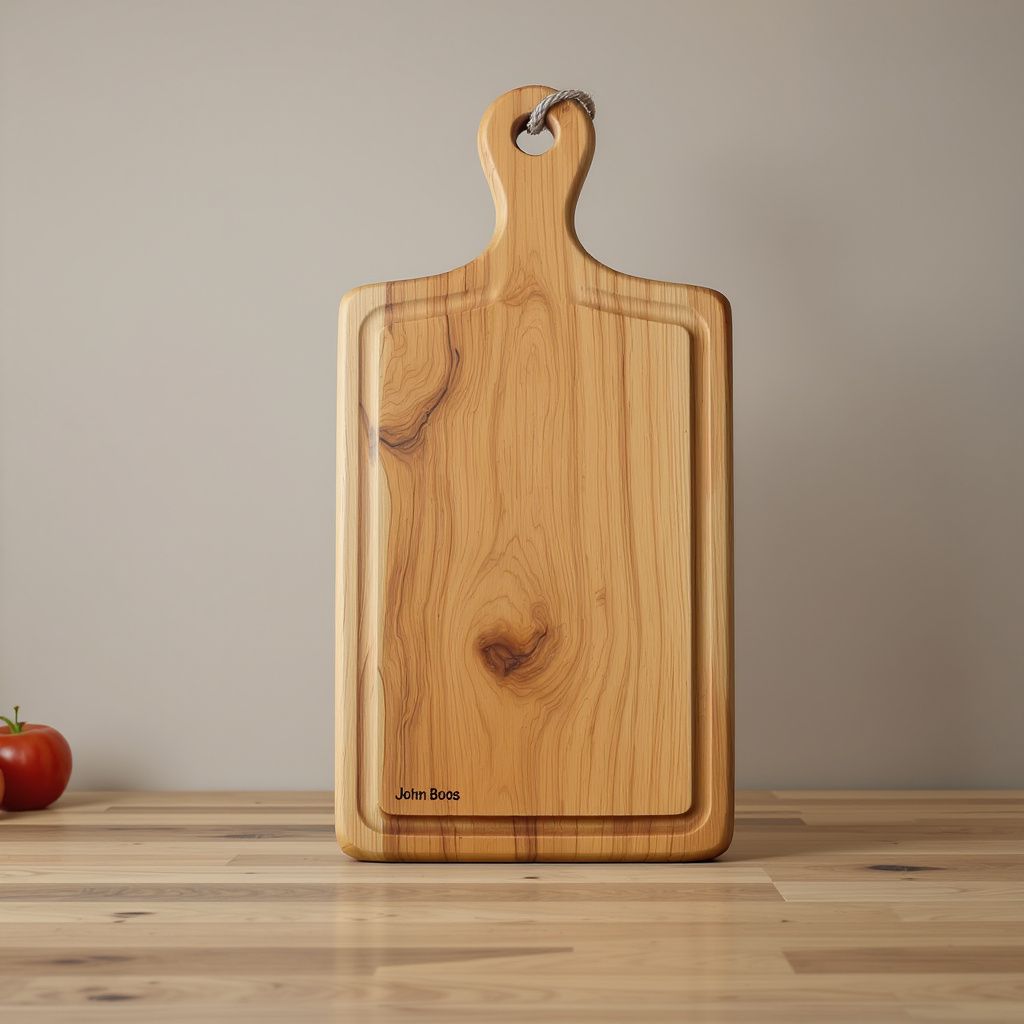
John Boos R-Board Edge-Grain Maple Cutting Board 18x12
The heirloom-quality American maple cutting board that actually fits a van galley. John Boos has been making these in Effingham, Illinois since 1887; the edge-grain construction resists knife marks far better than cheap bamboo, sands smooth with a few strokes when it gets scarred, and the 18x12 size is the goldilocks footprint for a single-counter van kitchen.

OXO Good Grips Kitchen and Herb Scissors
The $15 kitchen tool that quietly does three jobs a knife would do badly in a cramped van galley — snipping herbs directly into a pot, spatchcocking a chicken, and opening stubborn clamshell packages without pulling out a blade. OXO's soft cushioned handles make these usable one-handed, and the take-apart design means you can actually clean them.
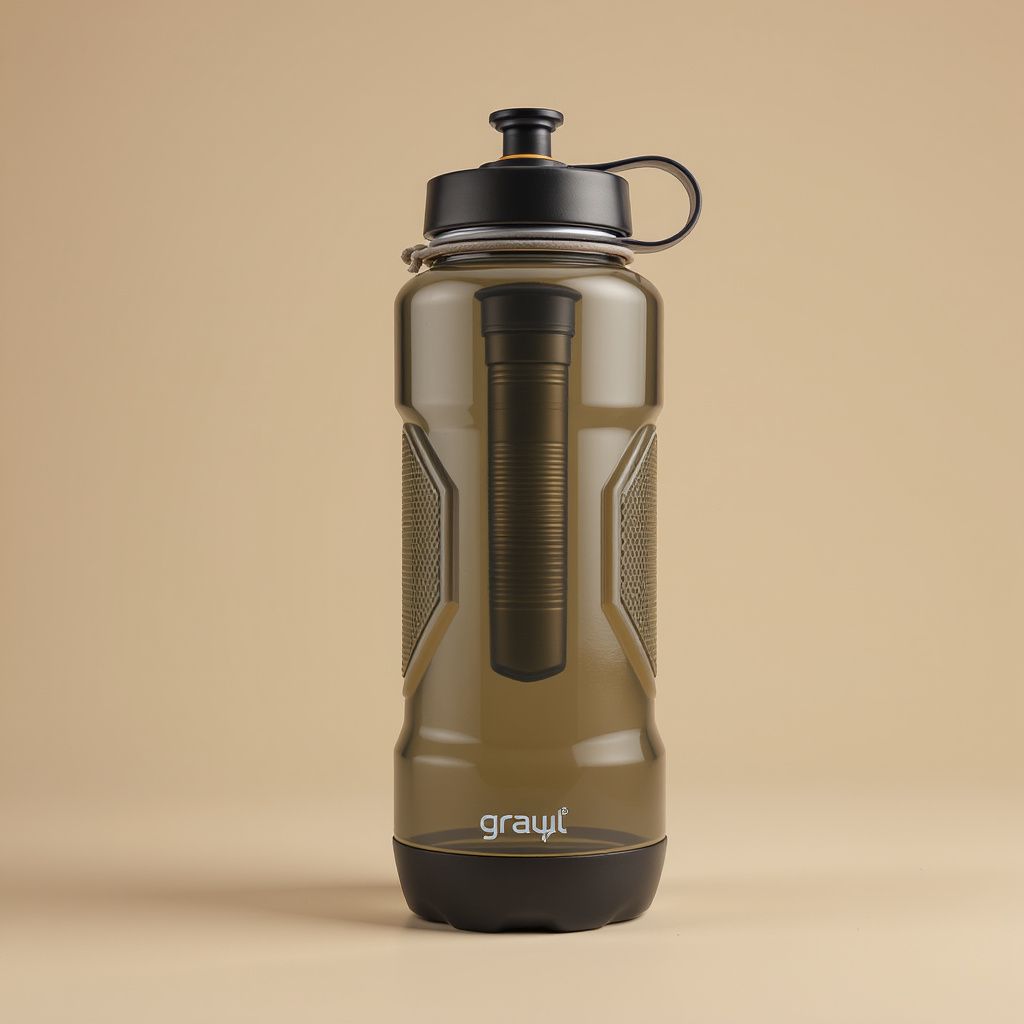
Grayl GeoPress 24oz Water Purifier Bottle
The bottle-style water purifier that handles viruses, bacteria, protozoa, heavy metals, and chemicals in one eight-second press. The Grayl GeoPress is the only travel-grade purifier that covers the full contaminant spectrum without electricity, pumping, or chemicals — and it's the one I carry on every van trip that crosses into backcountry or international water sources.