No-Plumbing Campervan Sink: Components and Compatibility
A jug-in, jug-out van sink with no fixed plumbing: who it suits, keeping fresh and grey water apart, and how to match jug openings, 1/2-inch pump barbs, hose and clamps before you buy.
Disclosure: As an Amazon Associate I earn from qualifying purchases. Links to Amazon on this page are affiliate links: if you buy through one, VanLifeKitchens.com may earn a commission at no extra cost to you. Read our affiliate disclosure.
What a no-plumbing sink is
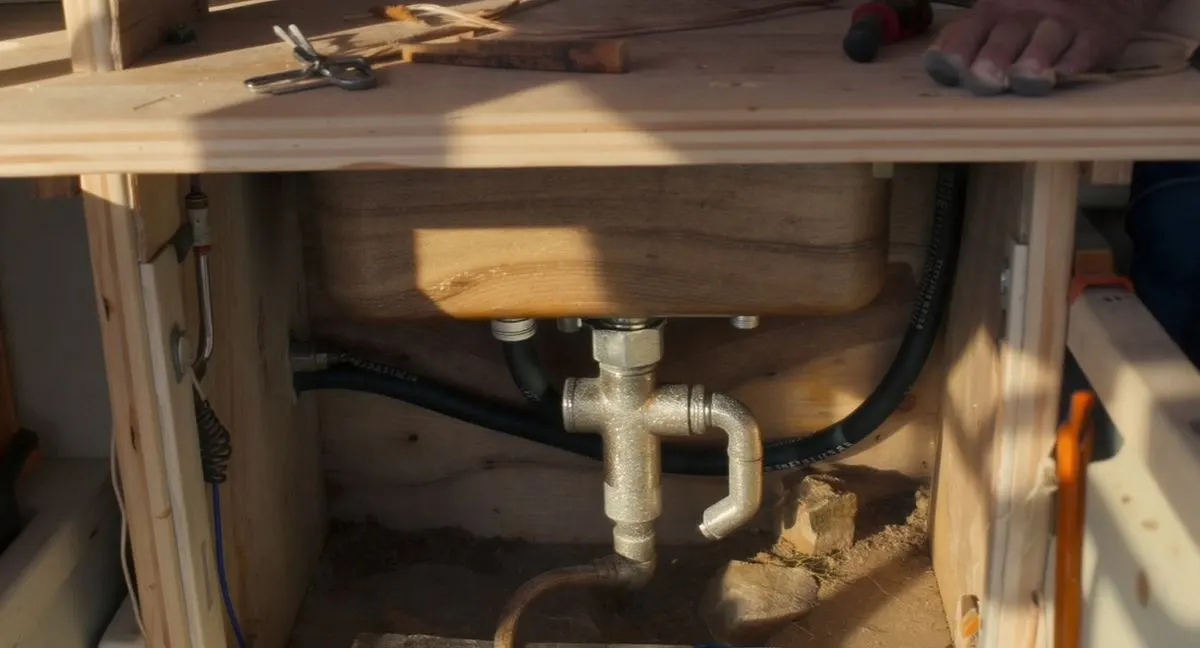
A no-plumbing campervan sink is a sink with no fixed water system behind it. Fresh water lives in a portable jug. A manual pump, or nothing more than a pour spout, gets it out. You wash in a basin, and the used water goes into a second jug that you carry away and empty. Nothing is screwed into the van's floor, nothing goes through the bodywork, and there is no tank, pressure switch or wiring.
This page is about choosing parts that actually fit together for that kind of setup. It is not a build walkthrough. If you want to cut a counter, drop in a bar sink and plumb a foot pump under it, follow the DIY van sink setup guide, which walks through that build step by step. If you want fixed tanks and a 12 V pressure system, see the van water system setup guide. The washing routine itself (scrape, wash, rinse, dry) is covered in the van dishwashing system guide.
A note on what this is. This is a researched parts list, not a tested system. VanLifeKitchens doesn't test products hands-on. The specs below come from the manufacturers' published pages and our own review pages, which cite them. Where a manufacturer doesn't publish a dimension that decides whether two parts fit, we say so and tell you what to measure. We never say two parts fit unless both makers publish matching interface sizes.
Who this approach suits, and who it doesn't
It suits you if:
- You camp weekends or travel part-time, and refill at taps every few days anyway.
- You rent, lease or plan to sell the vehicle and don't want holes in it.
- Your rig is small: a minivan, an SUV, a camper shell or a compact van. The Sprinter 144 minimalist setup runs this way, with one fresh jug and one grey jug.
- You don't have a house battery, or don't want water to depend on one.
- You want to use less water. A pump you press, or a jug you tip, gives water only while you're working it.
It doesn't suit you if:
- You want hot water at a tap, or water pressure for a shower or a pull-out sprayer. A foot pump gives neither.
- Lifting a full 5-gallon jug, which is over 40 lb (5 US gallons of water alone weigh about 41.7 lb), to a tap or a counter is hard for you. Two smaller jugs are easier to handle, but you'll refill more often.
- You boondock for a week or more at a time. Jug capacity runs out, and that's when fixed tanks earn their space.
- You want a sink that drains by itself. Most no-plumbing basins have no drain; you tip them out.
The system in four parts
Every no-plumbing sink has the same four parts:
- Fresh water container. A jug you fill at a potable tap.
- A way to get water out. A pour spout, a spigot, a manual pump, or a battery or 12 V pump.
- A washing basin. A collapsible bowl, a rigid tub, or a small sink set loose on the counter.
- Grey water container. A second jug that the basin is emptied into, which you carry to a dump point.
The compatibility questions sit at the joins between them: jug opening to pump hose, pump barb to hose, hose to clamp, hose end to basin, and basin to grey jug.
Keep fresh and grey water apart
This is the rule that matters most. Fresh water is what you drink and cook with. Grey water has held soap, grease and food particles. Mixing up the two jugs, or the hoses that go into them, is the most serious mistake a jug system allows.
Use containers that look different. Use different colours or shapes, not two identical jugs with a label. Scepter sells its 20-litre military water container in green as model 05177 (the one we review, the Scepter 05177) and in sand as model 05935. One colour for fresh and the other for grey makes the difference obvious in a dark cabinet. Alternatively, use a completely different container shape for grey, so you can tell them apart by touch.
Label both, on more than one side. Write "FRESH – DRINKING" on the fresh jug and "GREY – NOT FOR DRINKING" on the grey jug, with a waterproof marker or label, on at least two sides and on the cap. Labels on one face get turned to the wall.
Never swap their roles. Once a container has held grey water, it stays a grey container for good. Don't sanitise it and move it back to drinking water, and don't use the grey jug to carry fresh water "just this once".
Keep the hoses separate too. The pump's intake hose only ever goes into the fresh jug. If you lift it out to refill, rest the end in a clean bag or cup, never on the floor or near the grey jug. The basin and anything that has touched dish water stay on the grey side.
Store them so you can't grab the wrong one. Put the fresh jug where the pump hose reaches and the grey jug on the other side, or under the basin. Keep each one in the same place every time.
Choosing the fresh water container
Three things decide which jug works: its footprint, its opening, and whether you can clean it.
Footprint and weight
Measure the floor space and the inside height of the cabinet or corner where the jug will live, including the handle and cap. The Scepter 05177 is listed at 13.7 x 6.8 x 18.8 inches. Its 6.8-inch width is why it fits beside a fridge or in a sink cabinet where a cube-shaped jug won't. Its height is the thing to check.
A full 5-gallon jug weighs over 40 lb, and it has to be restrained for driving. Keep it on the floor, box it in or strap it through the handle to a solid anchor, and don't rely on bungees or non-slip liner alone. Our Scepter review covers securing it in more detail.
Opening size and how the pump hose gets in
Most portable water jugs have no hose port. The Scepter 05177 has a main screw cap with a pour spout and a separate breather. It has no spigot, no hose port and no threaded outlet. A foot pump's intake hose therefore goes in through the main opening, with the cap off.
Scepter doesn't publish the opening's diameter, so measure it yourself:
- Mouth inside diameter, measured across the opening at its narrowest point.
- The hose's outside diameter. A 1/2-inch inside-diameter hose, which is the size the Whale Babyfoot takes, has a larger outside diameter; how much larger depends on the hose. The hose maker publishes it.
If the hose fits through with room to spare, you can drop the hose to the bottom of the jug and cover the opening loosely to keep dust and insects out. Some builders drill a spare cap for the hose. That's your own modification, not a Scepter part, and a drilled cap no longer seals. Keep the original cap for driving and refilling.
If you'd rather skip the pump, a jug with a built-in spigot lets you dispense by gravity with the jug on a counter or shelf. No spigot jug is in our catalogue yet. If you choose one, check that the spigot can be removed for cleaning, and that the jug is secured where a full one can't fall on someone.
Cleaning access: can you reach inside?
The question to ask is simple: can you get a hand, or a brush, to every inside surface?
- Wide-mouth containers let you reach in and scrub, which makes removing biofilm and residue easy.
- Narrow jerrycan-style mouths usually can't take a hand. Scepter doesn't publish its mouth size, so check yours. If your hand doesn't fit, cleaning relies on a long-handled bottle brush, plus the shake-and-pour sanitising method described below.
- Corners and handles molded into the body are hard to reach with anything. Rinse them out thoroughly and let the jug dry fully.
Whatever you choose, it should be a container its maker sells for drinking water. Scepter describes the 05177 as made from food-grade, BPA-free material. It doesn't cite a certification such as NSF/ANSI 61, so that "food grade" claim is the manufacturer's own.
Getting water out: manual or powered pump
Manual pump (no wiring)
A foot pump or a hand pump needs no wiring, fuse or battery. The one in our catalogue is the Whale Babyfoot GP4618. Whale's catalogue lists:
- Hose connection: suitable for 13 mm (1/2 inch) flexible hose, on both inlet and outlet.
- Maximum flow: 8 litres (2.2 US gallons) per minute. That's a ceiling, not a typical figure.
- Suction lift: 1.5 m (5 ft), the maximum height it can pull water up from the water's surface.
- Discharge head: 3 m (10 ft).
- Service kit: AK4615, with diaphragm valves, O-rings, a spring and fasteners.
In a no-plumbing setup, the pump does not have to be built into a cabinet. It has to stay put while you press it, though, so screw it to a solid board. A loose board on the floor slides under your foot, so wedge it, weight it, or fix the board where it lives. Whale doesn't publish the pump's overall dimensions or its mounting-hole pattern, so measure the pump once it arrives, before you cut a board for it.
Two published limits to plan around:
- No published drinking-water certification. Whale describes the Babyfoot as a foot pump for a simple freshwater system, but doesn't publish an NSF/ANSI 61 listing for it. Treat it as a way to move water, and handle water quality with your source and a filter.
- No hose, clamps or spout in the box. You have to supply them (see the next section).
A hand pump on the counter works the same way. You lose a free hand while you rinse, which is why many builders prefer a foot pump.
Battery or 12 V pump
A USB-rechargeable jug pump screws or clips onto the jug and has its own battery. It needs no wiring, but each one fits only the jug neck sizes its maker lists. Check that list against your jug's measured neck before you buy. None is in our catalogue yet.
A 12 V pump is a different category. It draws from your vehicle or house battery, so it needs:
- a fused circuit, with the fuse size and wire gauge the pump's manufacturer specifies;
- in most designs, a strainer before the pump, as the maker's instructions call for;
- a switch or pressure switch, and often an accumulator if you want steady flow.
Once a 12 V pump is in, you have a plumbed system. Follow the pump maker's installation instructions, and use a qualified RV electrical technician where codes, your insurer or a converter's warranty require one. The van water system setup guide covers 12 V pumps. This page stops at manual pumps.
Tubing, barbs and clamps: what fits what
This is where parts that "should" work often don't. Work through each joint with numbers in hand.
1. Match hose inside diameter to the barb. A barb is a ridged spigot that the hose pushes over. The hose's inside diameter has to match the barb's nominal size. The Whale Babyfoot specifies 13 mm (1/2 inch) flexible hose, so you need hose with a 1/2-inch inside diameter.
- 3/8-inch ID hose won't fit a 1/2-inch barb securely. Forced on, it splits or leaks.
- Larger hose slides on loosely and, on the suction side, draws air.
- The Babyfoot's ports aren't specified as threaded, so don't plan to screw pipe fittings into them. If another part uses a different size or thread, you'll need an adapter whose maker states both ends, such as a 1/2-inch barb to the other part's thread. Check both published sizes before you buy one.
2. Use hose that its maker rates for drinking water. Clear vinyl tubing is sold for everything from aquariums to air lines. For your intake and outlet, use only hose that the manufacturer states is suitable for drinking water. A stated standard, such as NSF/ANSI 61 or NSF/ANSI 51, is better than "food grade" alone. When we searched for a 1/2-inch ID braided hose sold in short van-friendly lengths with published manufacturer documentation, we couldn't find one we could verify, so we don't recommend a specific hose. Read the listing and the hose maker's own specs before you buy.
Reinforced or braided hose resists kinking and is less likely to collapse on the suction side than thin, unreinforced tube. This matters on the intake, where the pump is pulling a partial vacuum.
3. Size the clamp to the hose's outside diameter. A clamp tightens around the outside of the hose, so its range has to cover the hose's published outside diameter, not the 1/2-inch inside size. Stainless worm-drive clamps list a minimum and maximum diameter on the pack. Pick one whose range includes your hose's outside diameter with a little room either way. Use one clamp on every barb.
4. The intake joint matters most. A loose clamp on the pressure side drips, which you'll see. A loose clamp on the intake side sucks air instead, and the pump feels as if it has lost prime. Owners commonly trace "weak" foot pumps to the intake clamp.
5. Spout or hose end. The Babyfoot doesn't come with a spout. In a no-plumbing sink, the outlet can simply be the end of the hose, held over the basin by a clip, which needs no fitting at all. If you'd rather fit a gooseneck spout, it must have a published 1/2-inch hose connection, or an adapter that converts from it.
What to measure before you order, if a spec isn't published:
| Joint | Measure | Must match |
|---|---|---|
| Jug mouth | Inside diameter | Bigger than hose outside diameter |
| Pump barb | Published size (1/2 in on Babyfoot) | Hose inside diameter |
| Hose | Outside diameter (from maker) | Clamp range |
| Spout or adapter | Published hose size | 1/2 in for Babyfoot |
| Grey jug mouth | Inside diameter | Funnel spout or drain hose |
The basin and the grey side
The Sea to Summit Ultra-Sil Kitchen Sink 10L is the basin in our catalogue. Sea to Summit lists it at 10 litres, 15 x 15 x 8 inches (38.5 x 38.5 x 20 cm) open, and pocket-sized when folded. Three limits from Sea to Summit shape how you use it:
- No drain plug. You tip it out. Emptying into a narrow grey-jug mouth needs a funnel. Measure the funnel's spout against the jug mouth so the funnel sits in it without tipping.
- It only stands up on its own when at least four-fifths full. For a small amount of water, set it in a rigid tub or crate.
- Water above 60°C / 140°F will likely damage the seam tape. Mix kettle water into cool water; don't pour it straight from the boil.
If you'd rather have a rigid basin with a drain fitting, so it empties straight into the grey jug through a hose, there's none in our catalogue. Check three published numbers before you buy one: the basin's drain outlet size, the inside diameter of the drain hose that fits that outlet, and the hose's outside diameter against the grey jug's mouth. Let the drain hose drop loosely into the grey jug instead of sealing it in, so you can lift the jug out to empty it and air can escape as it fills.
Grey jug venting. If the grey jug has a cap with a drain hose through it, air has to get out as water comes in. On a Scepter-style can, open the breather.
Leaks, cleaning and maintenance
Leak prevention
- Put the fresh jug, the pump and every hose joint over something that can get wet, such as a tray or a rubber mat, rather than bare plywood or carpet.
- Check every clamp after the first few drives. Vibration loosens them.
- Lift the intake hose out of the jug before you drive. Then a bumped pedal or a siphon can't empty the jug across the floor.
- Cap both jugs for driving. A drilled cap doesn't seal.
Sanitising the fresh jug
The CDC's guidance for cleaning and sanitising a water storage container is:
- Wash the container with soap and rinse it completely with water.
- Sanitise it with a solution of 1 teaspoon of unscented liquid household chlorine bleach in 1 quart (4 cups) of water, using bleach that contains 5%–9% sodium hypochlorite.
- Cover it tightly and shake it well so the solution touches every inside surface.
- Wait at least 30 seconds, then pour the solution out.
- Let the empty container air-dry before use.
That guidance is for water storage containers. It is not for every part of the system. Sea to Summit says not to use bleach on the Ultra-Sil basin, even in mild concentrations, because it damages the coating and fabric. Wash the basin with hot water (at or below 140°F) and detergent and let it dry. For the pump and hose, Whale doesn't publish a sanitising procedure. Flushing them with clean water after they've sat unused, and replacing hose that stays cloudy or smells, is the conservative approach.
A clean jug keeps clean water clean. It doesn't treat it. Fill from taps labelled potable, and treat anything else.
Freezing
Water expands as it freezes, and it can split hose and damage pump valves. Whale doesn't publish a winterising procedure for the Babyfoot, so the usual manual-pump approach applies:
- Before a freezing night, lift the intake out of the jug and pump until only air comes out.
- For a hard freeze, take the hose off the pump and let both drain.
- Keep the fresh jug in the heated part of the van, or leave headroom in it so it isn't frozen solid and full.
The cold-weather van cooking guide covers keeping water liquid in a cold van.
Grey water: where you may dump it
Rules on grey water depend on where you are, and they're set by the land manager, the campground or the local authority. Check them every time.
- At campgrounds, use the dump station or whatever facility the campground designates. The US Forest Service's Intermountain Region tells trailer campers to dispose of waste and grey water at the dumping stations found at many Forest Service campgrounds.
- In dispersed or backcountry settings where it's allowed, National Park Service Leave No Trace guidance says to carry wash water 200 feet away from streams or lakes, use small amounts of biodegradable soap, and scatter strained dishwater.
- Never dump grey water into a stream, lake or storm drain, in urban areas, or anywhere a sign or rule prohibits it. If you're unsure, carry it to a dump station.
Strain food out before it reaches the grey jug, and empty the jug every two or three days. Our dishwashing guide explains why that keeps smell down.
Drinking water and filters
A no-plumbing sink has nowhere sensible to plumb a filter, which keeps things simpler. Pump or pour into a filter, then drink from the filter.
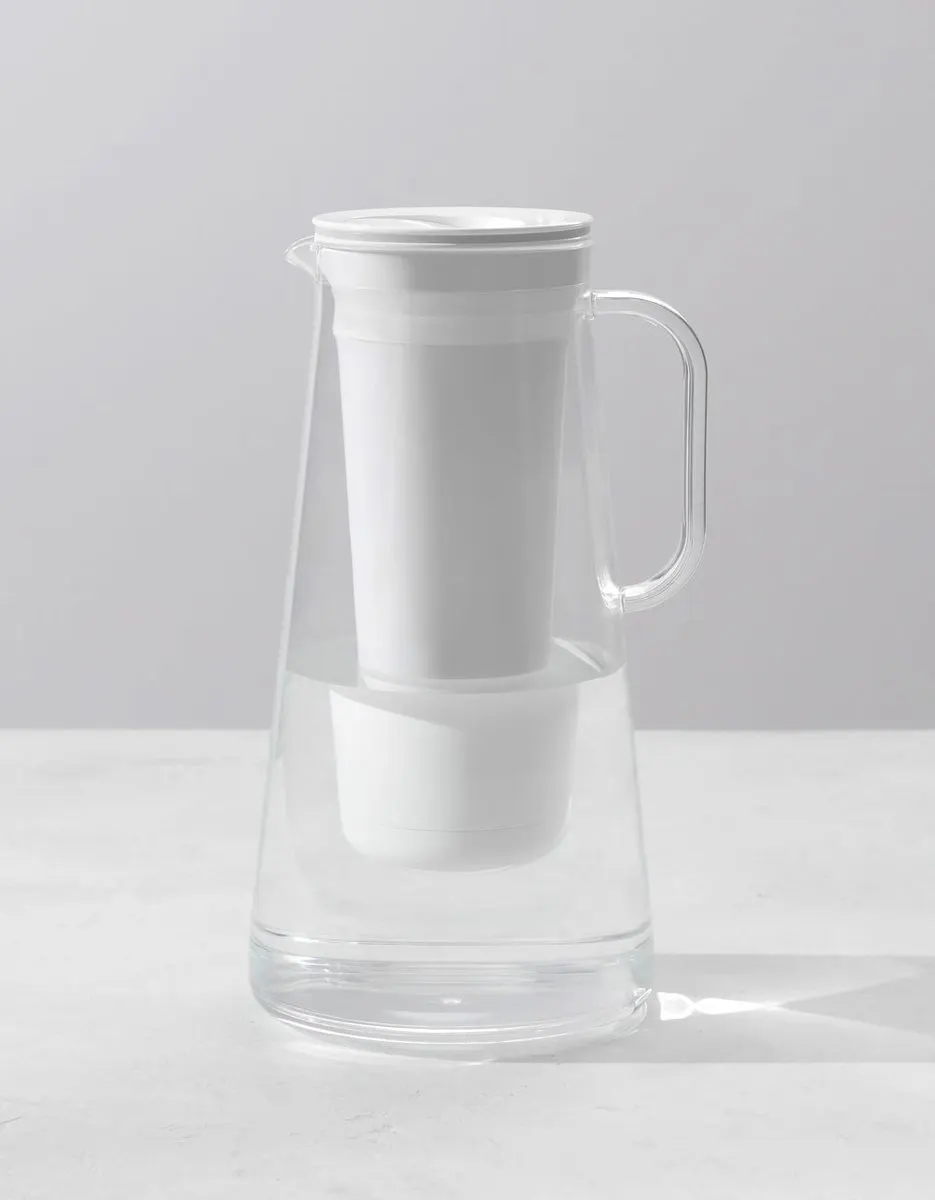
- Treated tap or campground water you want to taste better or reduce lead in: pump water from the jug into the LifeStraw Home pitcher. LifeStraw makes no virus claim for it.
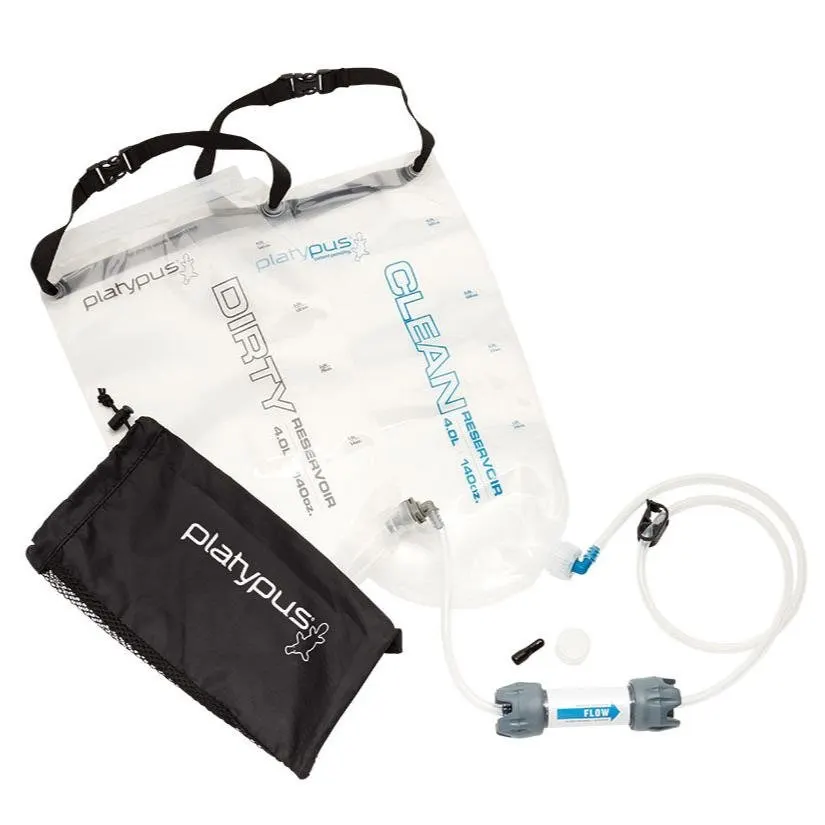
- Treating questionable fresh water before it goes into the jug: the Platypus GravityWorks 4L handles bacteria and protozoa, not viruses or chemicals.
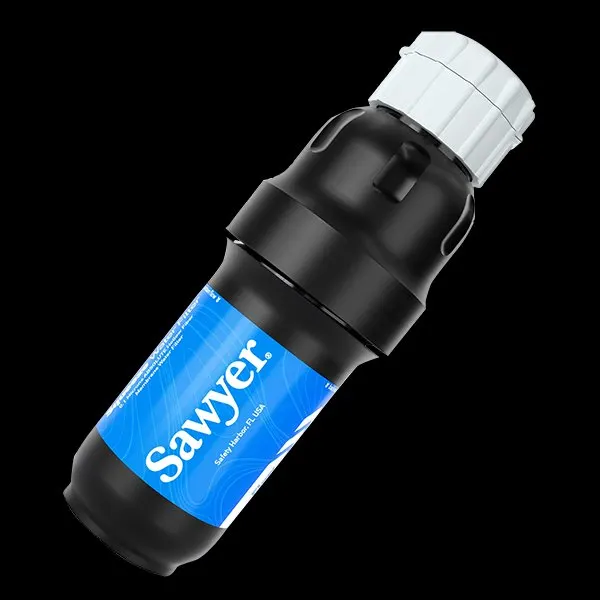
- Backup filter: the Sawyer Squeeze threads onto 28 mm bottles. Sawyer's inline adapters are for hydration-pack hose. Sawyer doesn't publish that they fit a 1/2-inch ID line, so don't assume they fit on a Babyfoot line. Use it with a bottle or pouch instead.
- Untreated water where viruses are possible: boil it, or use a virus-rated purifier such as the Grayl GeoPress.
No filter makes every source safe. The water filtration guide explains what each type does and doesn't remove.
Essential vs optional purchases
| Item | Status | Catalogue pick | Fit check |
|---|---|---|---|
| Fresh water jug | Essential | Scepter 05177 | Mouth vs hose OD |
| Grey water jug | Essential | Scepter 05935 (sand) or other look | Mouth vs funnel |
| Wash basin | Essential | Ultra-Sil 10L | 15 in footprint |
| Labels / marker | Essential | None needed | Waterproof |
| Foot pump | Optional | Whale Babyfoot GP4618 | 1/2 in barbs |
| 1/2 in ID potable hose | Needed with pump | Not in catalogue | Maker's potable rating |
| Stainless hose clamps | Needed with pump | Not in catalogue | Range covers hose OD |
| Funnel | Optional | Not in catalogue | Spout vs grey mouth |
| Spigot jug or USB pump | Optional | Not in catalogue | Listed neck sizes |
| Drinking-water filter | Optional | LifeStraw Home | Source water type |
The cheapest complete version is the four essentials. Pour from the jug, wash in the basin, tip into the grey jug. Add the pump, hose and clamps when you want water at the basin hands-free.
FAQ
Can I have a van sink without any plumbing at all? Yes. A fresh jug, a basin and a grey jug make a working sink with no hose, pump or wiring. Adding a foot pump such as the Whale Babyfoot means you need hose and clamps, but still no fixed plumbing or wiring.
What size hose does the Whale Babyfoot need? Whale specifies 13 mm (1/2 inch) flexible hose. That means hose with a 1/2-inch inside diameter, pushed over each barb and secured with a clamp sized to the hose's outside diameter.
Will the Babyfoot's hose fit into a Scepter water can? Scepter doesn't publish the can's mouth diameter, so we can't confirm it. Measure the mouth's inside diameter and compare it with the outside diameter your hose maker publishes. The hose goes in through the main opening, because the can has no hose port or spigot.
Can I use the same type of jug for fresh and grey water? Only if they look clearly different. Scepter makes the same 20-litre can in green (05177) and sand (05935), so you can colour-code them. Label both, and never move a grey jug back to fresh water.
How do I sanitise a water jug? The CDC's method: wash it with soap and rinse; shake 1 teaspoon of unscented 5–9% bleach in 1 quart of water around the inside so it touches every surface; wait at least 30 seconds; pour it out; and let the jug air-dry. Don't use bleach on the Sea to Summit basin; Sea to Summit says it damages the fabric.
Do I need a 12 V pump? No. A 12 V pump adds pressure and convenience, but it needs a fused circuit and turns the setup into a plumbed system. Follow the pump maker's instructions, and use a qualified installer where rules require one.
Where can I empty grey water? At a dump station or a designated campground facility. Where local rules allow it in dispersed settings, NPS Leave No Trace guidance is to strain it and scatter it at least 200 feet from streams and lakes. Never empty it into water, storm drains or urban areas.
What happens in freezing weather? Water left in the pump and hoses can freeze and split them. Pump the lines dry before a freezing night, and keep the fresh jug in the heated part of the van.
Sources and verification
- Whale Marine Catalogue (Navico), Babyfoot GP4618 page: 13 mm (1/2 in) flexible hose connection, 8 L/min maximum flow, 1.5 m suction lift, 3 m discharge head, service kit AK4615. https://docs.navico.com/view/177634415/58 (checked 2026-10-09)
- Scepter, 5 Gallon/20 Litre Military Water Container 05177 product page: food-grade and BPA-free material statements; the page publishes no opening size, dimensions or cleaning instructions. https://www.scepter.com/products/military-products/military-fuel-water-containers/military-water-container/5-gallon-20-litre-military-water-container-05177/ (checked 2026-10-09)
- Sea to Summit, Ultra-Sil Kitchen Sink product page: 10 L, 38.5 x 38.5 x 20 cm, 60°C/140°F limit, four-fifths-full standing note, no-bleach care note, no drain plug. https://www.seatosummit.com/products/ultra-sil-kitchen-sink (checked 2026-10-09)
- CDC, How to Create and Store an Emergency Water Supply: steps for cleaning and sanitising water storage containers, food-grade containers. https://www.cdc.gov/water-emergency/about/how-to-create-and-store-an-emergency-water-supply.html (checked 2026-10-09)
- National Park Service, Kings Mountain National Military Park, Leave No Trace page: carry wash water 200 feet from streams or lakes, use small amounts of biodegradable soap, scatter strained dishwater. https://www.nps.gov/kimo/planyourvisit/leave-no-trace.htm (checked 2026-10-09)
- USDA Forest Service, Intermountain Region, dispersed camping page: trailer campers to dispose of waste and grey water at dumping stations. https://www.fs.usda.gov/r04/recreation/dispersed-camping (checked 2026-10-09)
Products covered in this guide
Disclosure: As an Amazon Associate I earn from qualifying purchases. Links to Amazon on this page are affiliate links: if you buy through one, VanLifeKitchens.com may earn a commission at no extra cost to you. Read our affiliate disclosure.


More in Water Systems
Van Water System Setup: Fresh, Grey, and Filtration
How to design a 20–40 gallon water system for a van kitchen: tanks, pumps, filters, and a grey water setup that won't stink.
Van Kitchen Dish Washing: The System That Actually Works
How to clean dishes in a van without wasting water, smelling up the cabin, or driving yourself crazy. A real system, not a theory.
DIY Van Sink Setup on a Budget
Build a fully functional van galley sink — fresh water in, grey water out — with inexpensive parts. Step-by-step with photos, parts list, and the foot pump that makes it work.