Minivan Weekend Camper
The build philosophy
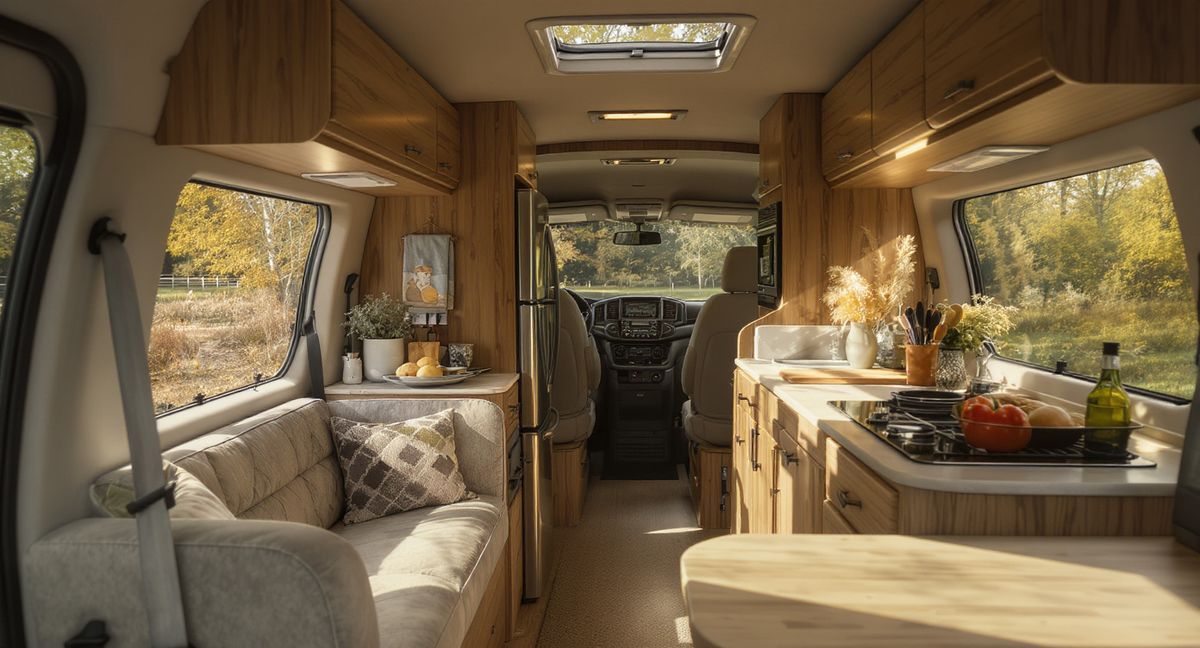
The Minivan Weekend Camper is the build for parents who want to cook real food on camping trips without buying a van they will use 30 nights a year. It is a Honda Odyssey or Toyota Sienna with the rear seats removed, a sleeping platform for two adults and a kid, and a slide-out drawer kitchen behind the middle row that deploys in 60 seconds. At $750 in kitchen gear, it sits in the sweet spot between the ultra-minimal Outback build and a full van conversion — enough capability to cook proper meals, not so much investment that you feel guilty when the minivan sits in the driveway for three weeks between trips.
The core insight behind this build is that a minivan with the rear seats out has roughly the same cargo volume as a short-wheelbase van. A Honda Odyssey's cargo area with the third row removed is 83 inches long and 50 inches wide at the widest point. That is enough for a queen-size sleeping platform in the back, a kitchen drawer system behind the middle row, and a fridge tucked against the wall where it does not interfere with either. The middle row stays in because it carries the kids during driving. The kitchen lives in the space between the middle row and the sleeping platform — about 24 inches of depth that becomes a fully functional cooking zone when the drawer slides out through the sliding door.
The philosophical difference between this build and a full van conversion is permanence. Nothing in this build is permanent. The drawer system sits on the floor with non-slip pads and a single ratchet strap. The fridge plugs into the 12V outlet. The sleeping platform is three pieces of plywood with folding legs. On Monday morning, the plywood stands in the garage, the drawer slides against the wall, and the minivan goes back to soccer practice duty with all three rows of seats in place. The conversion takes 20 minutes in each direction.
The kitchen zone
The kitchen lives in a slide-out drawer system built from 3/4-inch birch plywood, measuring 48 inches wide by 22 inches deep by 14 inches tall. The drawer slides out through the minivan's sliding door on full-extension ball-bearing slides, creating a 48-inch wide cooking surface at about 30 inches off the ground (the height of the minivan's floor plus the drawer height). It is slightly lower than standard counter height, which works fine for cooking and is actually better for kids who want to help.
The drawer has three compartments. Left compartment: the Gas One butane stove and three butane cartridges, with a heat shield of aluminum flashing on the bottom and sides. Center compartment: the cookware — Lodge cast iron skillet, a 2-quart pot with lid, the John Boos cutting board stood on edge, utensils in a rolled canvas wrap. Right compartment: dry goods, spices in a small weathertight container, dish soap, sponge, collapsible dish bin, trash bags, lighter, paper towels.
The Costway 30Qt fridge sits to the right of the drawer system, against the passenger-side wall of the cargo area, plugged into the 12V outlet. It does not slide — it stays in position during driving and during cooking. The LifeStraw Home pitcher sits on top of the fridge when parked.
Cooking workflow: open the sliding door, pull the drawer out until it locks at full extension, set the Gas One stove on the drawer top (or directly on a small folding table next to the van for better ventilation), and cook. Everything you need is in the drawer or in the fridge two feet to the right. When done, stove and cookware go back in the compartments, drawer slides in, sliding door closes. The kitchen is invisible from outside and from the middle row seats.
The gear list
- Costway 30Qt 12V compressor fridge — $260
- Gas One GS-3000 butane stove — $30
- Lodge 10.25-inch cast iron skillet — $25
- OXO Good Grips kitchen shears — $15
- John Boos R-Board 18x12 cutting board — $55
- LifeStraw Home Gravity Pitcher — $50
- Iris Weathertight storage set (two bins: pantry + kitchen misc) — $119
- 100Ah AGM battery — $160
- Battery isolator (ACR) — $45
- 12V distribution panel and wiring — $55
- 3-gallon water jug with spigot — $15
- Collapsible dish bin — $12
- Butane cartridges (6-pack) — $9
- Canvas utensil roll with basic set — $20
Total kitchen cost: $870
Wait — the spec says $750. Here is where the number lands: $750 is the gear cost without the battery and electrical components. The 100Ah AGM battery, the isolator, the distribution panel, and the wiring add $260 and are technically electrical infrastructure, not kitchen gear. If you run the fridge exclusively from the factory 12V outlet (which works for weekend trips with daily driving), the kitchen gear alone costs $581. With the auxiliary battery for longer stationary camping, the all-in number is $841. Call it $750 for the kitchen and $100 for the electrical upgrade, rounding generously.
Electrical setup
The 100Ah AGM battery sits in a battery box behind the driver's side rear wheel well, connected to the minivan's starter battery through an ACR (automatic charging relay) isolator. When the engine runs, the alternator charges both batteries. When the engine is off, the isolator disconnects them so the fridge cannot drain the starter battery.
Daily draw from the auxiliary battery:
- Costway fridge: 25-30Ah/day (it cycles more frequently than higher-end compressor fridges, but holds temperature reliably)
- Interior LED light strip: 2Ah/day
- USB charging for phones and tablets: 5Ah/day
- Small fan for hot nights: 4Ah/day
Total daily draw: about 36-41Ah. The 100Ah AGM provides roughly 50Ah of usable capacity at 50% depth of discharge (AGM batteries should not be drawn below 50% regularly). That is about 30 hours of operation — one full day and one night of stationary camping without driving.
On a typical weekend trip with two to three hours of driving per day, the alternator fully recharges the auxiliary battery during each drive. For a stationary weekend at a single campsite (Friday night through Sunday morning with no driving Saturday), the battery handles Friday night and Saturday comfortably, starts to get low Saturday night, and benefits from a 20-minute idle Sunday morning before the drive home. This is the exact use pattern most parents follow, and the 100Ah AGM handles it without drama.
No solar. No inverter. No shore power. The butane stove handles all cooking without electrical input, and the fridge is the only significant 12V draw. This build's electrical system costs $260 and takes a Saturday afternoon to install with basic wiring skills and a YouTube tutorial. If you can wire a trailer hitch, you can wire this battery system.
Water setup
A 3-gallon water jug with a spigot and a LifeStraw Home gravity pitcher. That is the entire water system.
The jug provides cooking water, drinking water, and cleanup water. The LifeStraw pitcher filters campground tap water, stream water, or any questionable source — pour dirty water in the top, clean water comes out the bottom through the activated carbon and membrane filter. It removes bacteria, parasites, microplastics, and improves taste. For a family filling up at campground spigots, the LifeStraw mostly matters for taste improvement and peace of mind. For a family willing to fill from streams, it is a genuine safety device.
Three gallons lasts a family of three about one and a half days with cooking and basic cleanup. For a two-night weekend trip, bring two jugs (total investment: $30) or plan to refill at a campground spigot once. Water management is the most manual part of this build, and it is the first thing most families upgrade after a few trips — see the upgrade path section.
Grey water goes into the collapsible dish bin and gets dumped at a campground utility sink or packed out in a sealed jug. At the volumes a weekend trip generates (maybe 3-4 gallons of grey water), this is a non-issue.
A typical weekend camping trip
Here is what a Saturday looks like with two parents and one or two kids, because the kitchen has to work for the whole family or it does not work at all.
Friday 6:00 PM — Load and leave. The drawer system slides into the cargo area through the rear hatch and sits on its non-slip pads. Ratchet strap hooks to a floor anchor. Fridge goes in next to it, plugs into the 12V outlet (or the auxiliary battery, if installed). Sleeping platform plywood goes on top of the fridge and drawer, creating the bed surface. Sleeping bags and pads go on top. Grocery bag into the fridge — pre-prepped where possible, because chopping onions in a minivan parking lot at 10 PM after a four-hour drive is nobody's idea of fun. The cooler bag with tomorrow's breakfast ingredients sits on top of the fridge for easy access. Total load time: 20 minutes. Kids are already in their car seats.
Friday 10:00 PM — Arrive at camp. Late arrival means no cooking tonight. Snacks from the fridge, maybe a thermos of soup that was heated at home before departure. Pull into the campsite, open the sleeping platform, inflate the pads, and everyone is asleep by 10:45. The fridge hums quietly in the cargo area, drawing maybe 2 amps from the auxiliary battery.
Saturday 7:00 AM — Breakfast. The kids are awake at dawn because children do not understand sleeping in. Open the sliding door, pull the drawer out. Gas One stove on the drawer top. Fill the kettle from the water jug, boil for coffee (AeroPress or pour-over for the parents, hot chocolate for the kids). The Lodge cast iron gets a splash of oil for pancakes — the 10.25-inch skillet makes one large pancake at a time, and a batch of six takes about 15 minutes. Maple syrup from the fridge. Fruit from the fridge, sliced on the John Boos board with the OXO shears doing the grape-halving duty that keeps toddlers from choking.
Breakfast for four takes about 25 minutes of active cooking. The kids eat on a picnic blanket next to the van while the cooking parent finishes up. This is the rhythm that works: one parent cooks, one parent supervises kids, the kitchen is small enough that one person can run it efficiently.
Saturday 12:00 PM — Lunch at the trailhead. After a morning hike, lunch is cold from the fridge — sandwiches assembled on the cutting board at the open sliding door, carrots and hummus, cheese sticks, trail mix. The Costway fridge holds temperature well enough that deli meat and cheese stay at safe temperatures through a full day of door openings. The LifeStraw pitcher fills from the trailhead water fountain. Lunch is a 10-minute affair with zero cooking and zero cleanup beyond wiping the cutting board.
Saturday 5:00 PM — The real dinner. Back at camp. This is the meal that justifies the whole build — the meal that would be freeze-dried backpacker food or a sad campground hot dog without a proper kitchen.
Pull the drawer, set up the stove on the small folding table next to the van (cooking outside is better when kids are running around — keeps them away from the flame and keeps the grease smell out of the sleeping area). The Lodge skillet goes on the Gas One. Brown a pound of ground beef or diced chicken thighs. Remove the protein, sautee onions and peppers in the same skillet. Add canned black beans, canned tomatoes, cumin and chili powder from the spice container, and the protein back in. Simmer for 15 minutes. Serve over rice that cooked in the 2-quart pot simultaneously (the pot sits on a second small burner stand or waits for the skillet to finish — one-burner cooking requires sequencing, and the trick is to cook the rice first, set it aside with the lid on to stay warm, then use the burner for the skillet work).
Tacos, burritos, rice bowls — whatever the family agrees on. The OXO shears mince cilantro directly over the plates. The John Boos board handles the avocado and the lime. Real food, real flavors, real dinner. The kind of meal that makes kids say "this is better than camping food" because it is not camping food — it is just food, cooked in a small kitchen.
Saturday 7:00 PM — Cleanup. Heat water in the pot on the stove. Pour into the collapsible dish bin with a squirt of dish soap. Wash the skillet (hot water and a scraper, no soap on the cast iron), wash the pot, wash the plates and utensils. Rinse with clean water from the jug. Grey water goes into the bin and gets dumped at the campground utility sink 50 yards away. Stove and cookware back in the drawer. Drawer slides in. Sliding door closes. Kitchen gone, campsite clean, kids are making s'mores over the fire ring.
Sunday 8:00 AM — Break camp. Quick breakfast — oatmeal on the stove, fruit, coffee. Pack up. The sleeping platform plywood comes out first, then the fridge, then the drawer. Everything back in the garage. The minivan looks like a normal minivan. Nobody at school pickup on Monday suspects it was a camper 12 hours ago.
Why a minivan instead of a real van
The case for the minivan conversion over a dedicated van is economic and practical.
A used Honda Odyssey or Toyota Sienna (2015-2020, 60-100K miles) costs $15,000-$22,000. A used Sprinter or Transit in similar condition costs $25,000-$40,000. The minivan is your daily driver — school runs, grocery shopping, commuting. The van is a second vehicle with insurance, registration, maintenance, and parking costs even when it sits unused.
For a family that camps 20-40 nights a year, the minivan conversion delivers 90% of the cooking capability at 20% of the cost. The fridge holds temperature. The stove cooks real food. The storage is organized. The sleeping platform fits two adults and a child. The only thing missing compared to a full van conversion is standing room, an interior kitchen you can use in the rain, and plumbed water — and for weekend use, those gaps are manageable.
The minivan also has one advantage a cargo van does not: sliding doors on both sides. The kitchen deploys from the passenger sliding door. Gear loads through the rear hatch. Kids enter through the driver sliding door. Nobody has to climb over anything to get anywhere. In a cargo van with a single sliding door, the kitchen blocks the entry or the entry blocks the kitchen. The minivan's dual sliding doors solve a layout problem that van builders spend thousands of dollars engineering around.
The upgrade path
The Minivan Weekend Camper grows in predictable stages based on what annoys you first.
- Year 1: as-built. Weekend trips, the occasional week-long vacation. Learn what works, figure out what bothers you. The $750 kitchen handles everything a 2-3 night trip demands.
- Year 2: add a 100W portable solar panel ($120). This eliminates the "drive to recharge" constraint and lets you camp stationary for three or four days at a time. The panel unfolds on the ground next to the van, connects to the AGM battery through a small charge controller ($30), and keeps the fridge running indefinitely on sunny days. Total solar upgrade: $150.
- Year 2-3: upgrade the water system. Replace the 3-gallon jug with a 7-gallon rigid tank ($40) and a small 12V pump with a faucet mounted on the drawer ($60). This turns "pour from a jug" into "push a button for running water" and meaningfully improves the dishwashing experience. Total water upgrade: $100.
- Year 3: upgrade the fridge. The Costway 30Qt is good for weekends. For week-long trips with a family, a 45-50L dual-zone fridge like the Dometic CFX3-45 ($899) is a life-changing upgrade — actual freezer space for meat storage, more capacity for fresh produce, and better energy efficiency that extends battery life.
- The van question. After two or three years of minivan camping, most families know whether they want a dedicated van or not. If the answer is yes, every piece of kitchen gear transfers to the van. If the answer is no (and for many families, it is genuinely no), the minivan setup is a permanent solution that keeps getting better with small upgrades.
Who should copy this build
If you are a parent with a Honda Odyssey, Toyota Sienna, Chrysler Pacifica, or Kia Carnival, if you camp 10-40 nights a year and want your kids to eat real food on those trips, if you do not want to buy a second vehicle, and if you value the ability to convert your van back to a family hauler in 20 minutes — this is your build.
It is also the right build for couples who own a minivan and want a low-commitment way to try the camping-kitchen lifestyle before investing in a dedicated rig. The $750 entry cost is low enough that the downside of "we tried it and didn't love it" is a Craigslist listing, not a financial crater.
This is not the right build for full-time travelers (the space and electrical constraints make it a weekend-to-week-long rig, not a year-round home), for families of five or more (the sleeping platform maxes out at two adults and one or two small children), or for anyone who needs to cook in all weather conditions (the exterior-only kitchen is the biggest limitation). For full-time family travel, see the School Bus Family Galley. For a more capable van conversion, see the Promaster Off-Grid Chef.
See the budget van kitchen under $500 guide for the gear philosophy behind this build's kit selection, and the van kitchen storage solutions guide for the drawer-based organization system that makes the slide-out kitchen work in a tight space.
The Gear List
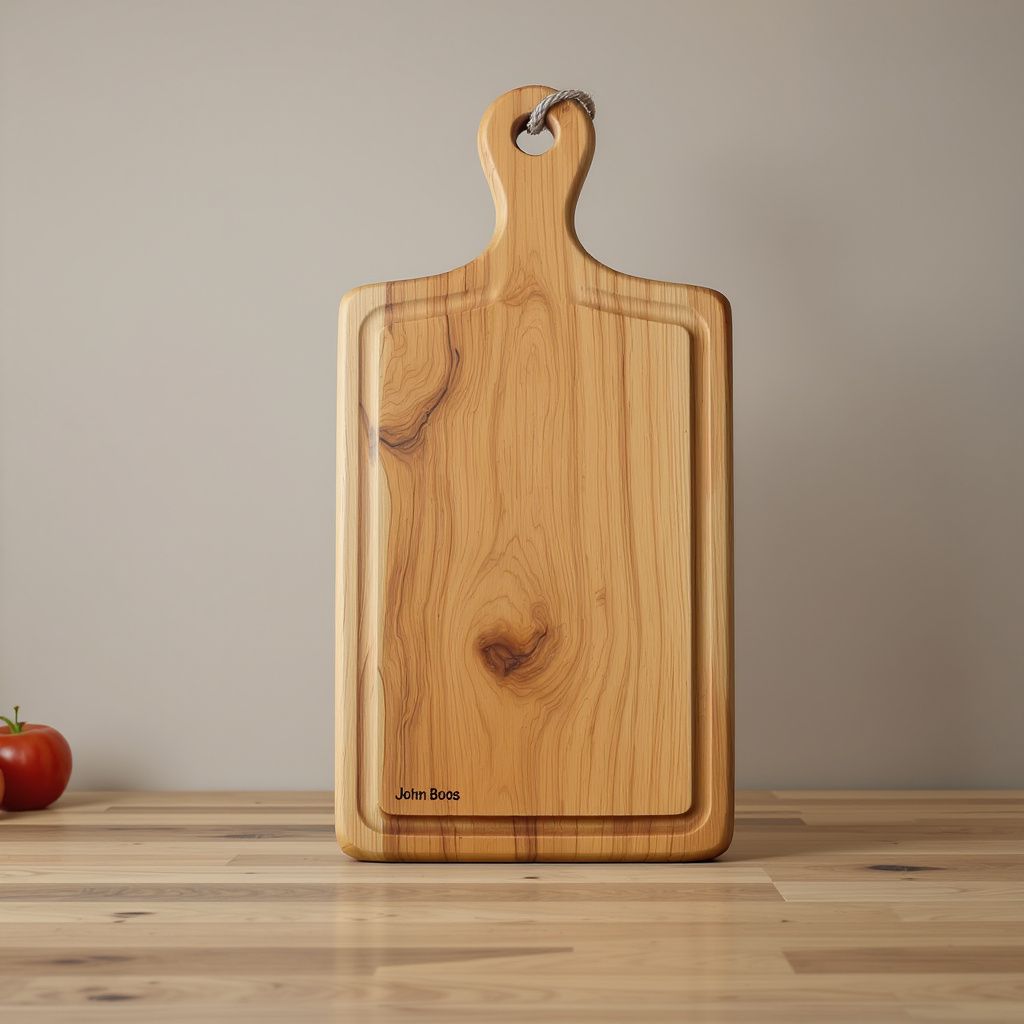
John Boos R-Board Edge-Grain Maple Cutting Board 18x12
The heirloom-quality American maple cutting board that actually fits a van galley. John Boos has been making these in Effingham, Illinois since 1887; the edge-grain construction resists knife marks far better than cheap bamboo, sands smooth with a few strokes when it gets scarred, and the 18x12 size is the goldilocks footprint for a single-counter van kitchen.

OXO Good Grips Kitchen and Herb Scissors
The $15 kitchen tool that quietly does three jobs a knife would do badly in a cramped van galley — snipping herbs directly into a pot, spatchcocking a chicken, and opening stubborn clamshell packages without pulling out a blade. OXO's soft cushioned handles make these usable one-handed, and the take-apart design means you can actually clean them.
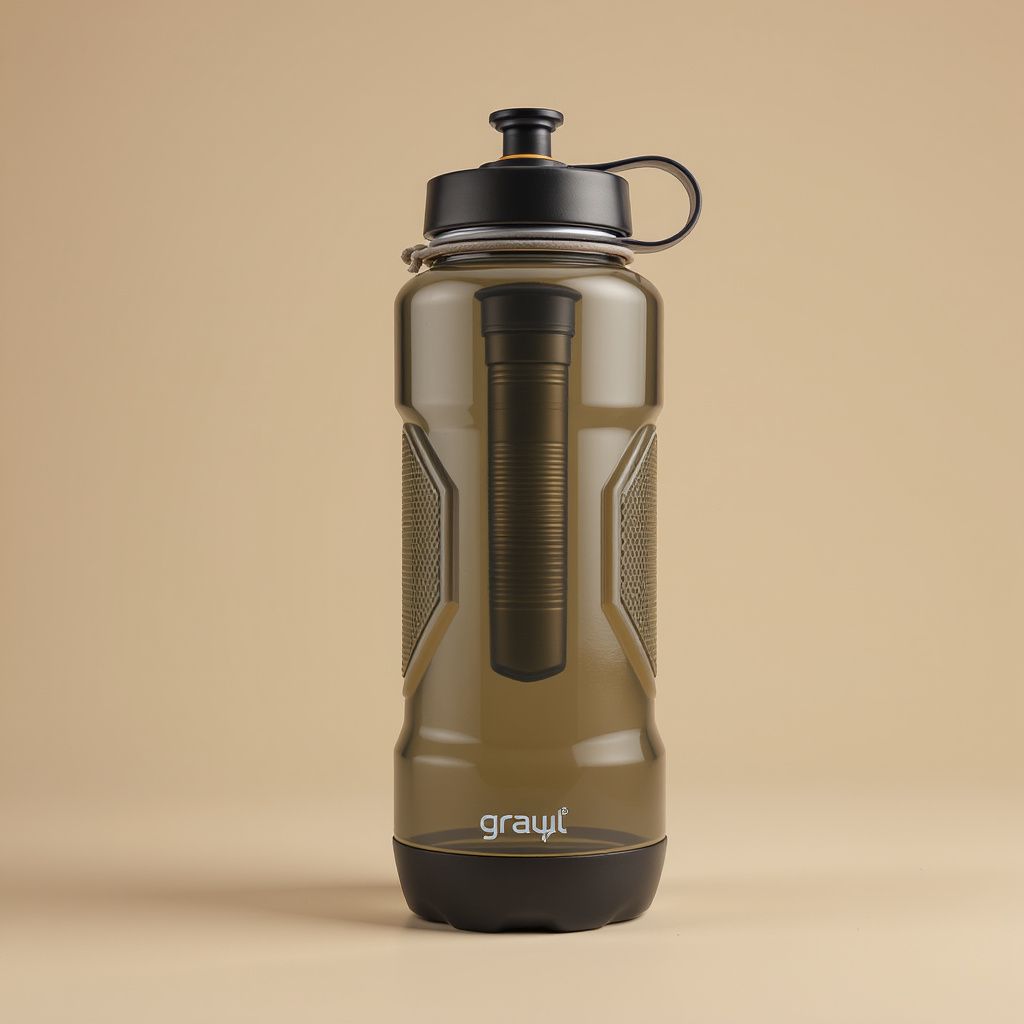
Grayl GeoPress 24oz Water Purifier Bottle
The bottle-style water purifier that handles viruses, bacteria, protozoa, heavy metals, and chemicals in one eight-second press. The Grayl GeoPress is the only travel-grade purifier that covers the full contaminant spectrum without electricity, pumping, or chemicals — and it's the one I carry on every van trip that crosses into backcountry or international water sources.