School Bus Family Galley
The build philosophy
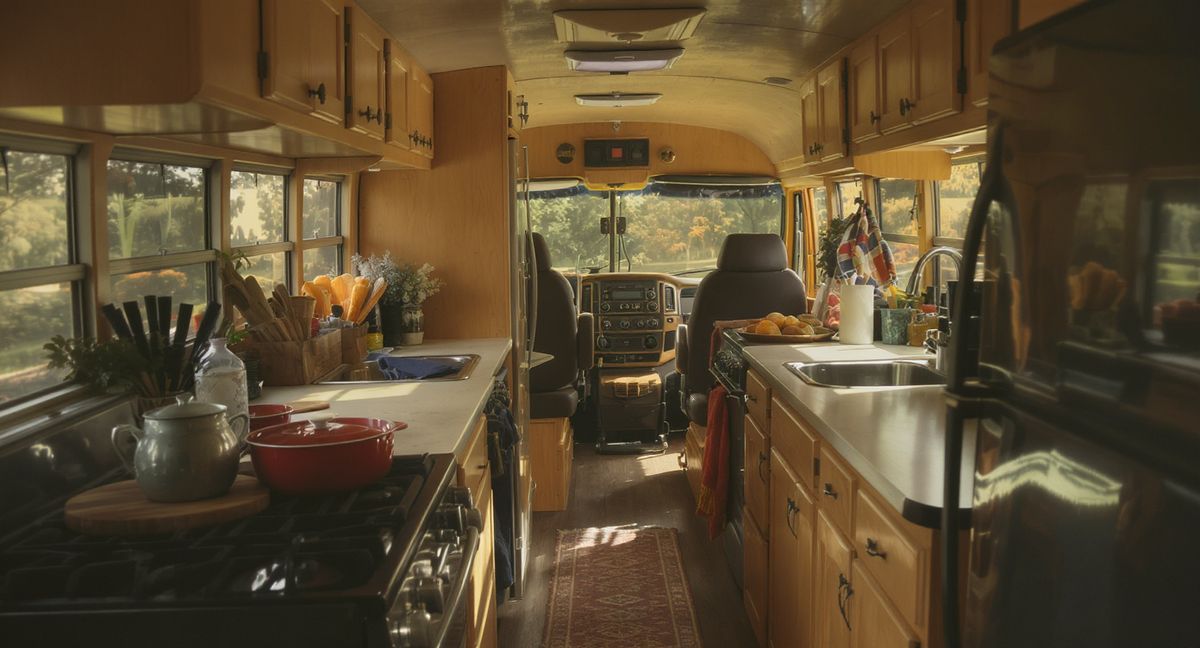
The School Bus Family Galley is the biggest kitchen on this site, and it exists because families traveling full-time in a skoolie need a kitchen that works like a kitchen — not a camp stove on a countertop, not a cooler with a cutting board balanced on top, but a real galley with a real fridge, a real sink with running water, a real cooktop that does not require butane cartridges, and enough storage to hold a week of groceries for four people without a Tetris exercise every time someone opens the pantry.
This is a 6-foot galley built along one wall of a converted school bus, with lower cabinets, a countertop at standard 36-inch height, a dual-zone compressor fridge, a two-burner induction cooktop, a bar sink plumbed to a 40-gallon fresh water tank and a 30-gallon grey tank, and a 600Ah LiFePO4 battery bank with 1000W of rooftop solar to power it all. Budget for the kitchen alone: $5,200. That is a serious number, and it is worth every dollar if you are feeding a family of three or four on the road for months or years at a time.
The philosophy behind this build is that a family galley should feel like a small apartment kitchen, not like a camping setup. Kids need to eat on a schedule. Partners need to cook without bumping into each other in a 24-inch-wide aisle. Leftovers need to survive in a fridge that holds temperature reliably. Water needs to flow from a faucet, not from a jug with a hand pump. Every decision in this build optimizes for daily usability over cleverness, because the family that uses this kitchen will cook 1,000 meals a year in it.
The kitchen zone
The galley occupies a 6-foot section of the bus's driver side wall, starting roughly 8 feet behind the driver's seat and ending at the bedroom partition. The countertop is 72 inches long by 25 inches deep, built from 3/4-inch birch plywood with a food-safe butcher block finish. Below the counter: four lower cabinets with full-extension drawer slides, the fridge in a dedicated compartment at the far end, and the plumbing access panel at the sink end. Above the counter: open shelving (not upper cabinets — in a bus, upper cabinets block the windows and make the space feel like a tunnel).
The layout from left to right: sink and drainboard (18 inches), prep counter (18 inches), induction cooktop (18 inches), fridge zone (18 inches). This puts the sink and the cooktop within arm's reach, which is the single most important ergonomic decision in a galley kitchen. You should be able to fill a pot, move it 24 inches to the burner, and start cooking without taking a step. In a bus kitchen that gets used three times a day, that 24-inch distance saves roughly 200 steps per day — which sounds trivial until you have been cooking in a badly laid out galley for a month and your back hurts from pivoting.
The aisle between the galley and the opposite wall (where the dining bench lives) is 36 inches wide. This is the minimum for two adults to pass each other, and it works for a parent and a child cooking together side by side at the counter. Wider is better, but in a standard-width school bus (90 inches interior), 36 inches of aisle is what you get after a 25-inch counter and a 24-inch bench seat, and it is enough.
The gear list
- Dometic CFX3-45 dual-zone compressor fridge — $899
- Kenyon Silken two-burner induction cooktop — $650
- Magma Nesting 10-piece cookware set — $189
- Gneiss magnetic spice rack — $89
- Clearsource Ultra inline water filter — $299
- Victorinox Fibrox 8-inch chef knife — $45
- John Boos R-Board 18x12 cutting board — $55
- OXO Good Grips kitchen shears — $15
- Lodge 10.25-inch cast iron skillet — $25
- Iris Weathertight storage set (pantry bins, x3) — $357
- Bar sink (stainless, 15x15 drop-in) — $85
- 12V water pump (Shurflo 4008) — $65
- 40-gallon fresh water tank (Class A Customs) — $180
- 30-gallon grey water tank (Class A Customs) — $140
- Plumbing fittings, PEX, drain hardware — $200
- Butcher block countertop materials — $250
- Cabinet lumber, hardware, drawer slides — $650
- Countertop-mounted paper towel holder and utensil hooks — $35
Total kitchen cost: $5,228
This does not include the electrical system (battery bank, solar, inverter, charge controller, wiring), which runs an additional $3,800 and is detailed below. The kitchen cost is the kitchen: gear, cabinetry, plumbing, countertop.
Electrical setup
The Kenyon Silken induction cooktop draws up to 1800W per burner, and running both burners simultaneously at moderate power pulls 2400-2800W. That requires a serious battery bank and a serious inverter.
This build runs:
- 600Ah LiFePO4 battery bank (two 300Ah batteries wired in parallel) — roughly $2,200
- 3000W pure sine wave inverter — $450
- 1000W rooftop solar (four 250W panels) — $800
- 60A MPPT solar charge controller — $250
- Wiring, bus bars, fuse blocks, battery monitor — $300
Total electrical cost: $4,000
Daily electrical draw for the kitchen alone: the Dometic fridge pulls about 30Ah/day (it works harder than smaller fridges because the door opens more often with kids). The induction cooktop, used for three meals a day at varying power levels, draws 80-120Ah/day. The water pump adds 2-3Ah/day. Lights over the galley add 5Ah/day. Interior fans and device charging (not strictly kitchen, but powered by the same bank) add 15-20Ah/day. Total daily draw: 130-170Ah.
The 600Ah bank provides about 480Ah of usable capacity at 80% depth of discharge. That is roughly three days of full kitchen operation with zero solar input. With 1000W of solar in summer, the bank replenishes fully by early afternoon on a clear day, and you have essentially unlimited kitchen energy from April through October in the southern half of the US.
Winter changes the equation. Solar harvest drops to 25-35% of summer output, and cooking three meals a day on induction starts to outpace what the panels can replace. The solution for this build is not a backup propane or butane stove — it is shore power. Full-time skoolie families tend to park at RV parks or campgrounds with electrical hookups during the coldest months, and a 30-amp shore power connection keeps the battery bank topped and the induction running without compromise. The inverter-charger handles the switchover automatically.
For families that want to boondock through winter, add a propane backup cooktop ($150) and a small propane tank. But this build is designed around induction as the primary heat source because induction is safer in a bus with children — no open flame, no carbon monoxide, no hot grates for small hands to touch.
Water setup
The 40-gallon fresh water tank sits under the bus floor between the frame rails, mounted with steel straps. A Shurflo 4008 12V diaphragm pump pressurizes the system to about 3.2 GPM, which feels like a normal household faucet. The Clearsource Ultra inline filter sits between the tank and the pump, removing sediment, chlorine, and contaminants from whatever water source you fill from — campground spigots, public park faucets, or friend's garden hoses.
The bar sink is a standard 15x15 stainless drop-in with a single-lever faucet. Hot water comes from a small 2.5-gallon electric water heater ($180, not included in the kitchen budget because it serves the whole bus) mounted under the counter. You get about 90 seconds of hot water before it runs cool — enough for a sink full of dishes but not enough for a shower. The hot water heater draws 1400W and runs off the inverter, so it only heats on demand rather than maintaining temperature.
The 30-gallon grey water tank hangs under the bus floor behind the fresh tank, collecting sink drain water through a standard 1.5-inch PVC drain line. A gate valve at the lowest point of the grey tank allows dumping at any RV dump station. At family usage rates — three meals of cooking, three rounds of dishes, hand washing, and general cleanup — the grey tank fills in about five days. The fresh tank empties in about four days. So the refill-and-dump cycle happens roughly every four days, which aligns well with typical RV park stays or campground visits.
The plumbing is the most labor-intensive part of this build. Expect two full weekends of work for someone who has never done PEX plumbing before, or one weekend for someone with basic plumbing experience. The key is to use SharkBite push-fit connectors everywhere instead of crimp fittings — they cost more but eliminate the need for a PEX crimping tool and reduce the odds of a leak in a vehicle that vibrates constantly.
A typical cooking day for a family
Here is what a Tuesday looks like in a skoolie with two adults and two kids, because the kitchen only justifies its cost if the daily workflow is smooth.
7:00 AM — Breakfast for four. One parent starts coffee on the left induction burner while the Magma 10-inch skillet heats on the right burner. Scrambled eggs for four, toast on a griddle plate (the Magma set includes a flat griddle that nests with the pots), fruit from the fridge. The Dometic's upper zone holds dairy, eggs, and drinks at 37 degrees. The lower zone holds frozen items — chicken thighs for dinner, frozen fruit for smoothies, ice packs for the kids' lunch bags. The dual-zone split is what makes this fridge worth the price over a single-zone unit: you actually have a freezer, which means you can buy meat in bulk and freeze it.
7:45 AM — Cleanup round one. Hot water from the faucet (the little water heater has been on for two minutes), dish soap, sponge. Four plates, four forks, one skillet, one pot. Everything washed, rinsed, in the drying rack mounted on the wall above the sink. Total cleanup: eight minutes. The kids bus their own plates to the sink — the 36-inch counter height works for a 7-year-old standing on the bus floor, which sits about 4 inches higher than a standard house floor.
12:00 PM — Lunch. Sandwiches and snacks from the fridge, no cooking required. The 18-inch prep counter handles four sandwich assemblies without feeling cramped. The John Boos cutting board spans the prep zone for slicing tomatoes, cheese, and cold cuts. The OXO shears cut grapes in half for the toddler faster than a knife. Lunch cleanup: two minutes, four plates in the sink with a quick rinse.
5:30 PM — Dinner. The big production. One parent preps while the other manages the kids. The Victorinox handles onion, garlic, and vegetable prep on the John Boos board. A pot of rice goes on the left burner. A stir-fry builds in the Lodge cast iron on the right burner. The Gneiss spice rack, mounted on the wall at eye level between the cooktop and the sink, holds 12 daily spices within arm's reach — cumin, paprika, garlic powder, oregano, chili flakes, salt, pepper, turmeric, cinnamon, Italian seasoning, curry powder, and sesame seeds. Having the spices visible and accessible instead of buried in a cabinet is a small thing that changes the quality of every meal.
The Dometic opens and closes maybe eight times during dinner prep. The dual-zone design matters here because you are pulling ingredients from the fridge zone and ice cream for dessert from the freezer zone in the same cooking session. A single-zone fridge set to refrigerator temperatures cannot hold frozen items, which means no frozen meat storage, no ice cream, no frozen vegetables — a serious limitation for a family.
Dinner for four is on the table (the dining bench across the aisle doubles as the table with a folding leaf) in about 40 minutes of active cooking.
6:30 PM — Cleanup round two. The big one. Two pots, one skillet, four plates, four sets of utensils, the cutting board, the knife, serving spoons. Hot water from the faucet fills the sink. Wash, rinse, rack. The grease from the cast iron gets wiped with a paper towel and the skillet gets a hot-water rinse and a light oil coat — cast iron care does not change just because you live in a bus. Total cleanup: 15 minutes with one parent washing and one drying.
Daily water usage: about 8-10 gallons across three meals, cleanup, hand washing, and drinking water. The 40-gallon tank lasts four days.
Cabinet and storage design
The four lower cabinets each have full-extension ball-bearing drawer slides rated for 100 pounds. In a vehicle, drawer slides are not optional — they are structural. A cabinet with a swinging door in a moving bus will dump its contents on the floor the first time you hit a speed bump. Drawers with positive latches hold everything in place.
Cabinet 1 (under the sink): cleaning supplies, dish soap, sponges, trash bags, the grey water access panel.
Cabinet 2 (under the prep counter): the Iris Weathertight bins holding dry goods — rice, pasta, oats, flour, sugar, canned beans, canned tomatoes. Three bins fit side by side and pull out as a unit on the drawer slide. The weathertight seal matters in a bus: condensation, humidity, and the occasional spill are constant threats to dry goods.
Cabinet 3 (under the cooktop): pots and pans. The Magma nesting set stacks into a single column that occupies about 10 inches of diameter, leaving room for the Lodge cast iron, a baking sheet, and a pot lid organizer.
Cabinet 4 (next to the fridge): the everything drawer. Utensils, the knife roll, the cutting board stood on edge, kitchen towels, aluminum foil, parchment paper, ziplock bags. This drawer gets opened 20 times a day and needs to be organized ruthlessly or it becomes a junk drawer within a week.
The Gneiss magnetic spice rack mounts on the wall above the cooktop, holding 12 small magnetic jars. The magnets are strong enough to survive highway driving and dirt road washboard — tested this personally on 500 miles of Utah backcountry roads with zero jars falling.
The upgrade path
A $5,200 kitchen does not have much room for improvement, but there are a few meaningful upgrades for families that have been on the road for a year and know their pain points.
- Year 1: as-built. Learn the workflow, figure out what works, figure out what annoys you. Do not change anything for the first six months.
- Year 2: add a small oven. A countertop convection oven ($150) or a Camp Chef outdoor oven ($200) opens up baking — pizza, cookies, bread, casseroles. This is the single most-requested addition from families with kids, because kids want pizza and cookies and a stovetop cannot deliver either one. The convection oven runs off the inverter and draws about 1200W, which the 600Ah bank handles easily.
- Year 3: upgrade the water heater. The 2.5-gallon unit is adequate but slow. A tankless propane water heater ($300) provides unlimited hot water on demand and dramatically improves the dish-washing experience. It requires adding a small propane tank to the build, but by year three most skoolie families have propane for heating anyway.
- Year 3+: replace the countertop. After 1,000+ meals, the butcher block finish will show wear. Sand it down, refinish with food-safe mineral oil, and it comes back to new. Or upgrade to a solid-surface countertop ($400-600) that never needs refinishing. The cabinetry underneath should last the life of the bus.
Who should copy this build
If you are a family of three or four planning to travel full-time in a converted school bus, if you cook three meals a day and need a kitchen that handles that volume without feeling like a camping compromise, if you have the budget for a proper build and the willingness to do the plumbing and electrical work (or pay someone to do it), and if you want your kids to eat real food — not road-trip junk food — every single day, this is the build.
It is also the right build for couples who cook seriously and want the most capable kitchen possible in a mobile vehicle. The dual-zone fridge, the two-burner induction, the plumbed water system, and the storage capacity are overkill for a solo traveler but exactly right for anyone feeding more than one person daily.
This is not the right build for weekend warriors (the Outback Micro Kitchen or the Weekend Warrior Transit are better fits), for solo minimalists (the Sprinter Minimalist is the template), or for anyone who does not want to do a significant construction project. A 6-foot galley with plumbing and cabinetry is a real build — expect 4-6 weekends of work for a competent DIYer, or $3,000-5,000 of labor if you hire it out.
See the induction vs butane vs propane guide for the detailed reasoning behind choosing induction as the primary cooktop in a family build, and the van kitchen storage solutions guide for the cabinet organization system that keeps this galley functional at scale.
The Gear List
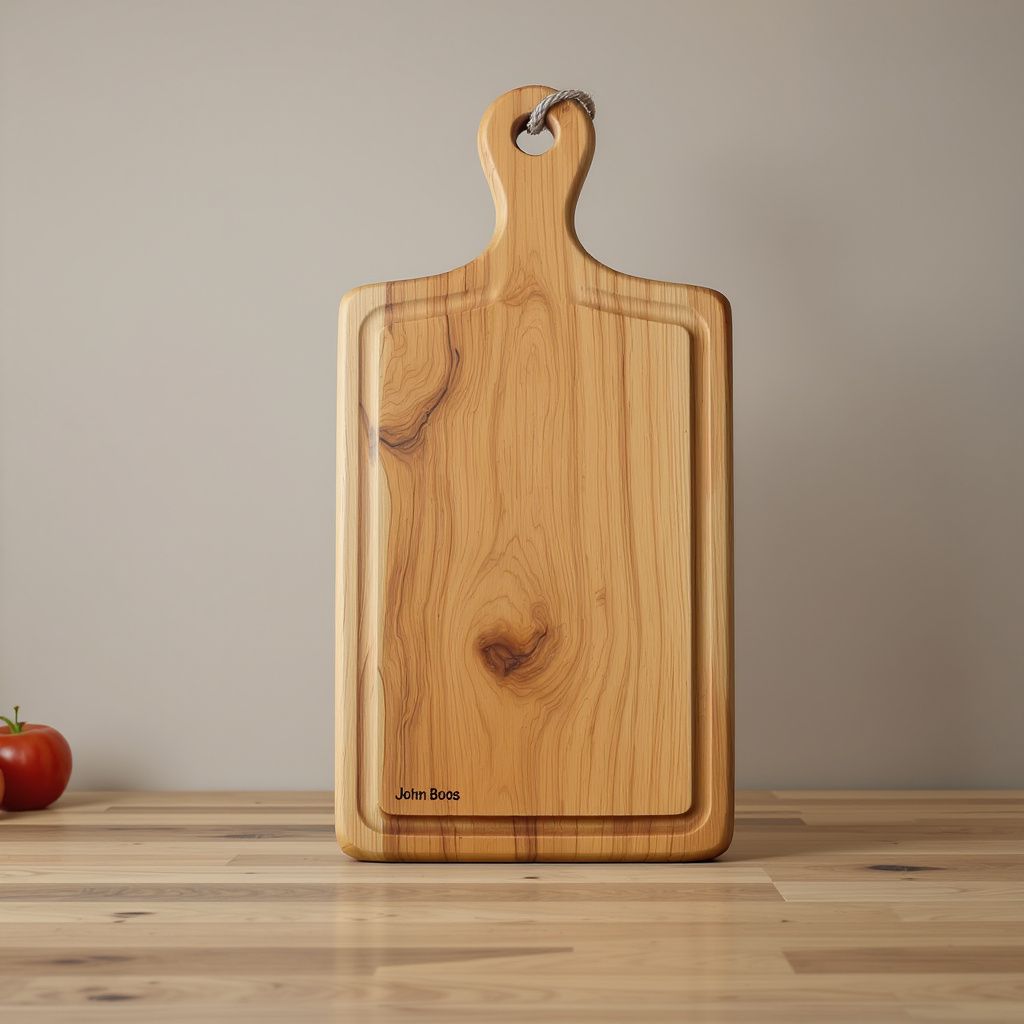
John Boos R-Board Edge-Grain Maple Cutting Board 18x12
The heirloom-quality American maple cutting board that actually fits a van galley. John Boos has been making these in Effingham, Illinois since 1887; the edge-grain construction resists knife marks far better than cheap bamboo, sands smooth with a few strokes when it gets scarred, and the 18x12 size is the goldilocks footprint for a single-counter van kitchen.

OXO Good Grips Kitchen and Herb Scissors
The $15 kitchen tool that quietly does three jobs a knife would do badly in a cramped van galley — snipping herbs directly into a pot, spatchcocking a chicken, and opening stubborn clamshell packages without pulling out a blade. OXO's soft cushioned handles make these usable one-handed, and the take-apart design means you can actually clean them.
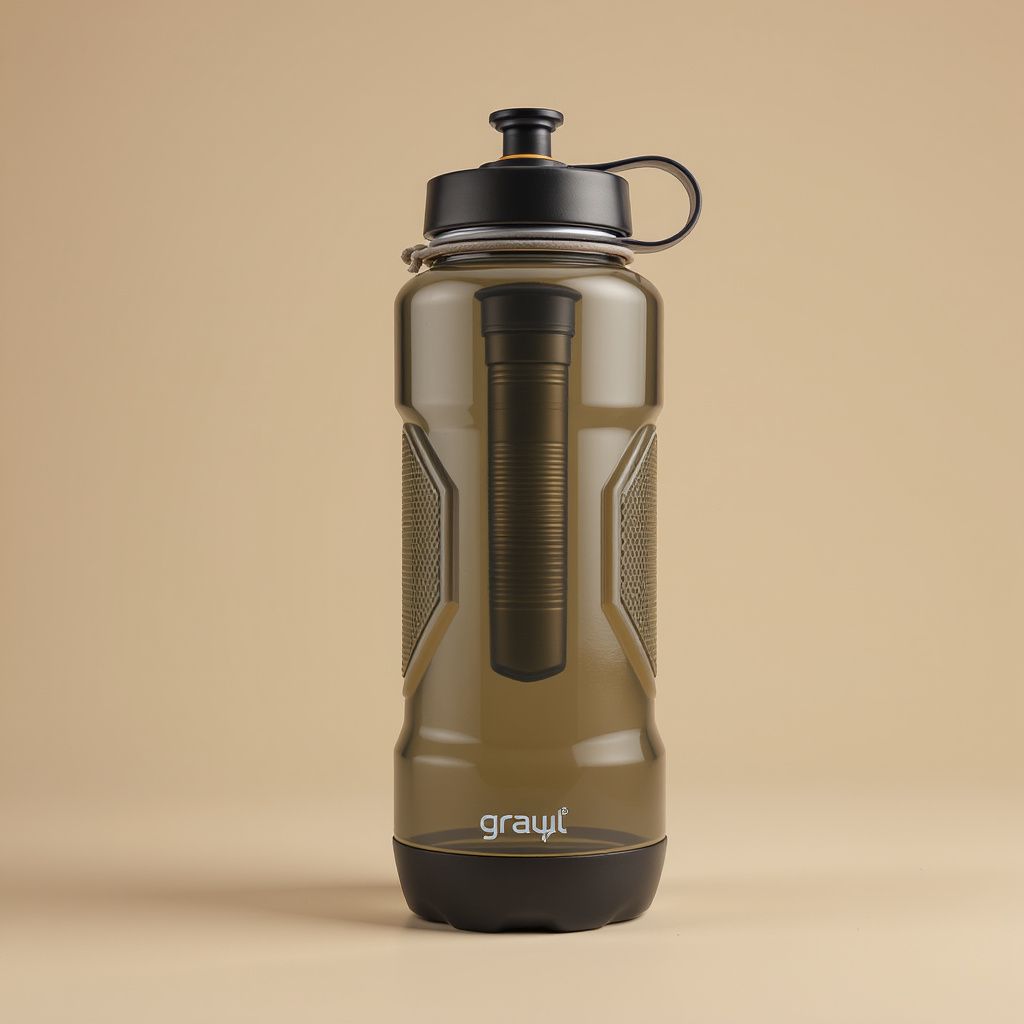
Grayl GeoPress 24oz Water Purifier Bottle
The bottle-style water purifier that handles viruses, bacteria, protozoa, heavy metals, and chemicals in one eight-second press. The Grayl GeoPress is the only travel-grade purifier that covers the full contaminant spectrum without electricity, pumping, or chemicals — and it's the one I carry on every van trip that crosses into backcountry or international water sources.