Outback Micro Kitchen
The build philosophy
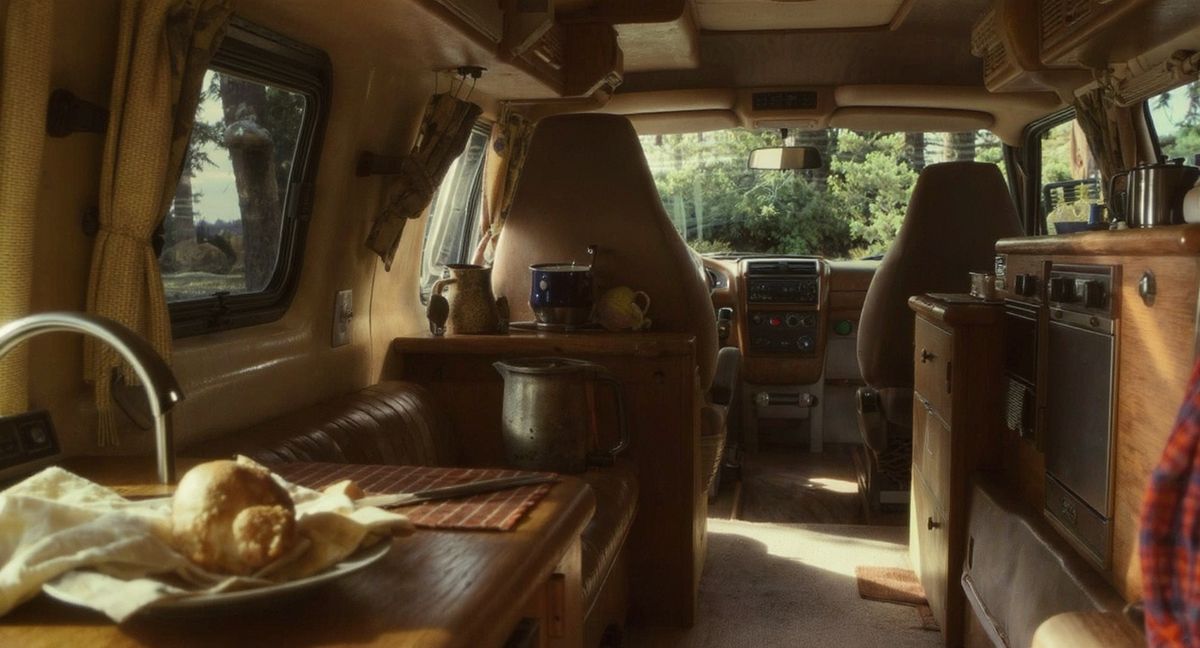
The Subaru Outback Micro Kitchen is the build for people who are not sure they want a van at all. It is a 2020 or newer Subaru Outback with the rear seats folded flat, a sleeping platform made from a sheet of plywood and a foam pad, and a kitchen that deploys from the rear hatch in under two minutes. At $450 of gear, it is the cheapest build on this site by a wide margin, and the whole thing stows in a single Iris Weathertight bin that slides behind the front seats when you need the car back for commuting on Monday morning.
This is not a compromise build. This is a deliberately minimal build. The philosophy here is that most people who think they need a $40,000 Sprinter conversion actually need a weekend car-camping rig that lets them cook real food and sleep comfortably at trailheads, beach parking lots, and dispersed BLM land. The Outback already has all-wheel drive, decent ground clearance, and 75 cubic feet of cargo space with the seats down. Add a stove, a fridge, a water filter, and a knife, and you have a kitchen that can produce the same meals as a full van galley — just with more manual steps and less counter space.
If you are testing whether you enjoy road tripping and cooking your own food on the road, start here. If it sticks, everything in this build transfers directly into a van conversion later. If it does not stick, you are out $450 instead of $25,000.
The kitchen zone
There is no permanent kitchen zone. The Outback's cargo area, with the rear seats folded flat, becomes a sleeping platform at night and a storage bay during the day. The kitchen deploys exclusively from the rear hatch.
Here is the workflow: park at camp, open the rear hatch (which provides a rain cover overhead), pull the Iris Weathertight bin to the tailgate edge, set the Gas One butane stove on top of the bin lid, and cook. The Alpicool C20 fridge sits in the footwell behind the passenger seat, plugged into the 12V cigarette lighter, where it runs continuously without needing to move. Water comes from a 3-gallon jug that lives next to the fridge. The Sawyer Squeeze filter handles water refills from any stream or campground spigot.
When cooking is done, the stove, cookset, knife, and cutting board go back into the bin. The bin slides forward behind the front seats. The sleeping platform occupies the full cargo area. The transition from "kitchen mode" to "sleep mode" takes about five minutes.
The critical design choice is that the fridge never moves. It lives in the passenger footwell permanently during trips, plugged into the cigarette lighter, maintaining temperature whether the car is driving or parked. Everything else deploys and stows. This means there is exactly one thing to set up (the stove on the bin lid at the tailgate) and one thing to put away.
The gear list
- Gas One GS-3000 butane stove — $30
- Alpicool C20 12V compressor fridge — $200
- Stanley Adventure Base Camp 21-piece cookset — $60
- Sawyer Squeeze water filter — $39
- Opinel No. 8 folding knife — $22
- 3-gallon water jug — $15
- Iris Weathertight storage set (single bin for all kitchen gear) — $119
Total kitchen cost: $450 (including the storage bin, excluding the sleeping platform)
Add a $40 half-sheet of birch plywood and a $60 tri-fold foam pad for the sleeping platform, and the complete car-camping conversion costs $550. No tools beyond a tape measure and a saw. No modifications to the vehicle. No holes drilled, no bolts installed, nothing that voids a warranty or affects resale.
Electrical setup
There is no electrical system beyond the Subaru's factory battery and 12V outlet. The Alpicool C20 draws about 45 watts when the compressor is running and cycles on and off to hold temperature, averaging roughly 1-1.5 amps per hour from the 12V outlet. Over an 8-hour overnight park with the engine off, that is 8-12 Ah of draw from a factory battery that holds about 60-70 Ah.
This is sustainable for one or two nights. On the third night without driving, the battery voltage will start to sag and the fridge's low-voltage cutoff will shut it down to protect the starter battery. The solution is simple: drive for 30-45 minutes every other day. On a road trip where you are driving daily anyway, this is never a problem. On a stationary weekend at a single campsite, you may need to idle the engine for 20 minutes on Sunday morning to top the battery off before driving home.
For people who want to camp stationary for longer stretches, the upgrade is a portable 100W solar panel ($120) and a solar charge controller ($30) connected to a small auxiliary battery. But that upgrade belongs in year two, not day one. The factory battery handles the weekend-warrior use case that this build targets.
No inverter. No shore power hookup. No solar. No battery monitor. The simplicity is the point. If you are spending more time wiring your car than cooking in it, the build has gone sideways.
Water setup
Three gallons of fresh water in a standard camping jug. That is it. No pump, no plumbing, no tank, no grey water system.
Three gallons lasts one person about two and a half days with modest cooking and cleanup — roughly a gallon a day for drinking, cooking water, coffee, and dish rinsing. The jug sits in the cargo area next to the fridge and pours directly into pots, cups, and the dish bin. No pump needed because the jug has a spigot.
The Sawyer Squeeze filter is the critical piece that makes three gallons viable for longer trips. Any stream, lake, or campground spigot becomes a water source. Fill a dirty bag from the stream, screw on the Sawyer filter, squeeze clean water into the jug. Refill takes five minutes. On a week-long trip through national forests, I have never run out of water with this system — the limiting factor is finding a water source every two days, which is trivial in the western US and only mildly inconvenient in the eastern US.
Grey water from dishes goes into a collapsible bucket ($8 at any camping store) and gets dumped in a campground utility sink, a vault toilet, or packed out. There is no grey tank and no need for one at this volume.
A typical weekend trip
Here is what a Friday-to-Sunday trip looks like in the Outback, because the build only matters if the workflow makes sense in practice.
Friday 5:30 PM — Pack and leave. The Iris bin is already packed from the last trip — stove, cookset, knife, spices in a small ziplock, dish soap, sponge, lighter. Toss the bin in the cargo area, slide the Alpicool fridge into the passenger footwell and plug it in, load the cooler bag of fresh groceries into the fridge (it reaches temperature in about 30 minutes), fill the 3-gallon jug, throw the sleeping pad and bag in the back. Door to highway in 15 minutes.
Friday 9:00 PM — Arrive at camp. Pull into a dispersed camping spot or a quiet trailhead lot. Open the rear hatch, pull the bin to the edge, set the Gas One on the bin lid. Boil water for ramen or pasta in the Stanley 1.1-liter pot — four minutes on the butane stove. Chop scallions and a handful of vegetables on the bin lid with the Opinel. Dinner in 20 minutes. Cleanup in a collapsible dish bin with heated water, grey water into the bucket. Stow everything, lay out the sleeping platform, and lights out by 10:30.
Saturday 7:00 AM — Coffee and breakfast. Open the hatch from inside (the beauty of the Outback's interior hatch release), swing legs out, set up the stove on the bin. Boil water, pour over an AeroPress. Scramble two eggs in the Stanley frying pan with a tortilla. Coffee and breakfast done in 15 minutes. The car is "day mode" — sleeping pad rolled, bin accessible, fridge running in the footwell.
Saturday Midday — On the trail. Lunch is cold from the fridge — a sandwich built on the tailgate in three minutes, an apple, some cheese. No stove needed. The Outback drives to the next trailhead with everything stowed and the fridge maintaining 37 degrees in the footwell.
Saturday 6:00 PM — The real dinner. Back at camp or a new spot. This is the meal worth planning for. A one-pot rice and sausage dish in the Stanley 3-quart pot. Dice an onion and a bell pepper on the bin lid. Brown the sausage, add rice, add water, simmer for 20 minutes with the lid on. The Gas One handles this perfectly — a single butane cartridge lasts about 90 minutes of cook time, and this meal uses maybe 25 minutes of flame. Season from the spice ziplock. Eat directly from the pot to minimize dishes.
Saturday 8:00 PM — Cleanup and evening. Hot soapy water in the dish bin, wash the pot and the knife, rinse, dump grey water. Everything into the bin, bin behind the front seats, sleeping platform deployed. Total time from last bite to lying down: about 20 minutes.
Sunday 8:00 AM — Break camp. Coffee and a quick breakfast (oatmeal from the pot, fruit from the fridge). Pack out everything. The car looks like a normal Subaru Outback within ten minutes of deciding to leave. Drive home. No dump station visit needed — pour the grey bucket at the next rest stop bathroom. The fridge stays plugged in during the drive and keeps leftovers cold for dinner at home.
What this build cannot do
Honesty about limitations matters more than selling the dream.
No standing-room cooking. You cook at the tailgate, outside the vehicle. In rain, wind, or cold, that means either cooking under the hatch (which provides a partial rain cover) or skipping the hot meal. A small tarp rigged from the hatch to two trekking poles creates a better rain shelter, but this is never going to be as comfortable as cooking inside a van.
No long-term stationary camping. The factory battery limits you to two nights without driving. If you want to park at a beach for a week and never move the car, you need an auxiliary battery or solar panel.
No two-person comfort. One person sleeps well in an Outback with the seats folded. Two people can sleep in it, but it is tight — about 42 inches of width, which is narrower than a standard twin mattress. Cooking for two from the tailgate is fine; sleeping for two is a compromise.
No interior cooking. The Gas One butane stove produces carbon monoxide and must be used outdoors or with the hatch fully open and adequate ventilation. There is no safe way to cook inside a closed Outback. This is a hard rule, not a suggestion.
No hot running water. Dish cleanup uses water heated on the stove and poured into a collapsible bin. There is no faucet, no pump, no instant hot water. This is fine for weekend trips and becomes tedious on trips longer than five days.
The upgrade path
The Outback Micro Kitchen is designed as a stepping stone, not a permanent home. Every piece of gear in this build has a next life.
- Year 1: as-is. Weekend trips, 2-4 day road trips, festival camping, trailhead overnights. Total investment: $450 in kitchen gear plus whatever you already spent on the Outback.
- Year 2: add a portable solar panel and a small auxiliary battery. A 100W panel and a 50Ah LiFePO4 battery ($300 total) eliminate the "drive every two days" constraint and let you camp stationary for a full week. The fridge moves from the cigarette lighter to the auxiliary battery. Everything else stays the same.
- Year 3: graduate to a van or keep the Outback. If you decide you want more space, every piece of gear — the fridge, the stove, the cookset, the filter, the knife, the bins — transfers directly into a van conversion. The Outback goes back to being a normal car with zero evidence it was ever a camper. If the Outback is enough (and for many weekend warriors, it genuinely is), upgrade the fridge to a larger Alpicool or Iceco model and add a proper spice rack mounted inside the cargo area.
The key insight is that $450 of portable kitchen gear holds its value regardless of what vehicle it lives in. You are not investing in the car. You are investing in a cooking kit that works in any vehicle with a flat cargo area and a 12V outlet.
Who should copy this build
If you own a Subaru Outback (2020 or newer, for the flat-folding rear seats), a Subaru Forester, a Honda CR-V, a Toyota RAV4, or any midsize SUV or wagon with a flat cargo area — and you want to cook real food on weekend trips without buying a van, without drilling holes, and without spending more than a few hundred dollars — this is your build.
It is also the right first build for anyone who is "van curious" but not ready to commit. Test the lifestyle for $450. Cook 20 meals from your tailgate over a few weekends. If you love it, upgrade. If you do not, sell the gear on Craigslist for 70 cents on the dollar and move on.
This is not the right build for full-timers, for families, for anyone who needs to cook in bad weather regularly, or for anyone who wants a permanent interior kitchen. For those cases, look at the Sprinter Minimalist or the School Bus Family Galley — builds that trade simplicity for capability.
See the budget van kitchen under $500 guide for the full breakdown of how to assemble a sub-$500 cooking kit, and the van kitchen storage solutions guide for how the single-bin system keeps this build organized without cabinets.
The Gear List
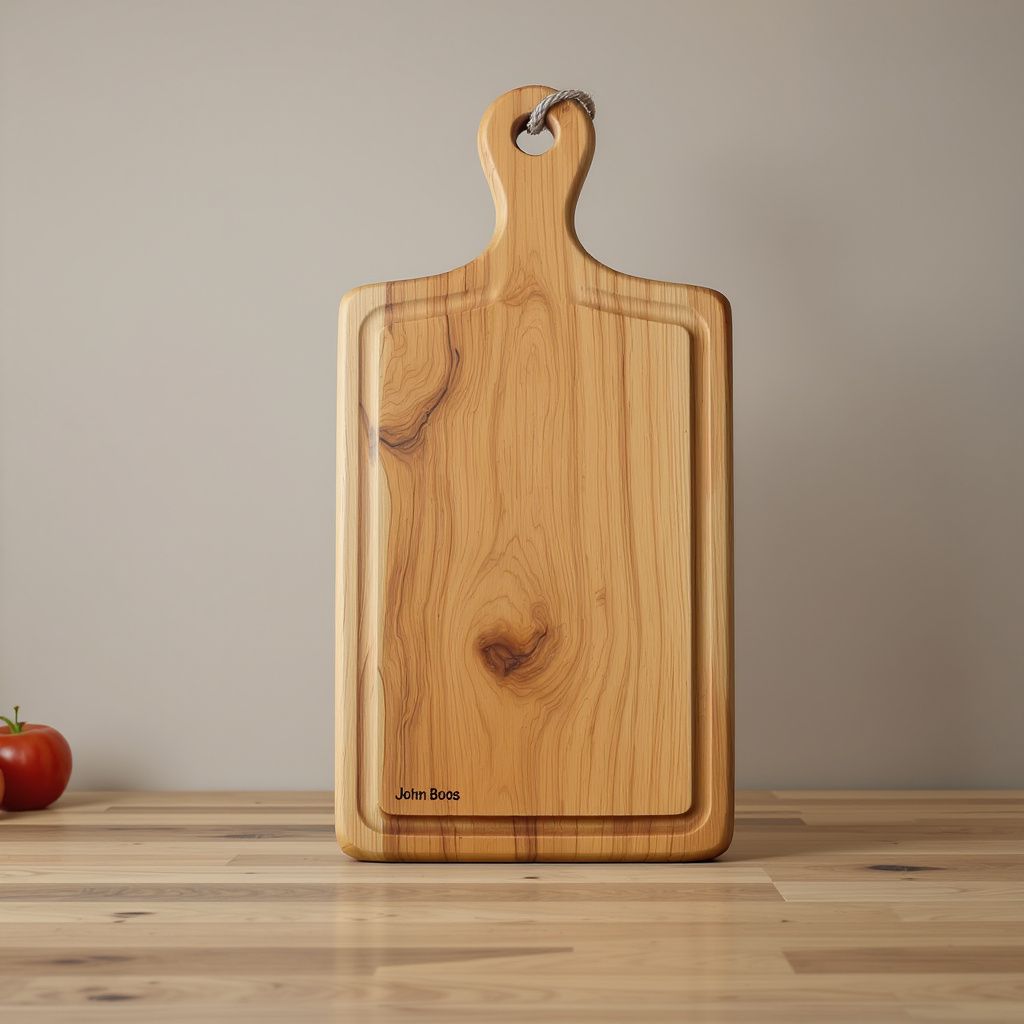
John Boos R-Board Edge-Grain Maple Cutting Board 18x12
The heirloom-quality American maple cutting board that actually fits a van galley. John Boos has been making these in Effingham, Illinois since 1887; the edge-grain construction resists knife marks far better than cheap bamboo, sands smooth with a few strokes when it gets scarred, and the 18x12 size is the goldilocks footprint for a single-counter van kitchen.
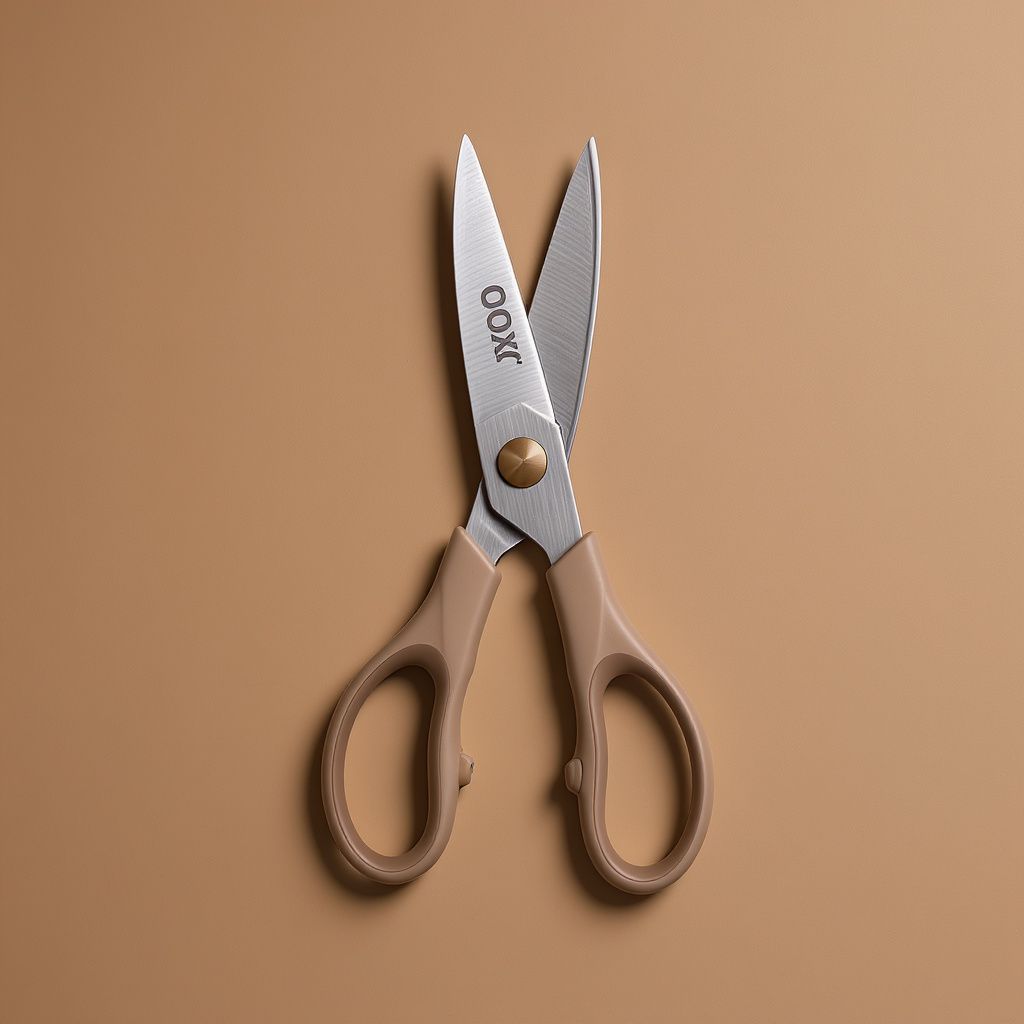
OXO Good Grips Kitchen and Herb Scissors
The $15 kitchen tool that quietly does three jobs a knife would do badly in a cramped van galley — snipping herbs directly into a pot, spatchcocking a chicken, and opening stubborn clamshell packages without pulling out a blade. OXO's soft cushioned handles make these usable one-handed, and the take-apart design means you can actually clean them.
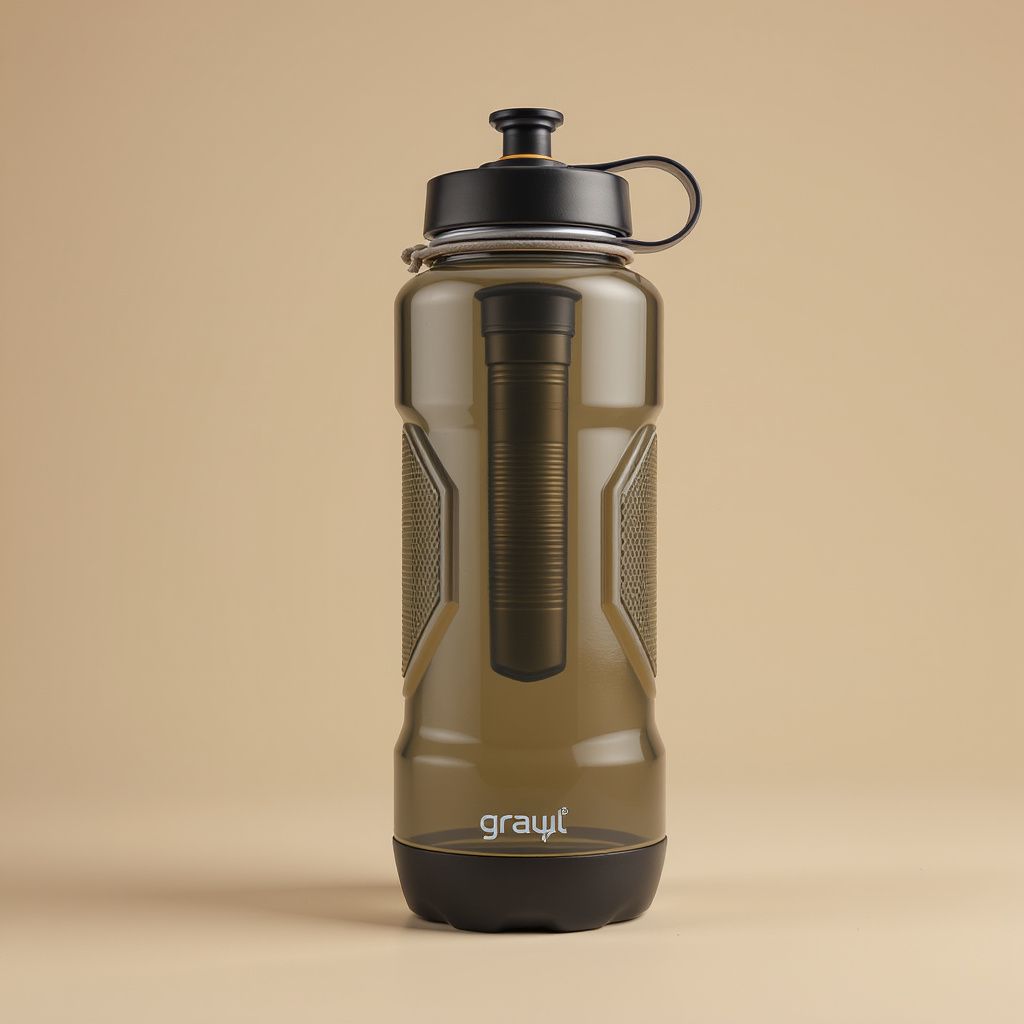
Grayl GeoPress 24oz Water Purifier Bottle
The bottle-style water purifier that handles viruses, bacteria, protozoa, heavy metals, and chemicals in one eight-second press. The Grayl GeoPress is the only travel-grade purifier that covers the full contaminant spectrum without electricity, pumping, or chemicals — and it's the one I carry on every van trip that crosses into backcountry or international water sources.