The Tacoma Overlander
The build philosophy
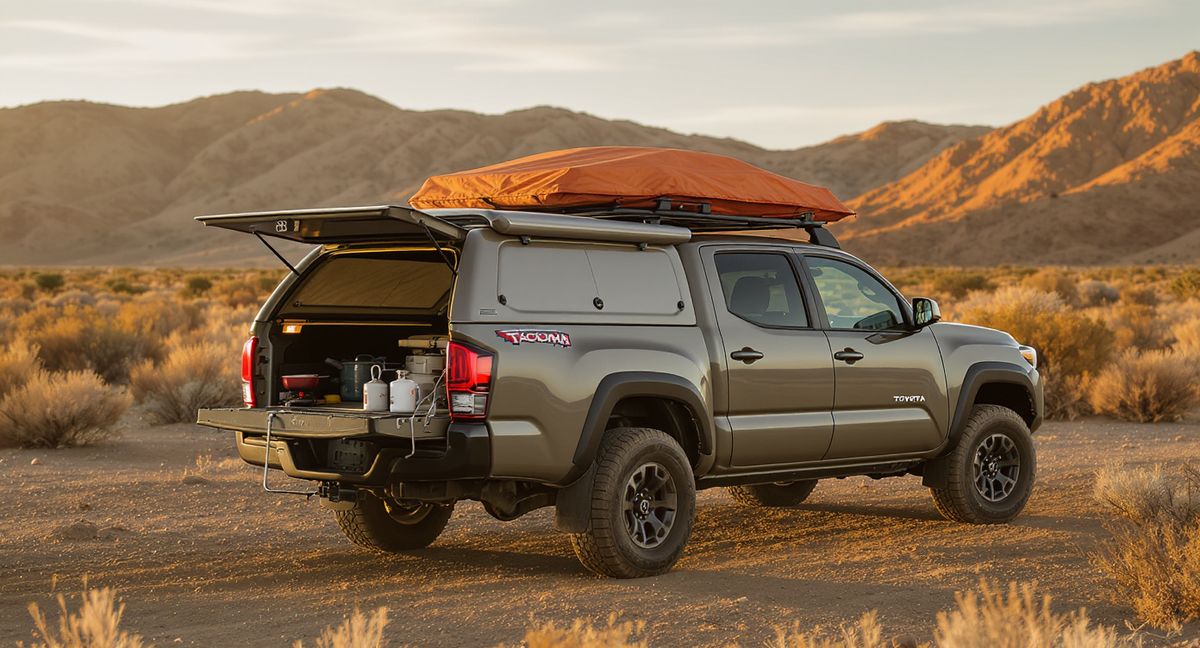
The Tacoma Overlander is the build for people who do not own a van. It is a 2nd-generation Toyota Tacoma (double cab, short bed) with a fiberglass camper shell and a rooftop tent on the cross bars, built around a kitchen that deploys from the tailgate and packs down for daily driving. At $1,450 in gear, it is cheaper than any of our full-van setups, and the truck itself is a daily driver that doubles as a camper on weekends and long trips. For the roughly four million Tacoma owners in the United States who want to cook real food out of their existing truck without building a dedicated van, this is the template.
It is also the template I would recommend to anyone who cannot commit to a full van build yet. Van life is expensive, van life is a lifestyle change, and van life sometimes doesn't stick. A Tacoma with a camper shell and a kitchen kit is the low-risk onramp: you can drive it to work every day, you can camp out of it every weekend, and if you decide you want more space, none of the gear you bought is wasted when you eventually upgrade to a real van.
The kitchen zone
There is no fixed kitchen zone. The tailgate of the Tacoma — when lowered, with the camper shell's rear glass flipped up — forms a 60-inch wide by 20-inch deep cooking counter that sits about 34 inches off the ground. This is almost identical in dimensions to a full van galley counter, just outside the vehicle instead of inside. When the tailgate is up and the glass is down, the entire kitchen stows in two large plastic totes in the truck bed alongside the sleeping gear.
The cooking workflow: park at camp, lower the tailgate, pull the two kitchen totes to the tailgate edge, flip up the shell's rear glass to create an overhead rain cover, set up the butane stove on the right half of the tailgate, and cook. The 40-quart fridge stays in the bed behind the cab where it does not need to move. Water comes from a 5-gallon jug with a pump mounted in the bed. Cleanup happens in a collapsible dish bin on the tailgate. Everything packs back into the two totes in about ten minutes when it's time to drive.
The gear list
- Iceco VL35 ProS 35L compression fridge — $429
- Duxtop 9100MC induction cooktop — $75
- Gas One GS-3000 butane backup stove — $30
- Stanley Adventure Base Camp 21-piece cookset — $60
- Lodge 10.25-inch cast iron skillet — $25
- LifeStraw Home Gravity Pitcher — $50
- Sawyer Squeeze water filter (backup) — $39
- Victorinox Fibrox 8-inch chef knife — $45
- Opinel No. 8 folding knife — $22
- John Boos R-Board 18x12 cutting board — $55
- OXO Good Grips kitchen shears — $15
- Iris Weathertight storage set (x2 for kitchen totes) — $119
- Front Runner Wolf Pack Pro storage bin (fridge platform) — $69
- Gneiss magnetic spice rack (mounted inside the shell wall) — $89
- 5-gallon Aqua-Tainer water jug + USB pump — $45
- Camping folding table (backup counter for wind/rain) — $45
- Collapsible dish washing bin — $20
- Butane cartridges (6-pack for a week) — $18
Total kitchen cost: $1,250
Add the fridge mounting hardware, the 100 Ah battery to run the fridge, and a small 12V distribution panel, and the electrical-plus-kitchen total comes in at about $1,450. No cabinets, no plumbing, no custom install.
The camper shell setup
The camper shell is the critical piece of infrastructure that separates this build from "truck camping with a Coleman stove." A mid-tier fiberglass shell (Leer 100R, A.R.E. CX, or similar) costs $1,800-$2,500 new and $500-$1,500 used on Craigslist. The shell turns the truck bed from a weather-exposed storage space into a dry, lockable, insulated room that holds the kitchen gear and the sleeping platform.
The key shell features for this build: a rear flip-up glass (not a barn door), side windows that open for ventilation, an interior dome light, and headliner insulation. The flip-up glass is what creates the rain-cover over the tailgate kitchen; without it, cooking in any weather becomes miserable. Side windows with screens let you cook under the shell in bug country without being eaten alive.
Storage inside the shell: the front 2/3 of the bed becomes the sleeping platform (twin-size, built from three 12x24 interlocking plywood panels with foam pads on top). The rear 1/3 stays clear as the "galley zone" — this is where the fridge and the kitchen totes live during driving, and where the cook stands during meal prep. The fridge sits on a Front Runner Wolf Pack Pro bin lid, which gives it 8 inches of clearance and lets the bin below hold dry goods.
The electrical setup
A single 100 Ah AGM battery in the passenger footwell, charged by an ACR isolator from the truck's alternator, powers:
- Fridge (22 Ah/day typical)
- Interior lights in the shell (2 Ah/day)
- 12V USB charging for phones (3 Ah/day)
- A small fan for hot nights (4 Ah/day)
Total daily draw: about 31 Ah. On a driving day (at least an hour of engine time), the battery refills completely. On a stationary rest day, the battery runs at about 80% of capacity and can sustain two full rest days before needing a drive.
No inverter, no solar, no induction cooking from the battery. This is the deliberate budget-simplicity choice — adding solar and an inverter to this build would roughly double the electrical cost, and the butane stove already solves the cooking problem for $30 of gear and $3 of fuel per weekend. Electrical upgrades go on the wishlist for year two.
Total electrical cost: about $400 including the battery, the isolator, the 12V panel, and the wiring.
A typical camping day
6:30 AM — Coffee and breakfast. The rooftop tent ladder folds down and I climb into the bed. Flip up the shell's rear glass, drop the tailgate, and reach into the kitchen tote for the Duxtop (wait — no 12V inverter here; use the Gas One butane instead). Set the butane stove on the tailgate, boil water in 3 minutes, pour an AeroPress cup. Cast iron skillet goes on the butane for eggs and toast. Total from asleep to eating: about 15 minutes.
Midday. Truck is on the move between trailheads and forest roads. Lunch is cold out of the fridge — pre-made wraps, cheese and salami, whatever fits in the 35L. The 18x12 John Boos cutting board lives behind the rear seats and comes out for quick prep on the tailgate at any stop.
6:00 PM — Dinner at camp. Pull into a dispersed camping spot on public land, lower the tailgate, set up the stove, cook a one-pan meal — pasta with sausage and vegetables, a skillet stir-fry, a stew in the Lodge cast iron. The OXO shears snip herbs directly into the pan. The Victorinox handles the cutting board work. Dinner takes about 40 minutes active cook time.
8:00 PM — Cleanup and stow. Dish bin with hot water from the kettle, dishes in, rinse, into the drying rack. Grey water into the 5-gallon grey jug. Stove into the first tote, cookware into the second, spice rack stays mounted on the shell wall. Tailgate up, glass down. The truck is ready to drive — five minutes from dinner table to ready-to-move-at-3-a.m.-if-I-need-to.
Why a Tacoma instead of a van
Three arguments for the truck-camper approach over a dedicated van build.
First, daily driver compatibility. A Tacoma fits in a normal parking spot, parks in a standard garage, and has the running costs of a midsize truck — oil changes, tire rotations, nothing exotic. A Sprinter needs a commercial-scale maintenance budget and cannot be daily-driven in a city without constant parking grief. For most people, the Tacoma is usable 365 days a year; the van is usable 50 weekends a year and sits in storage the rest of the time.
Second, resale and exit strategy. A used Tacoma is one of the most liquid vehicles in the US market — you can sell one in any city in any state within a week. A built-out van is a niche sale that takes weeks to months and usually sells below its investment cost. If van life does not work out for you, the Tacoma is easier to unwind.
Third, off-pavement capability. A stock Tacoma with all-terrain tires handles 95% of forest service roads, backcountry two-tracks, and moderate desert washes without modification. A Sprinter on street tires cannot. The Tacoma reaches campsites the van cannot, which is the whole point of going off-grid in the first place.
Where the Tacoma falls short
Being honest about the tradeoffs.
Interior space for living. You cannot stand up inside a Tacoma camper shell. Sleeping works, cooking outside works, but spending a rainy afternoon inside the truck is genuinely uncomfortable. The solution is a rooftop tent with a rain fly and an awning that extends over the tailgate — adds $1,000-$2,500 to the build and solves the "all-day rain" problem. This build budgets for a basic rooftop tent ($1,500) and uses the tailgate-plus-awning as the dry cooking zone.
Cold weather livability. A fiberglass shell is not insulated the way a van is. Winter camping in a Tacoma camper requires serious sleeping gear (a -10°F bag, an insulated pad) and accepts that cooking outside in freezing weather is unpleasant. For shoulder-season and summer use, the build is fine. For winter van-life-style living, the van is the correct choice.
Fresh water capacity. Five gallons for one person lasts 3-4 days. For longer trips, you carry multiple jugs — which gets awkward fast. A van with a 20-gallon tank has much more autonomy.
Standing room at the kitchen. Cooking on a tailgate is fine in good weather. Cooking in wind, rain, or snow is where the "exterior kitchen" model falls apart compared to an interior galley. The shell's flip-up glass and a small tarp awning help, but they are not a real wall.
The upgrade path
The Tacoma Overlander is designed as a build that can grow or transfer:
- Year 1: as-is. Weekend and week-long trips, dispersed camping, basic comfort. Total investment about $2,500 including the shell and the rooftop tent.
- Year 2: add solar + a larger battery. A 200W rooftop panel on the shell plus a 200 Ah lithium battery unlocks the induction cooktop and longer stationary stretches. Cost: about $1,500.
- Year 3: swap the shell for a pop-up camper or a full rooftop hardshell. This buys you standing room for cooking in bad weather. Cost: $4,000-$15,000 depending on the direction.
- Or: sell the Tacoma build and move into a full van. Every kitchen item in this build transfers directly into a van conversion with zero waste.
Total upgrade budget to transition from base Tacoma to full Tacoma-plus-popup setup: about $5,500. Alternatively, the full van route is $15-30K including the van itself — a choice you make based on whether you actually want a van or whether the truck camper is enough.
Who should copy this build
If you already own a Tacoma (or a Tundra, a Ranger, a Colorado, or any midsize/full-size pickup), if you camp 20-50 nights a year and want to eat real food on those trips, if you are not ready to commit to a dedicated van, and if you need your primary vehicle to still function as a daily driver — the Tacoma Overlander is the correct build and the one I would recommend.
It is not the right build if you want to live in the vehicle full-time, if you travel with more than one other person, or if you camp primarily in cold weather. For those cases, a real van or a small Class B camper is the correct call.
See the van kitchen storage solutions guide for how the modular tote storage system in this build fits into the broader van kitchen storage philosophy, and the budget van kitchen under $500 guide for a closely-related minimalist cooking kit.
The Gear List
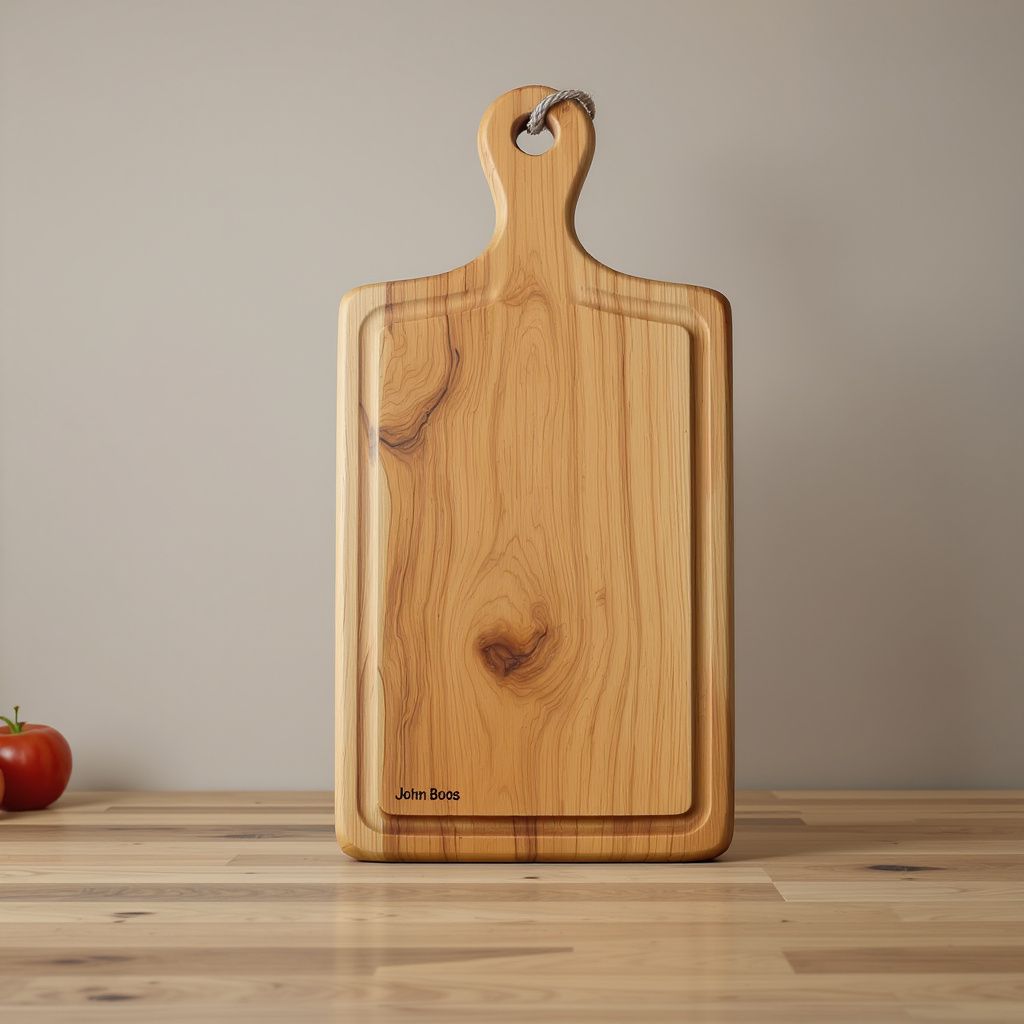
John Boos R-Board Edge-Grain Maple Cutting Board 18x12
The heirloom-quality American maple cutting board that actually fits a van galley. John Boos has been making these in Effingham, Illinois since 1887; the edge-grain construction resists knife marks far better than cheap bamboo, sands smooth with a few strokes when it gets scarred, and the 18x12 size is the goldilocks footprint for a single-counter van kitchen.

OXO Good Grips Kitchen and Herb Scissors
The $15 kitchen tool that quietly does three jobs a knife would do badly in a cramped van galley — snipping herbs directly into a pot, spatchcocking a chicken, and opening stubborn clamshell packages without pulling out a blade. OXO's soft cushioned handles make these usable one-handed, and the take-apart design means you can actually clean them.
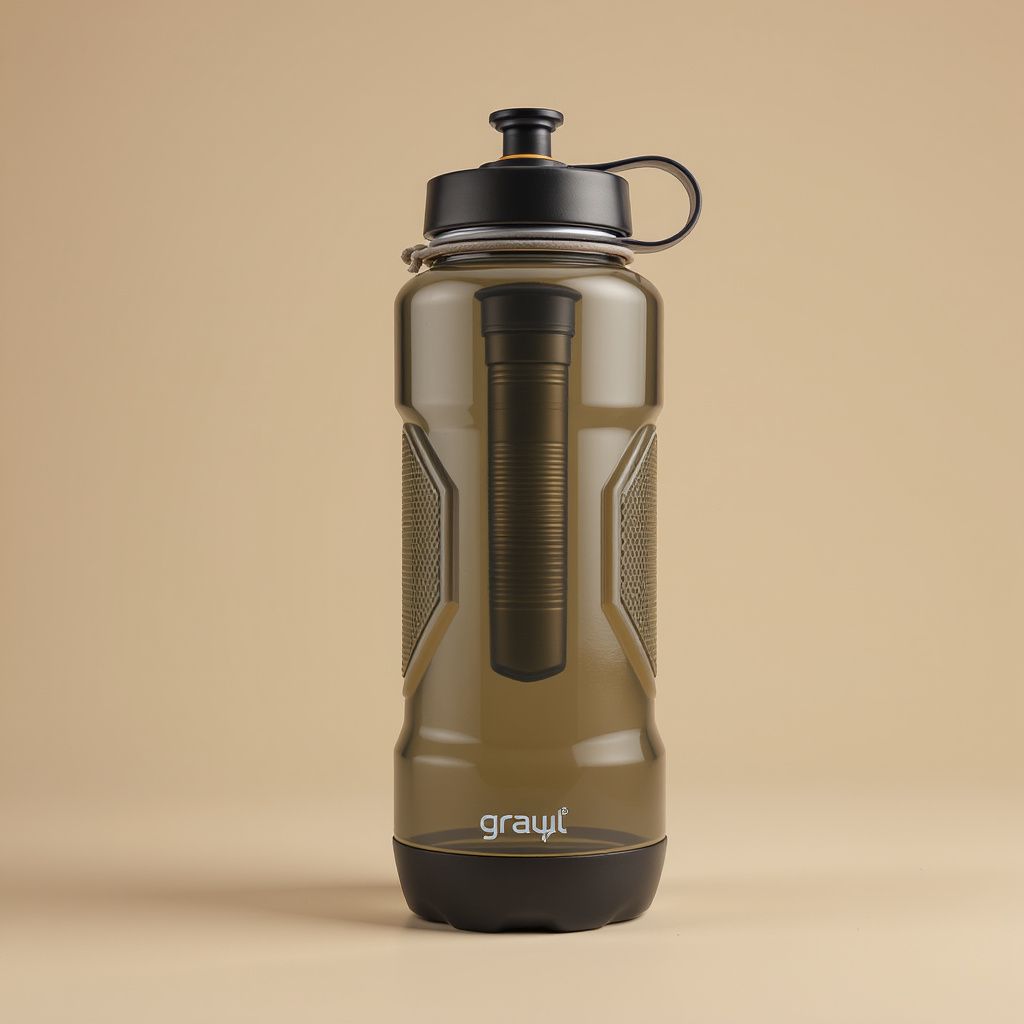
Grayl GeoPress 24oz Water Purifier Bottle
The bottle-style water purifier that handles viruses, bacteria, protozoa, heavy metals, and chemicals in one eight-second press. The Grayl GeoPress is the only travel-grade purifier that covers the full contaminant spectrum without electricity, pumping, or chemicals — and it's the one I carry on every van trip that crosses into backcountry or international water sources.